Python/FastAPI
FastAPI is a modern, high-performance, web framework for building APIs with Python. In this tutorial, you will learn how to build a simple API using this framework and integrate it with CodeNOW.
Steps
Create the application
- Create an Application and add a Docker generic component to it
- Clone the repository of the newly created Component
- Create a folder called
appin the root of your repository - Inside
appfolder, createmain.pywith the following contents:
from fastapi import FastAPI

# docs_url sets the URL for Swagger (/docs by default)
app = FastAPI(docs_url='/')

@app.get("/items/{item_id}")
def read_item(item_id: int):
    return {"item_id": item_id}
This will run an API, that listens for GET requests at /items/{item_id} for integer {item_id} and responds with the same thing.
Requirements
Because we are using python packages that are not in the standard library, we need to handle requirements. In python, this is usually done with a requirements.txt. For this example, our requirements.txt file should look like this:
fastapi>=0.68.0,<0.69.0
pydantic>=1.8.0,<2.0.0
uvicorn>=0.15.0,<0.16.0
Dockerfile
-
Check that your directory structure is the same as the following one (ommiting the
codenowandhelmfolders):.
├── app
│ └── main.py
├── Dockerfile
├── README.md
└── requirements.txt -
Replace the contents of
Dockerfilein the root of your repository with the following:# Base image
FROM python:3.9
# Set up a virtual environment to make sure there are no collisions in dependencies
ENV VIRTUAL_ENV=/opt/venv
RUN python3 -m venv $VIRTUAL_ENV
ENV PATH="$VIRTUAL_ENV/bin:$PATH"
# Create a directory inside the container and set it as the working directory
WORKDIR /code
# Copy requirements.txt to the working directory
COPY ./requirements.txt .
# Install dependencies
# --no-cache-dir stops pip from creating a cache folder
# --upgrade makes pip upgrade already installed packages
RUN pip install --no-cache-dir --upgrade -r ./requirements.txt
# Copy files from ./app to the working directory
COPY ./app ./app
# Expose port 80, where out API will be running
EXPOSE 80
# Run the API
CMD ["uvicorn", "app.main:app", "--host", "0.0.0.0", "--port", "80"] -
That's all for local development, commit and push your changes.
Test the API
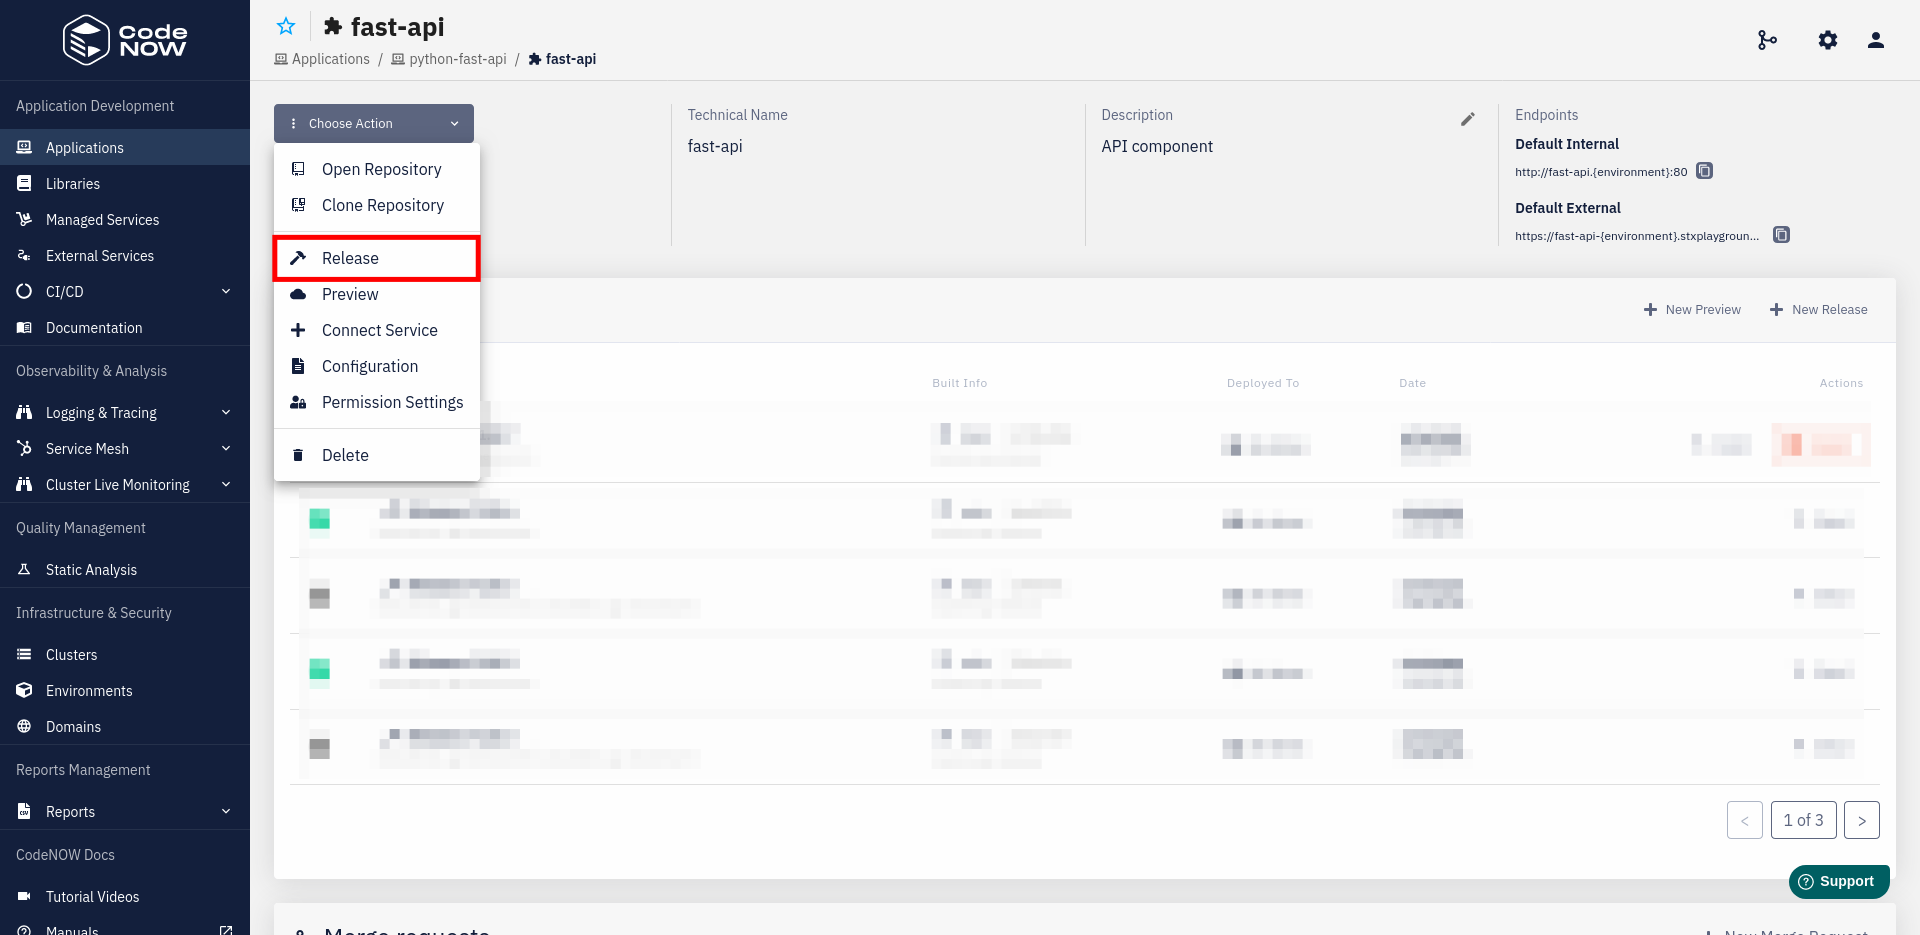
- Build the component
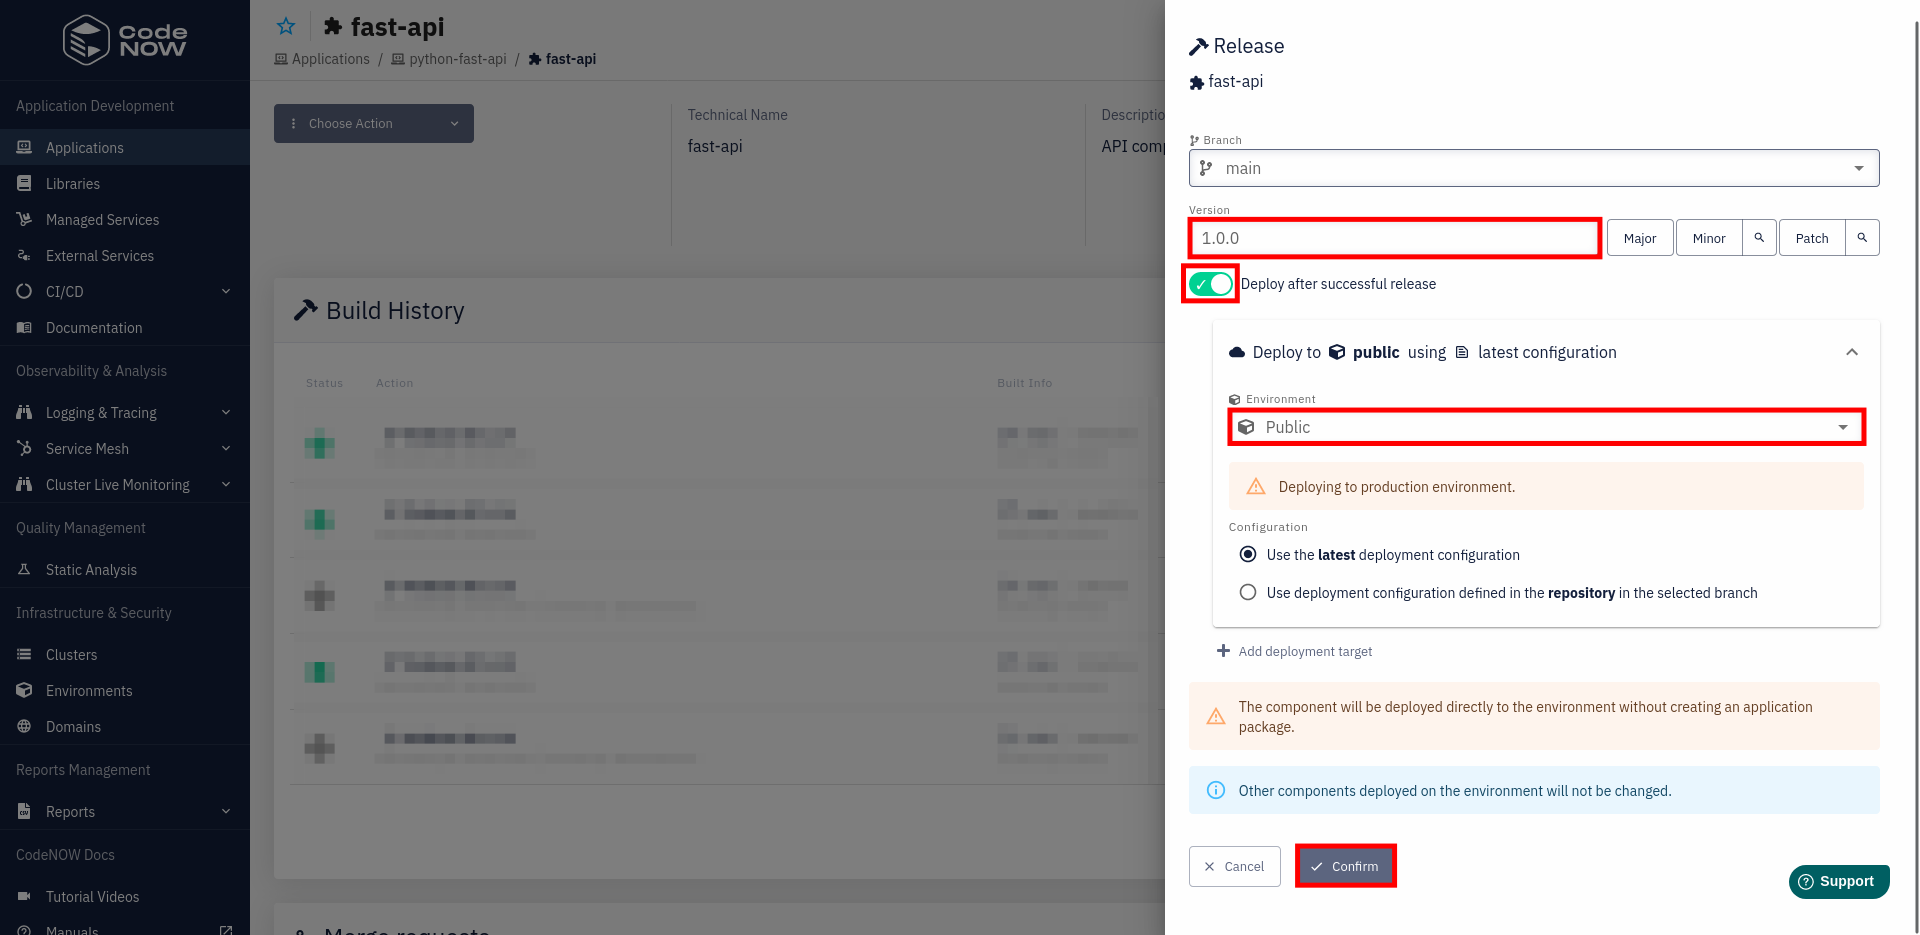
- Deploy the component
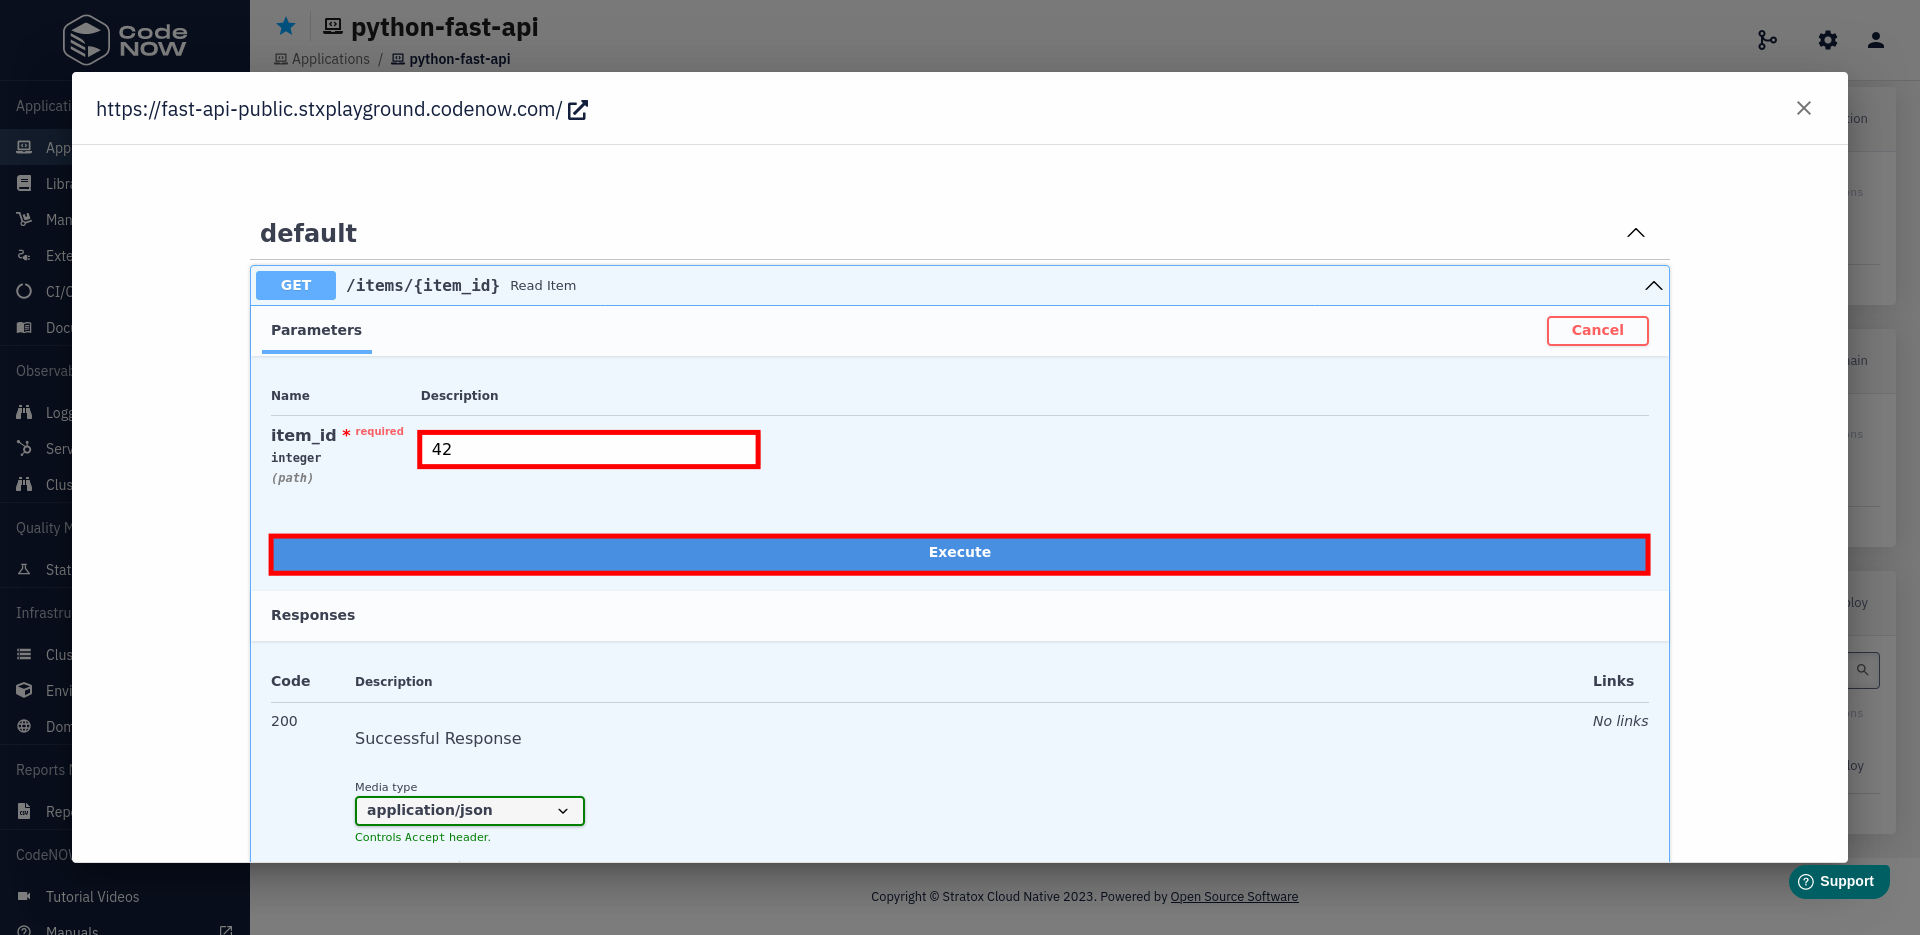
- Open the endpoint
- Test the GET method
Project source and deployed application
Project is deployed in CodeNOW and can be accessed with public demo account. Sign in here with the following credentials, if you want to see the application work in action for yourself.
- username: public-user
- password: Public-user123.
This example project can be cloned from here


