Python/Flask
Set up your component repository to use the Python/pip/Flask stack. With the Docker Generic scaffolder, developers can create a Dockerfile that allows using Python in connection with the Flask web framework.
Prerequisites
- You have already created your application.
- You have
vieweranddeveloperpermissions on the deployment cluster. - You have
deployerpermission on the deployment environment. - If the Dockerfile introduced in this article does not fit your needs, you may need to update that Dockerfile.
Steps
- Navigate to your application.
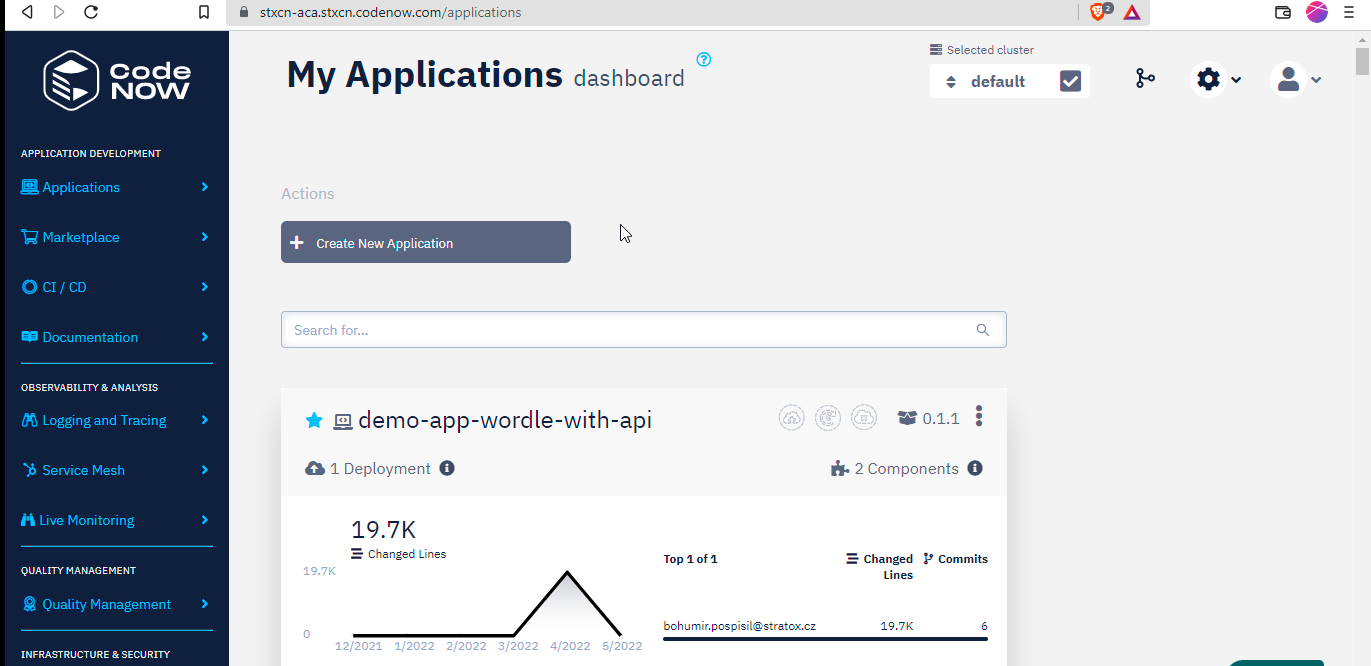
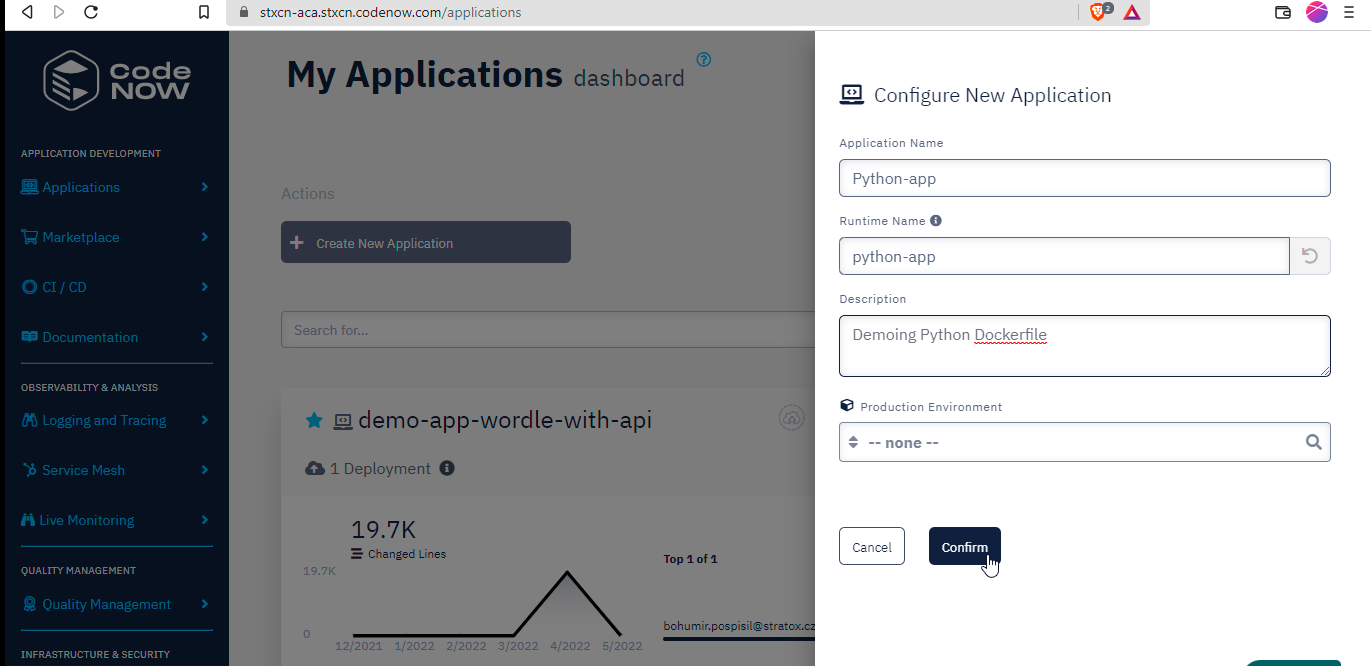
- Create a new application component with the Docker Generic scaffolder.
- Clone the repository created to hold the component's code to your local laptop.
- Replace the contents of the
Dockerfilefile in the home directory with the following:
# Source image
FROM python:3.9.12-alpine3.15

# Create a virtual environment for all the Python dependencies
RUN python3 -m venv /opt/venv

# Make sure we use the virtualenv
ENV PATH="/opt/venv/bin:$PATH"

# Change workdir to app directory
WORKDIR /app

# Copy content of src directory into /app dir
COPY src/ .

# Install Python dependencies
RUN pip3 install -r requirements.txt

# Expose application port
EXPOSE 80

# start the application
CMD [ "python3", "-m" , "flask", "run", "--host=0.0.0.0", "--port=80"]
This is it! Put your source code in the /src directory; commit; push; you are then ready to build and deploy your component in CodeNOW. The previous Dockerfile reflects default configuration choices:
- Programs will run with the 3.9 version of the Python interpreter.
- All your Python code must be in
/src. - The Python interpreter will look for an
app.pyfile and run that file. pip3is used as package manager. For more information aboutpip, see its official documentation.requirements.txtholds the dependencies for the Python code that you want to run. For more information, cf. How to install Python packages withpipandrequirements.txt.- The application starts on port 80.
- The application uses the Flask web framework.
Customize further to reflect additional constraints or requirements:
- Use
pyproject.tomlinstead ofrequirements.txtfor dependency management. - Add deployment configuration files in the
/codenow/config/folder. Files in this folder are deployed with the application. For more information, see Deployment configurations.
Example
Let's write, build, and deploy a simple Python web application that leverages the previous Python Dockerfile.
-
Create an
app.pyfile in/srcwith the following contents:from flask import Flask
app = Flask(__name__)
@app.route('/')
def hello():
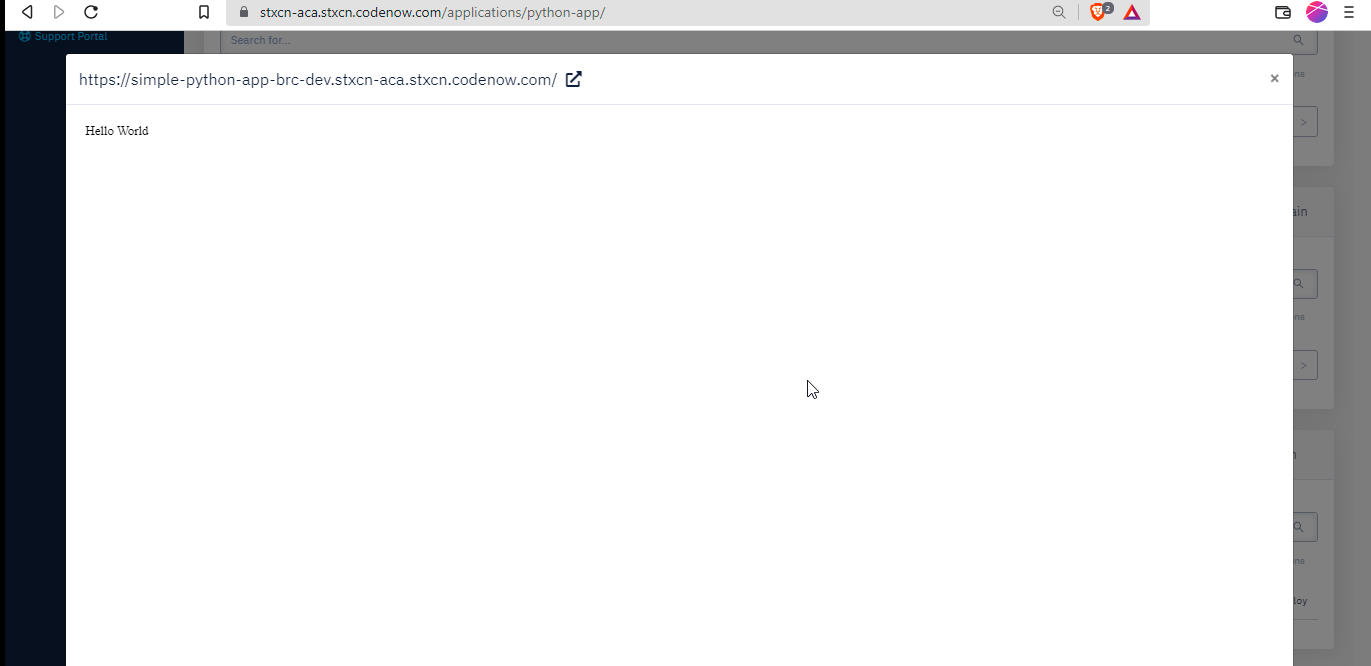
return 'Hello World'
if __name__ == '__main__':
app.run() -
Create a
requirements.txtfile in the/srcdirectory with the following contents:flask==2.1.1 -
Check that your directory structure looks like this:
├── codenow
│   └── config
│       └── config.yaml
├── Dockerfile
├── src
│   ├── app.py
│   └── requirements.txt
└── README.md -
Commit and push your code to the remote origin
-
Build and deploy your application
The following animated image illustrates the previous steps:


