Setup Instructions
To view setup instructions for a library, open the Library Detail page and select Setup Instructions from the Choose Action dropdown.
The setup instructions wizard guides you through three steps to start using the library in your local development environment. The steps are tailored to the library's technology stack.
Step 1 — Clone Repository
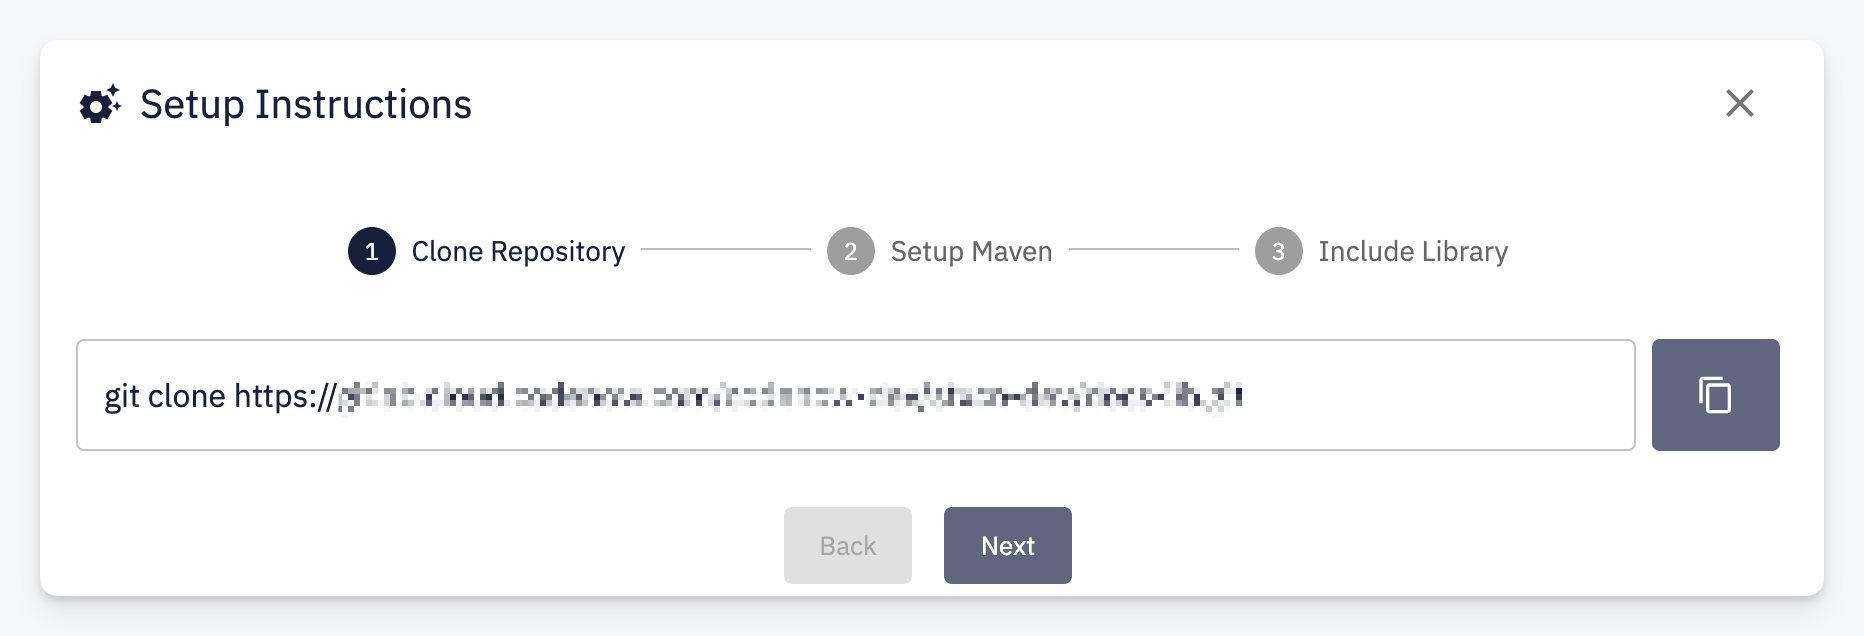
Provides a ready-to-use git clone command with the repository URL. Click the copy button to copy the command and run it in your terminal.
Step 2 — Setup Build Tool
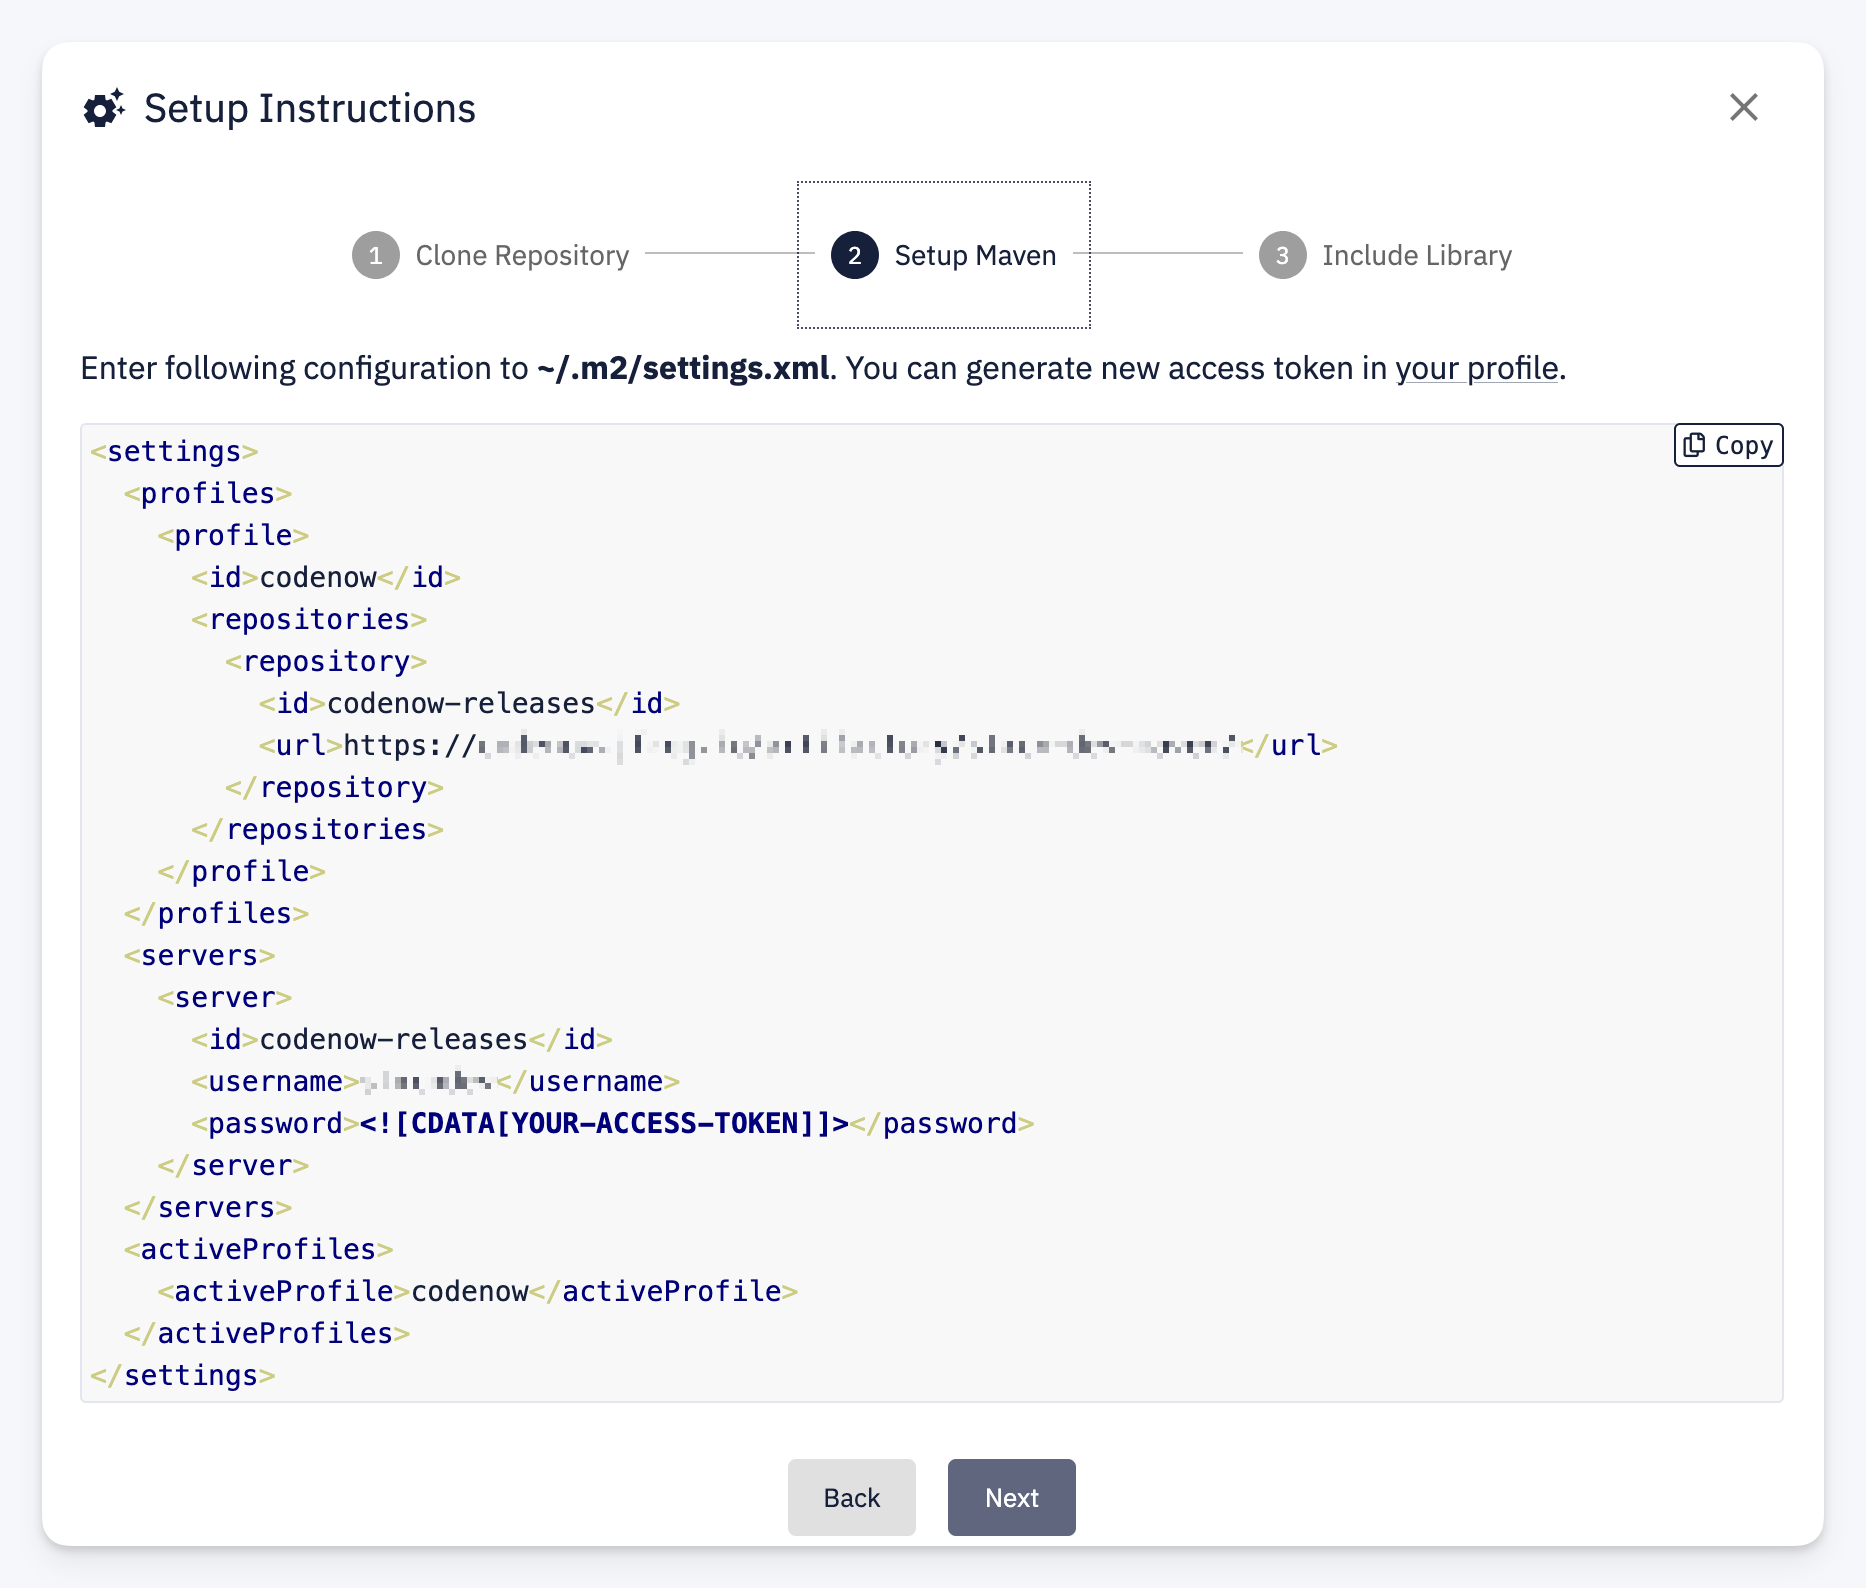
Provides the build tool configuration needed to access the CodeNOW artifact repository. For example, for a Java library this step shows the Maven ~/.m2/settings.xml configuration with:
- Repository URL for resolving CodeNOW-hosted artifacts
- Server credentials — use your username and a personal access token
You can generate a new access token in your profile settings.
Step 3 — Include Library
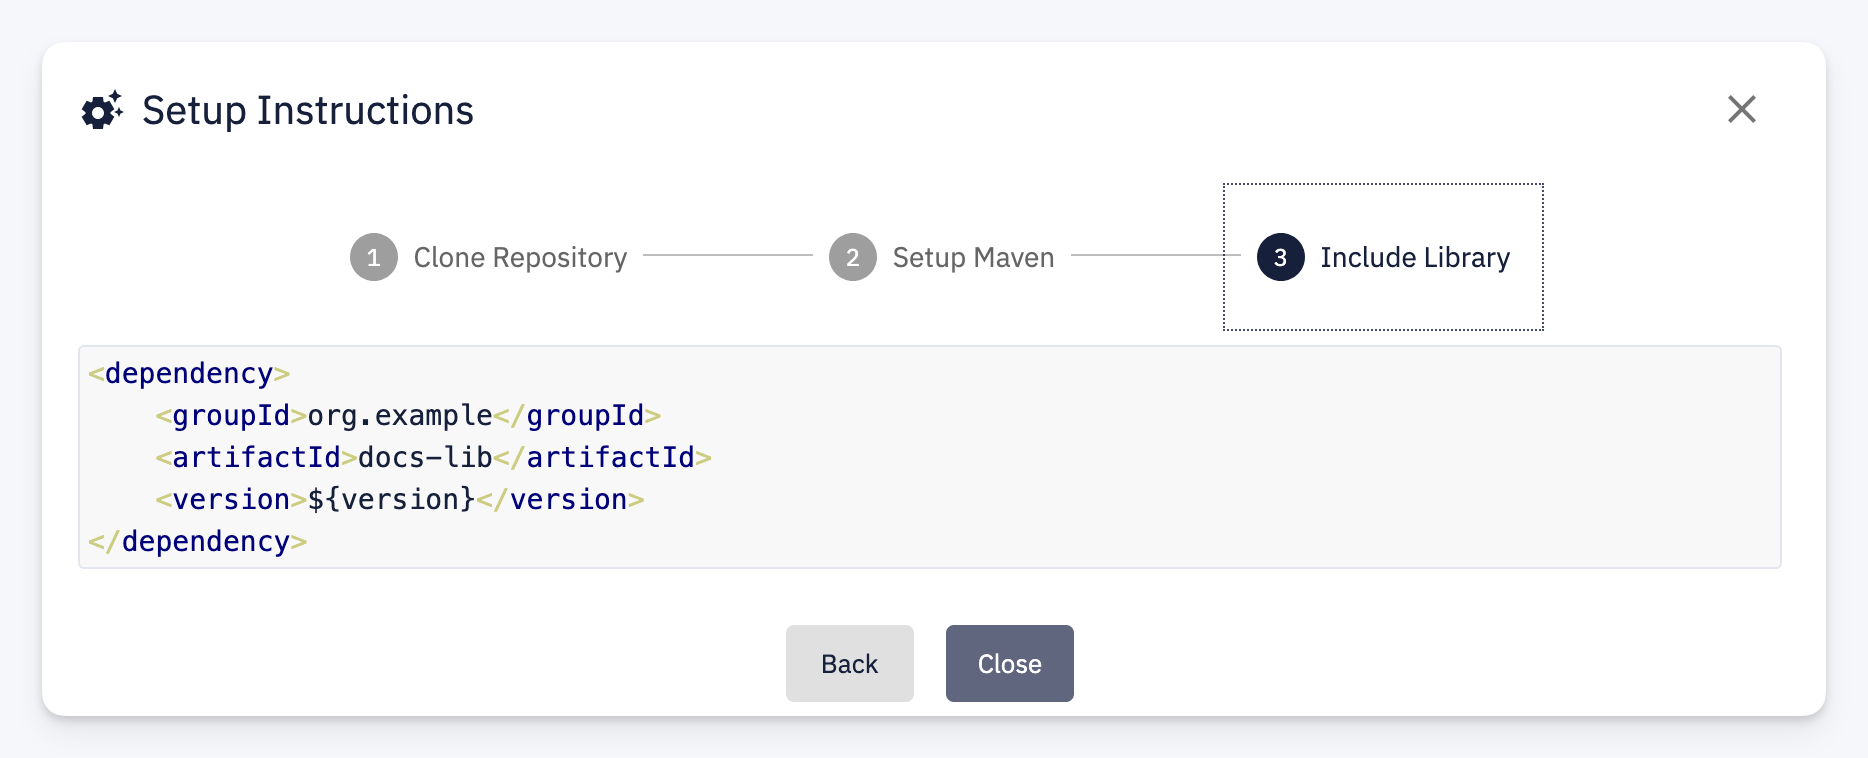
Provides the dependency snippet to add to your project. For example, for a Java library this shows the Maven <dependency> block with the library's groupId, artifactId, and version.
Copy the snippet into your project's build file (e.g. pom.xml) to start using the library.
The instructions adapt to the library's technology stack. For example, a .NET library will show NuGet configuration and package references, while a Python library will show PIP configuration.