Javascript React UI with REST HTTP Call
🕓 40 minutes
What you’ll learn
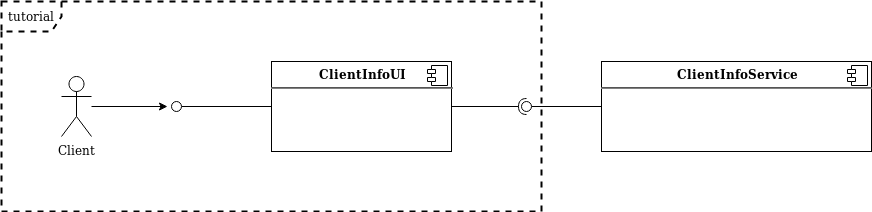
In this tutorial, we will create a simple Javascript React component with Javascript React scaffolder as an SPA (single page application). We want to show a very simple UI with the input field for the username, call ClientInfoService endpoint and show the retrieved information to UI.
Project source
This example project can be cloned from: http://gitlab.cloud.codenow.com/public-docs/client-authorization-demo/client-information-ui.git
Prerequisites
- Prepare your local development environment for CodeNOW with React.
- Follow the tutorial instructions in Javascript React Local Development tutorial.
- Create a new component
- For details see the section Prerequisites of the Javascript React Local Development tutorial.
Steps
Open your IDE, import created component and start coding:
-
Modify main file
App.jsand replace the content with the following codeimport React, { Component } from 'react'
import './App.css'
class App extends Component {
constructor() {
super();
this.state = {
username: 'mkomar',
data: {roles: []}
}
this.handleSubmit = this.handleSubmit.bind(this);
this.handleChange = this.handleChange.bind(this);
}
handleSubmit(event) {
// console.log(this.state);
fetch(window.env.CLIENT_INFO_SERVICE_URL + this.state.username)
.then(resp => resp.json())
.then(data => {
console.log(data);
if (data[0] !== undefined) {
this.setState({data: data[0]});
console.log(data[0].id)
}
}
);
event.preventDefault();
}
handleChange(event) {
this.setState({ username: event.target.value });
}
render() {
return (
<div className='container'>
<br />
<form onSubmit={this.handleSubmit}>
<label>
<strong>Client:</strong>
<input type="text" size="10" maxLength="10" value={this.state.username} onChange={this.handleChange} />
</label>
<input type="submit" value="Check" />
</form>
<br />
<p><label><strong>Firstname:</strong> {this.state.data.firstname}</label></p>
<p><label><strong>Surname:</strong> {this.state.data.surname}</label></p>
<p><label><strong>Birth date:</strong> {this.state.data.birthdate}</label></p>
<p><label><strong>Authorization roles:</strong> {this.state.data.roles ? this.state.data.roles.toString() : ''}</label></p>
</div>
)
}
}
export default App; -
Next, edit the file
config/runtime-configuration.jsand add the configuration for server URL-
note that URL should be different depending on your implementation of the
ClientInfoServicetutorial example (see Micronaut REST client/server )//This is an example configuration for local development, it will be replaced by configurations for individual environments.
//define all configuration properties under window.env
window.env = {
CLIENT_INFO_SERVICE_URL: "https://client-info-service-stxacademy.box.innobank.codenow.com/info/",
};
-
-
You are ready to go now. Try to start your application using the terminal command
npm startand go to the browser URL http://localhost:3000

What’s next?
If your code works in local development, you are ready to push your changes to GIT and try to build and deploy your new component version to the CodeNOW environment. For more information, see Application Deployment and Monitoring.