Build Application Component
What you’ll learn
How to build the application component in the CodeNOW environment.
CodeNOW offers two options for component builds: release and preview.
- Release build has its own version and no steps are skipped during the build process
- If your code contains any major errors, the build will fail
- You can check the quality of your code using the SonarQube static analysis after the component is built
- The main intention of the preview build is to quickly check whether the new changes work properly inside the deployed application
- This type of build doesn't have a version
- During this build, unit tests are disabled
- Preview build is automatically deployed to the chosen environment using pre-existing deployment configuration
Prerequisites
Release build
Build the component
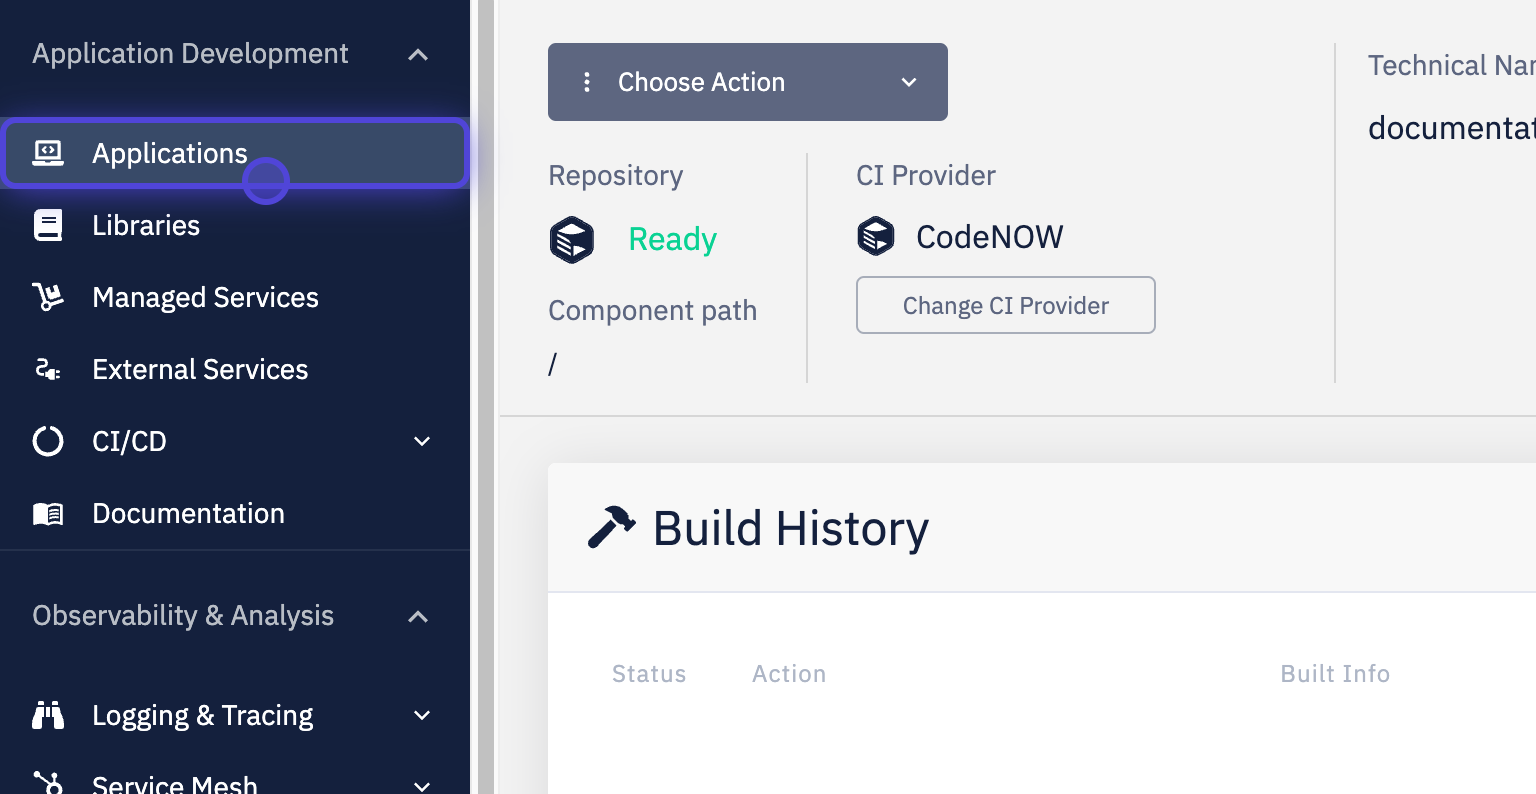
- Navigate to the detail of your component, click on New Release under Build History
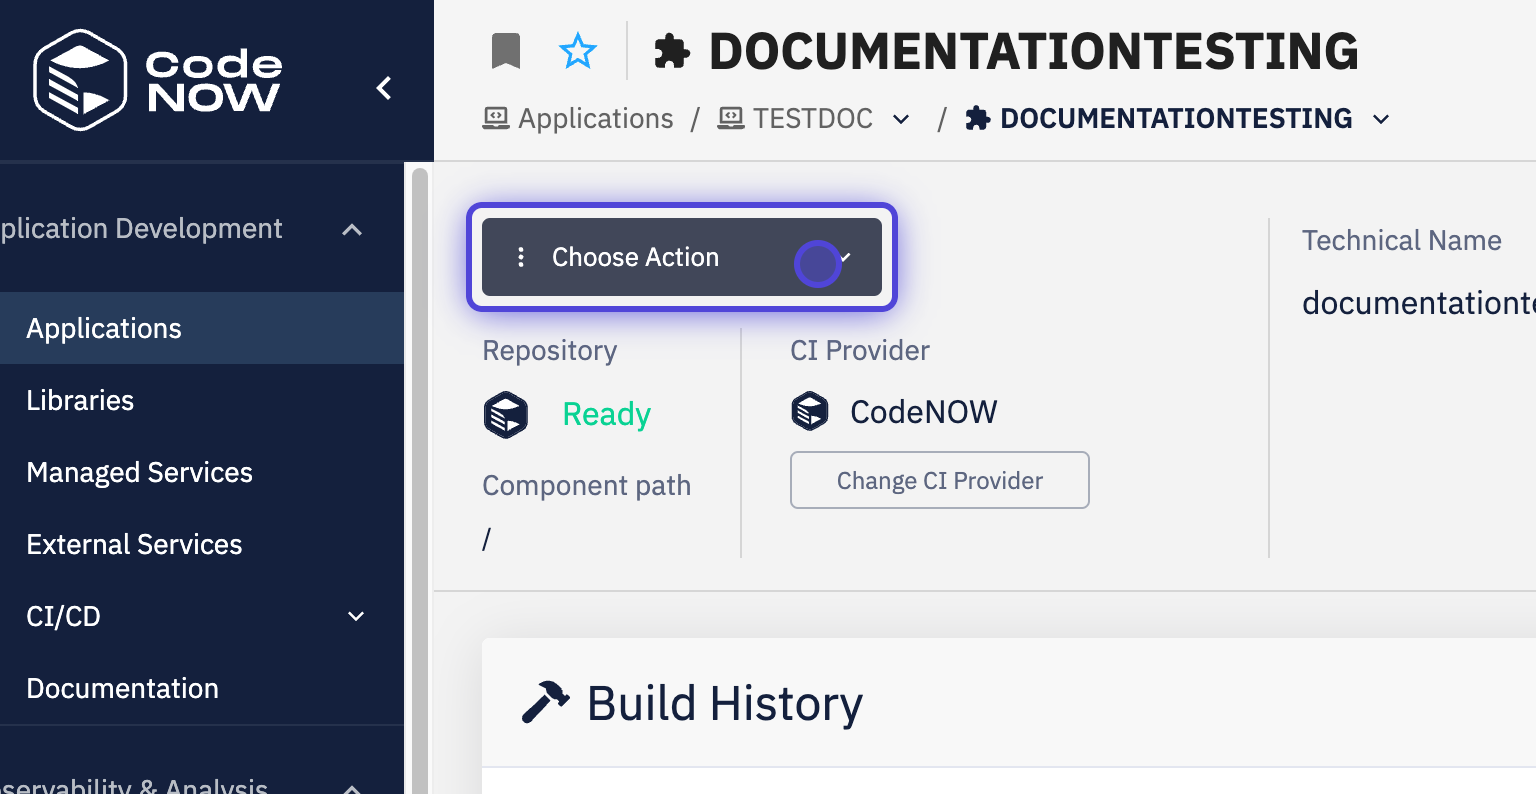
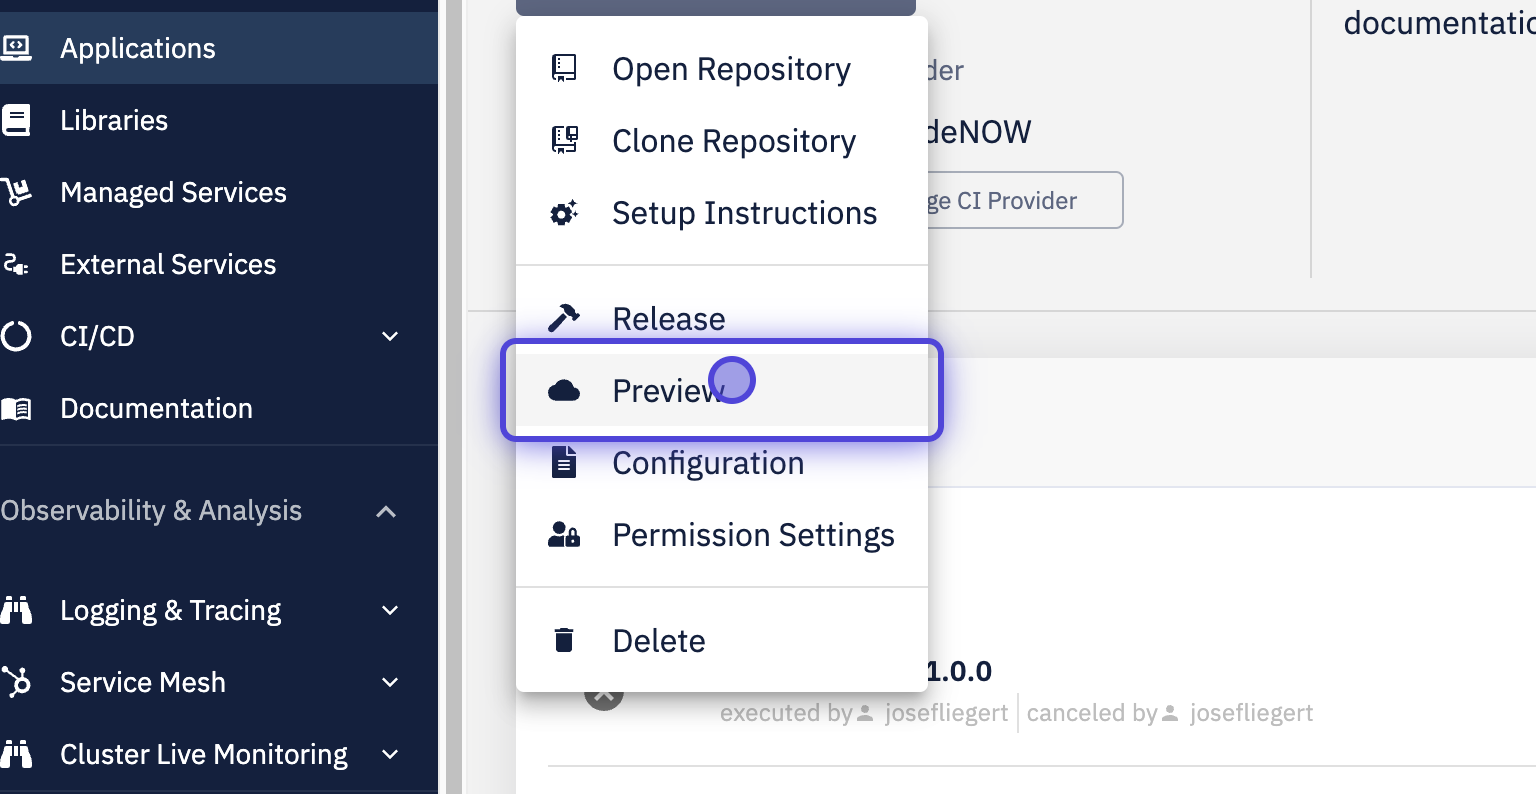
- or select Choose action -> Release
- Select the branch from which you want to build
- by default, the default branch of your repository is used
- Enter the version of the release build
- the version should be in the following format -
major.minor.patchwheremajor,minorandpatchare positive integers - you may select Major, Minor or Patch buttons
- these increment the corresponding number of the last version
- the version should be in the following format -
- Optionally, select Deploy after successful release to automatically deploy the released component to chosen environment, then click Confirm
Click on Applications
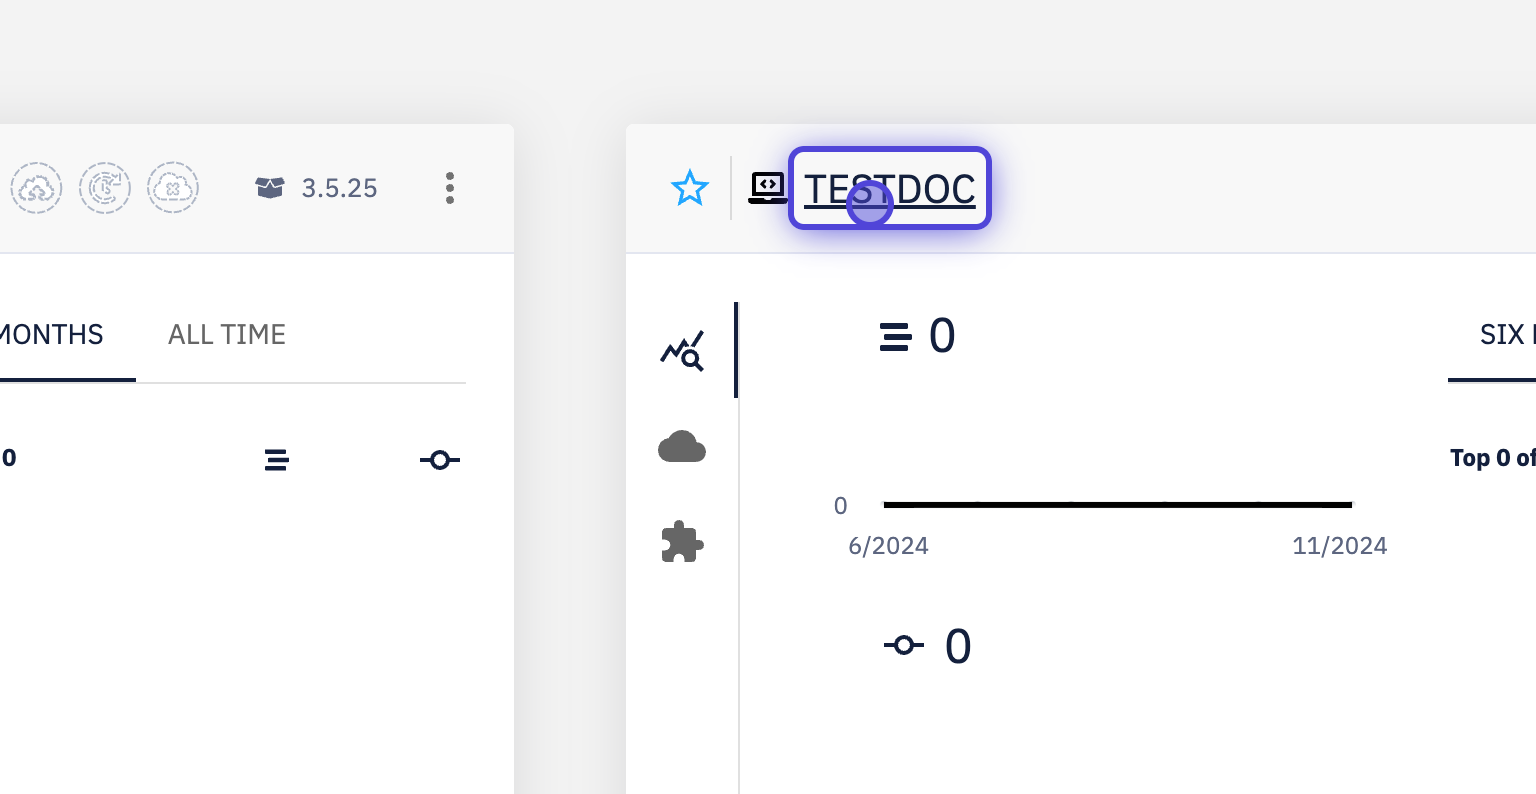
Click on your application
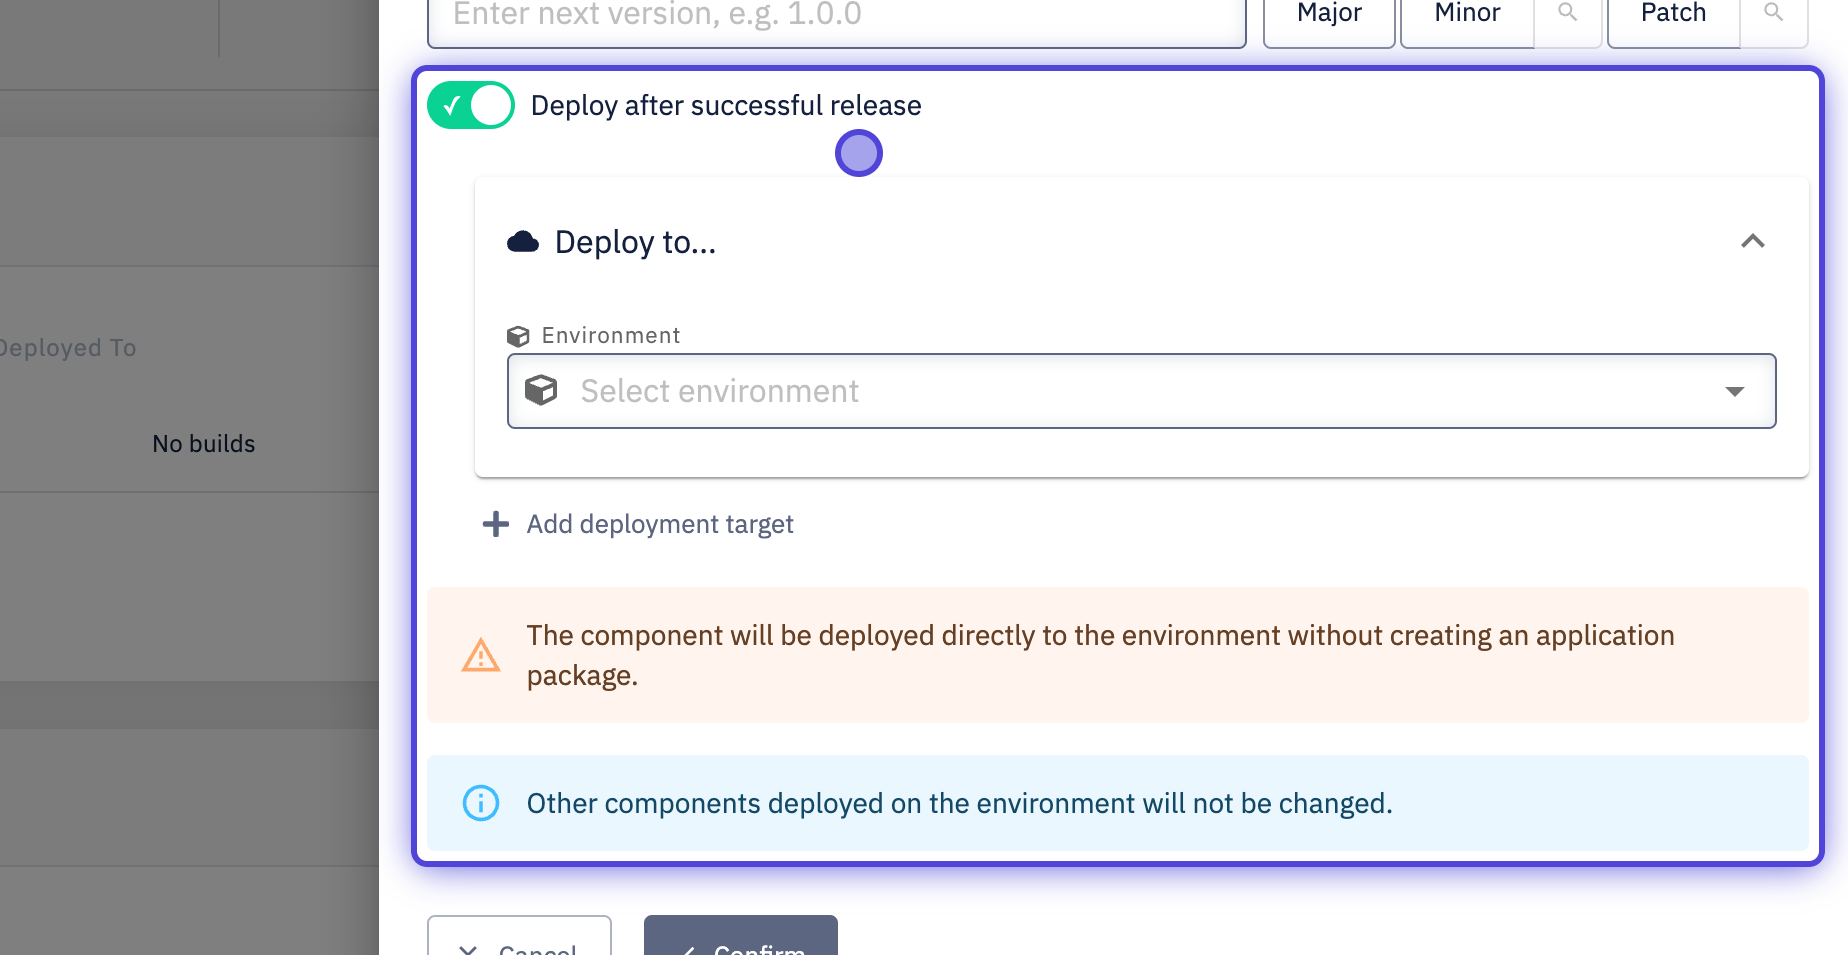
Optionally deploy and confirm the build
View build detail
Once your build is finished or if your build failed, you may inspect the details by clicking Build Detail on the page of your component
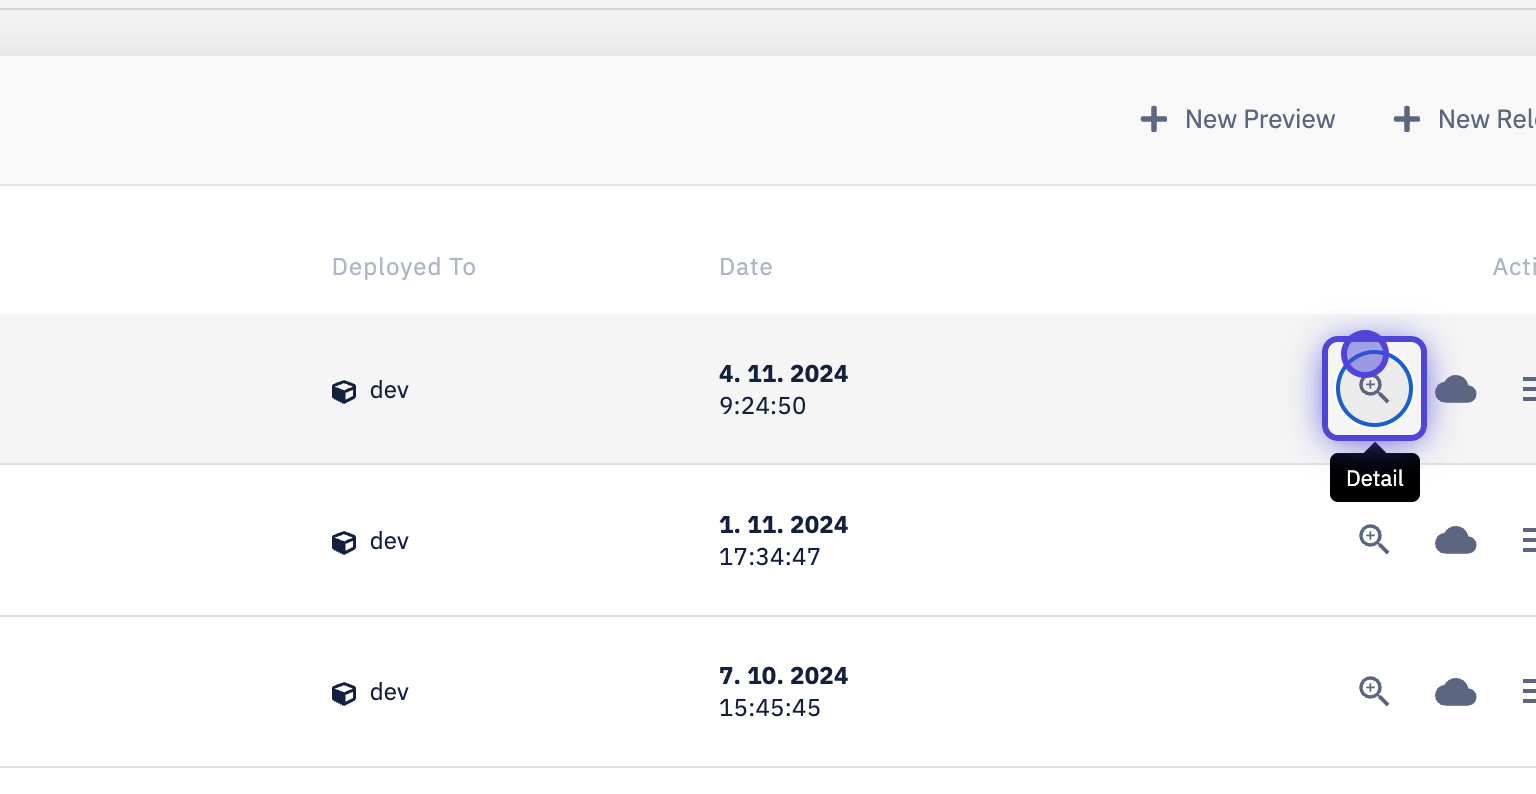
Open Build Detail
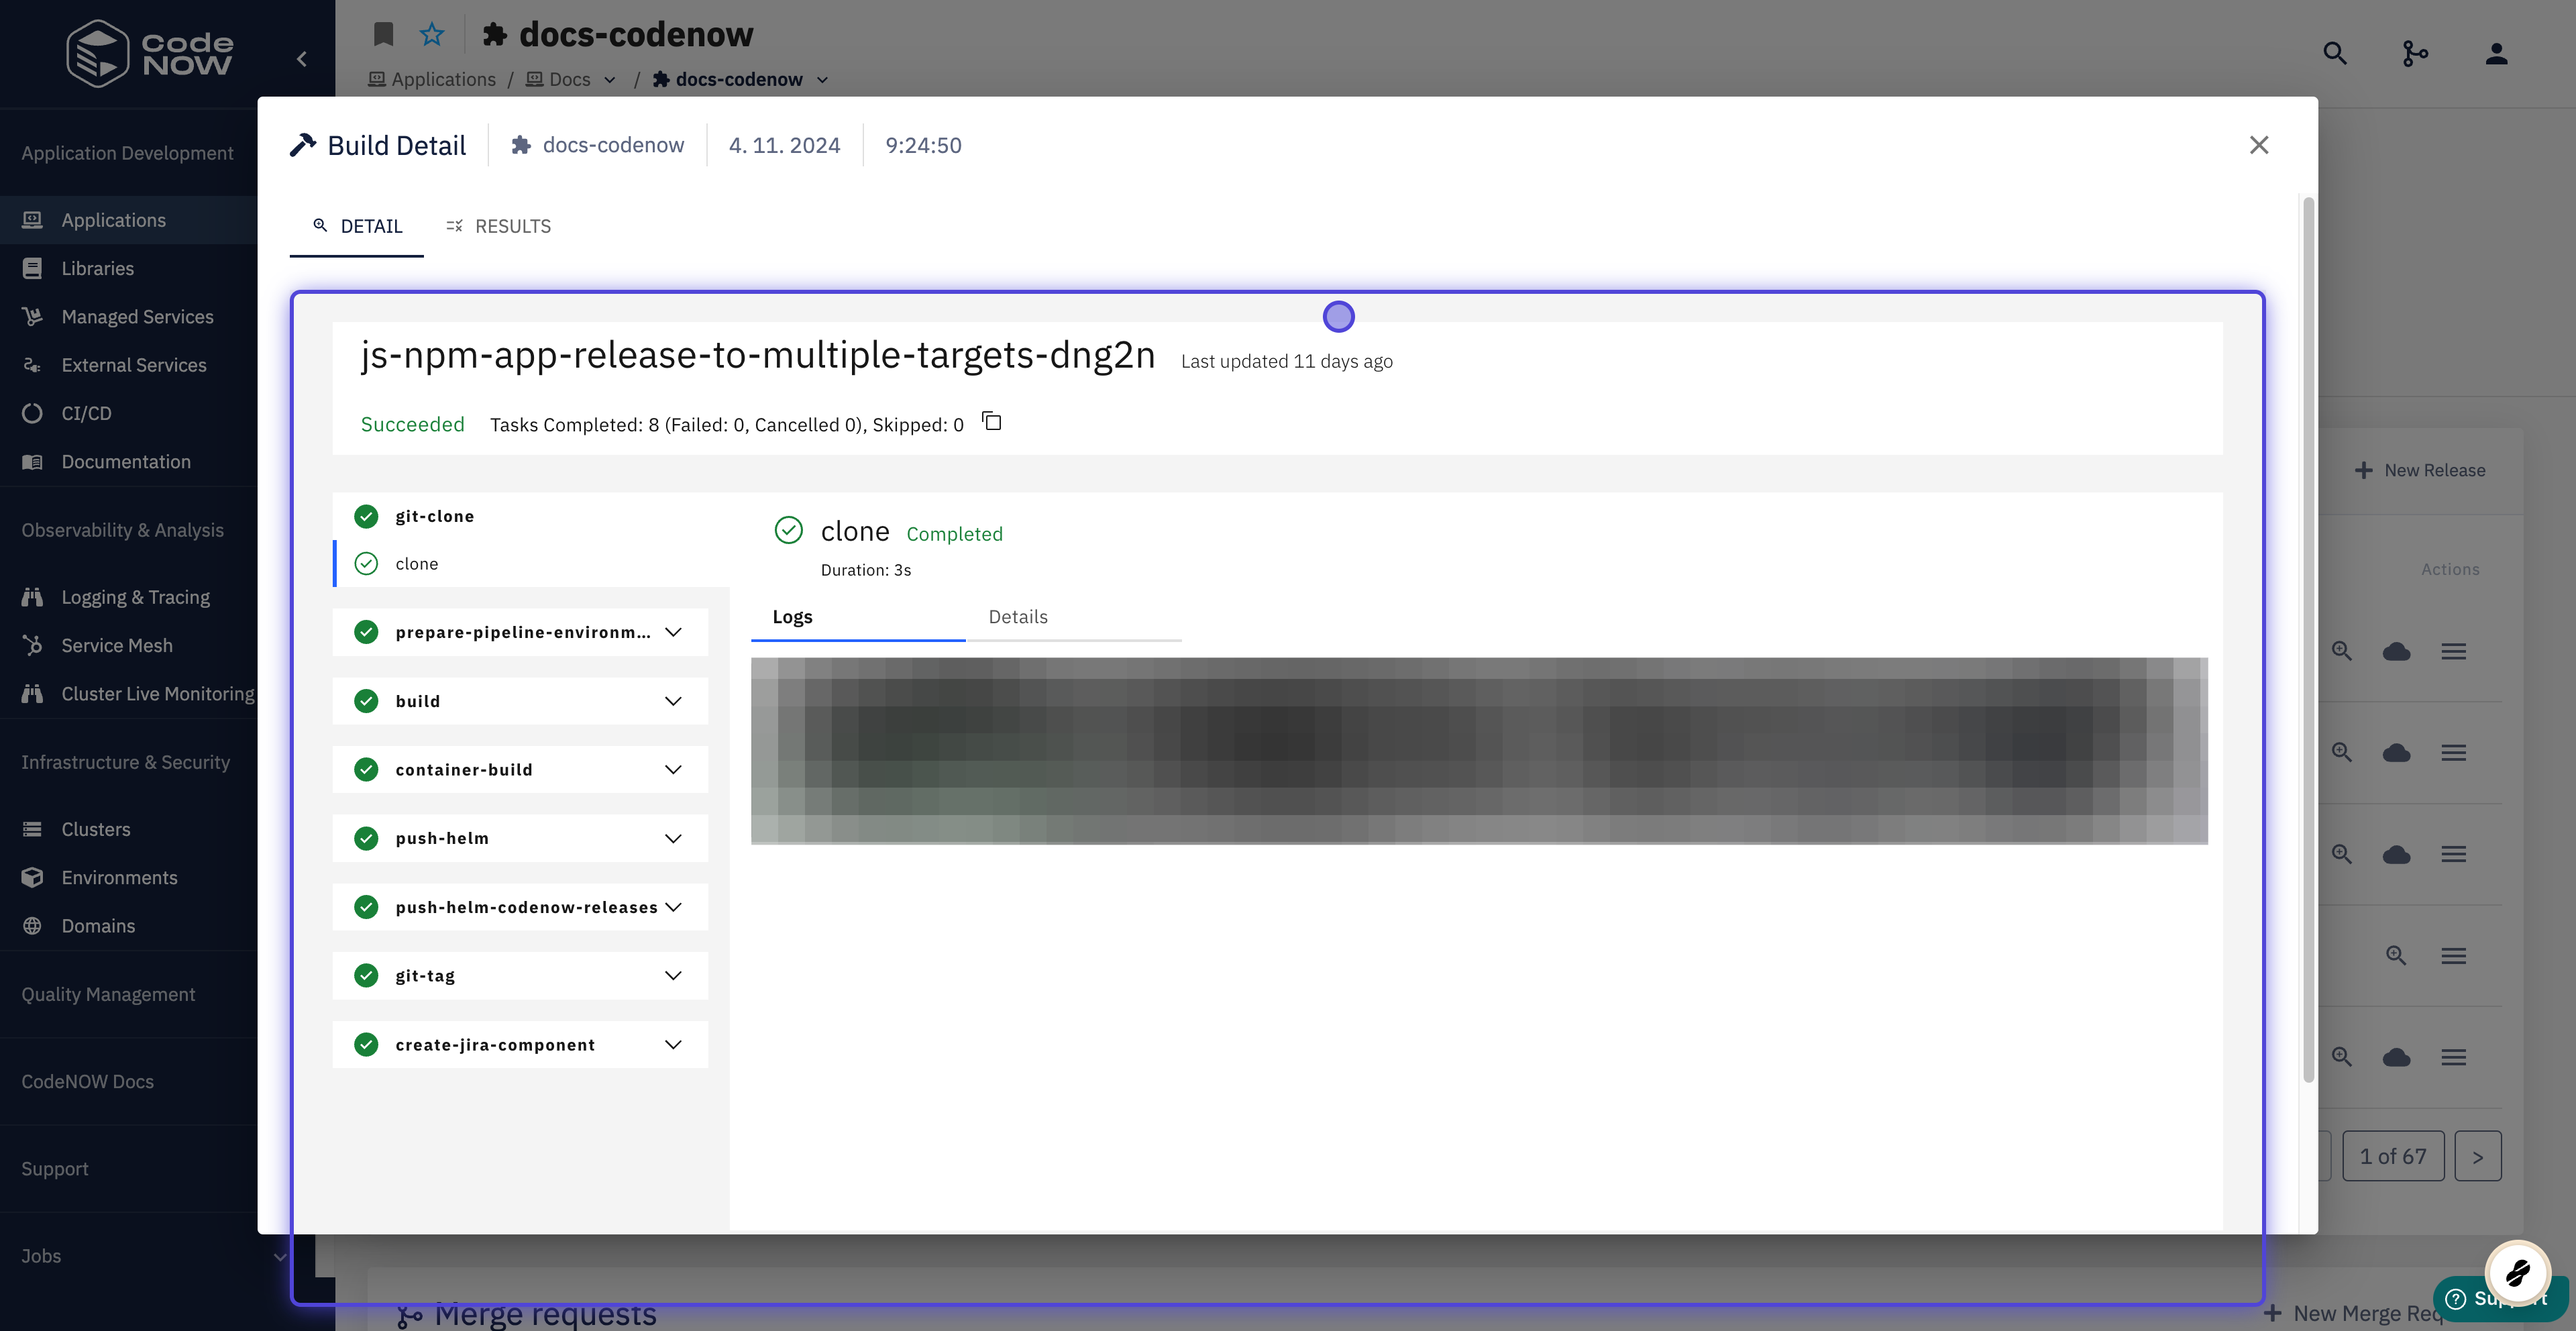
Build Detail
Inspect your code quality
- All release builds have their code quality checked using SonarQube
- You can view the results of the analysis with Static Analysis
- A code quality check is a good first-line measure to evaluate overall code quality
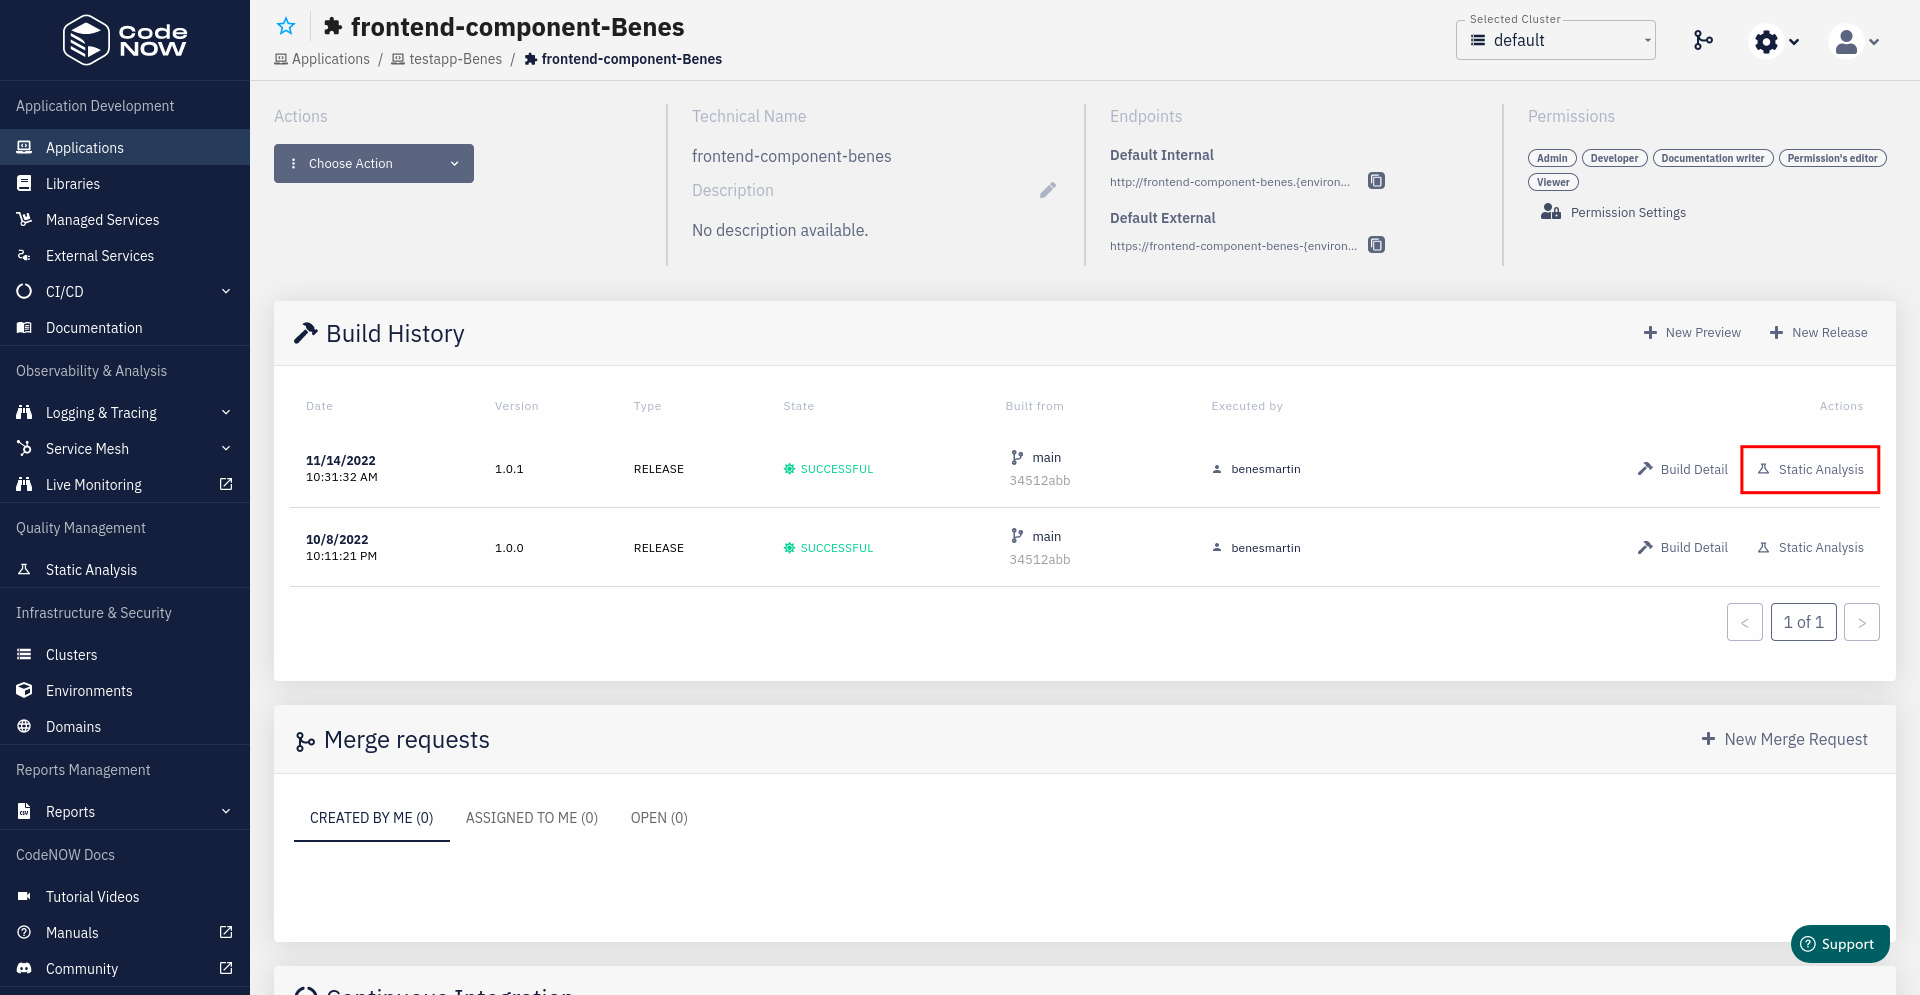
Open Static Analysis

Static Analysis Results
Preview build
If you made some changes in one component and want to make a quick check before the release build, you can make a preview build:
- Navigate to the detail of your component, click on New Preview under Build History
- or select Choose action -> Preview
- Select the branch from which you want to build
- by default, the default branch of your repository is used
- Optionally select Pre-release version to add a version and label for your preview build
- Choose the environment to which the built component will be deployed
- if wish to change the configuration or encounter validation errors, see Configuration of preview build
- Click Confirm and wait for your build to finish
Click on Detail
Then on New Preview
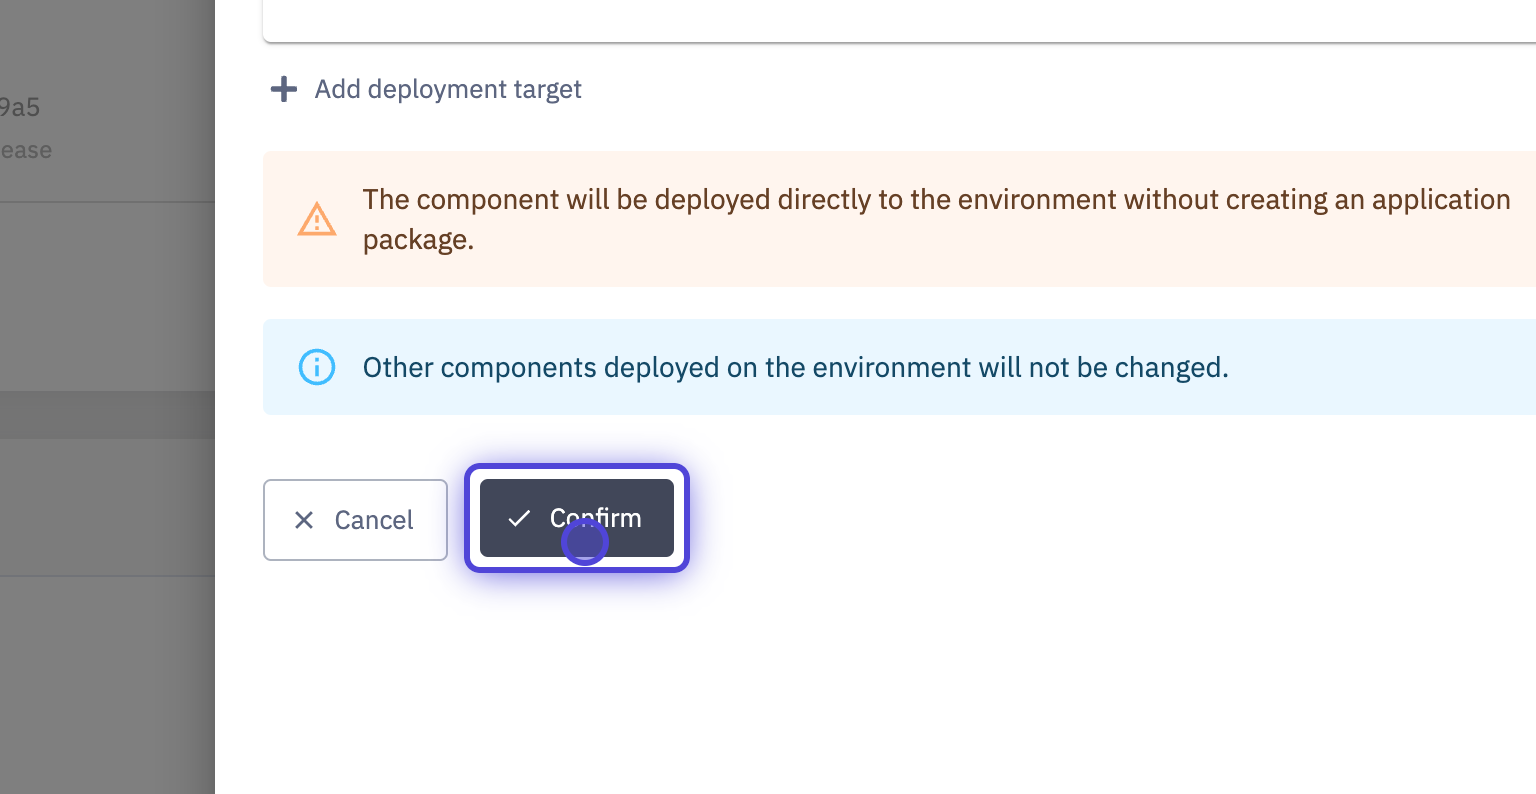
Confirm the build
Component build history
You can view all previous builds in Build History
- You can change the number of displayed latest builds in Configuration of your component by changing the Max Size of Builds Queue (default value is 5).
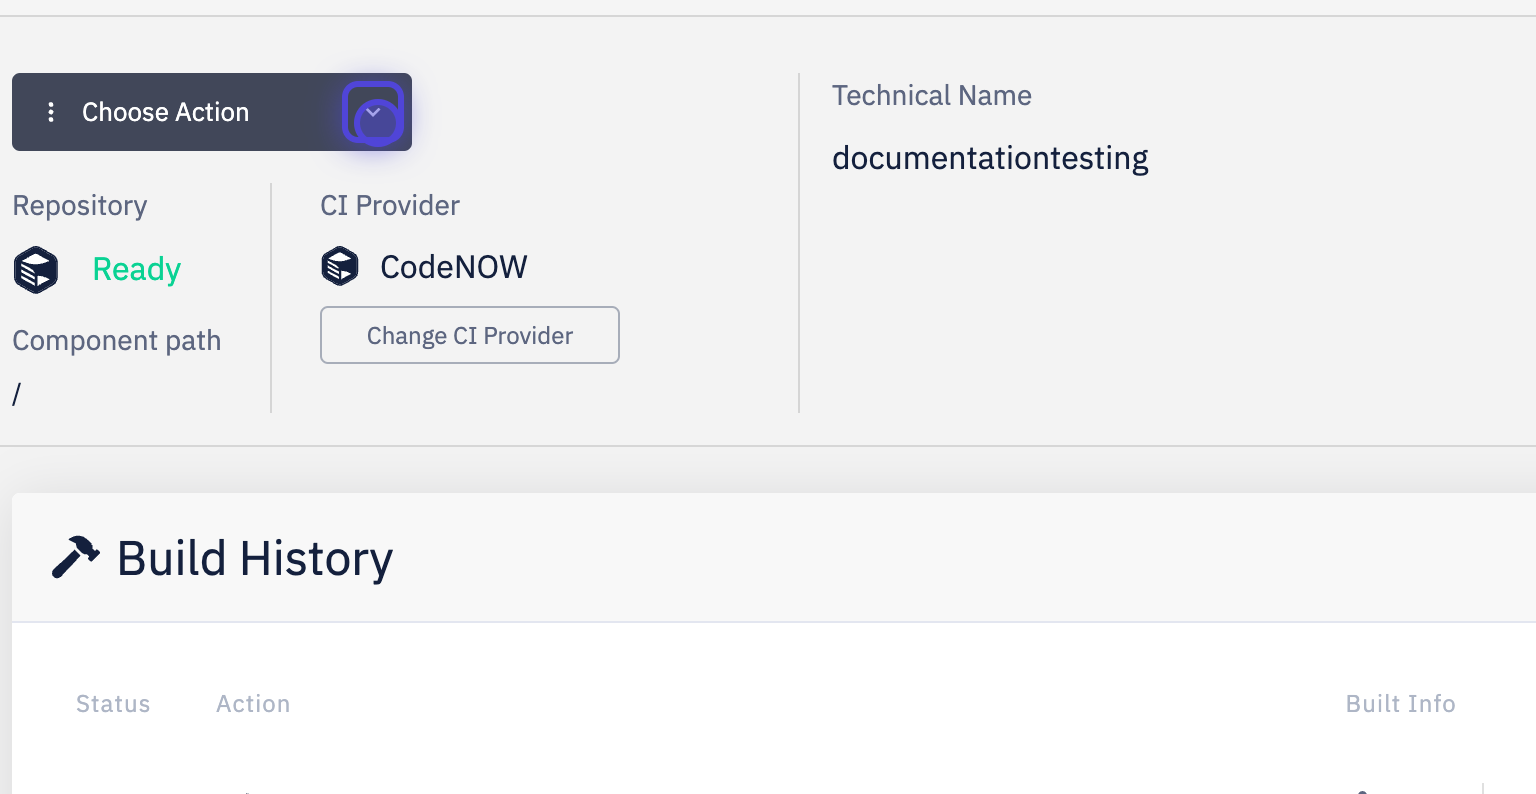
Choose Action
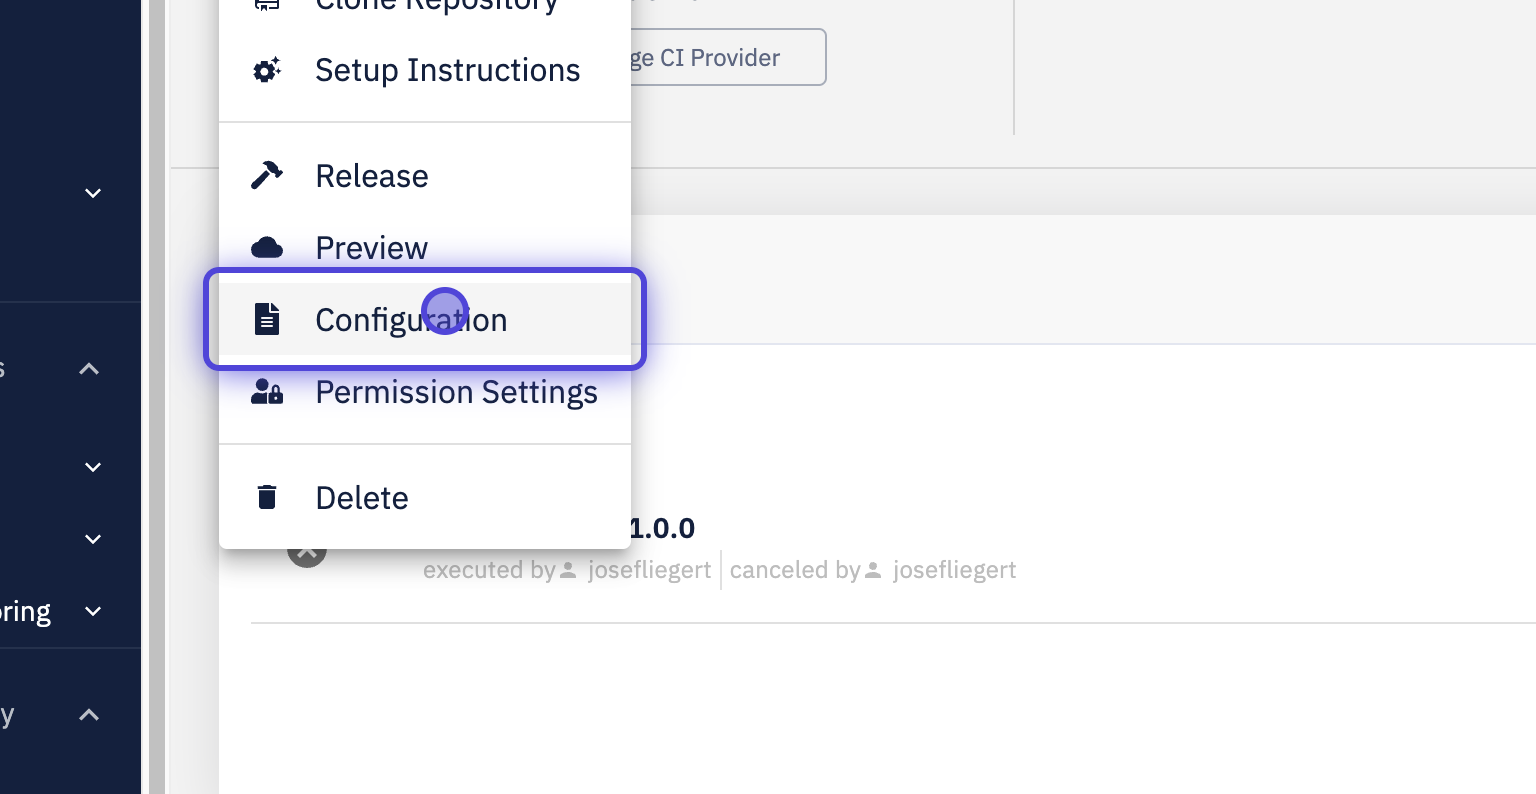
Select Configuration
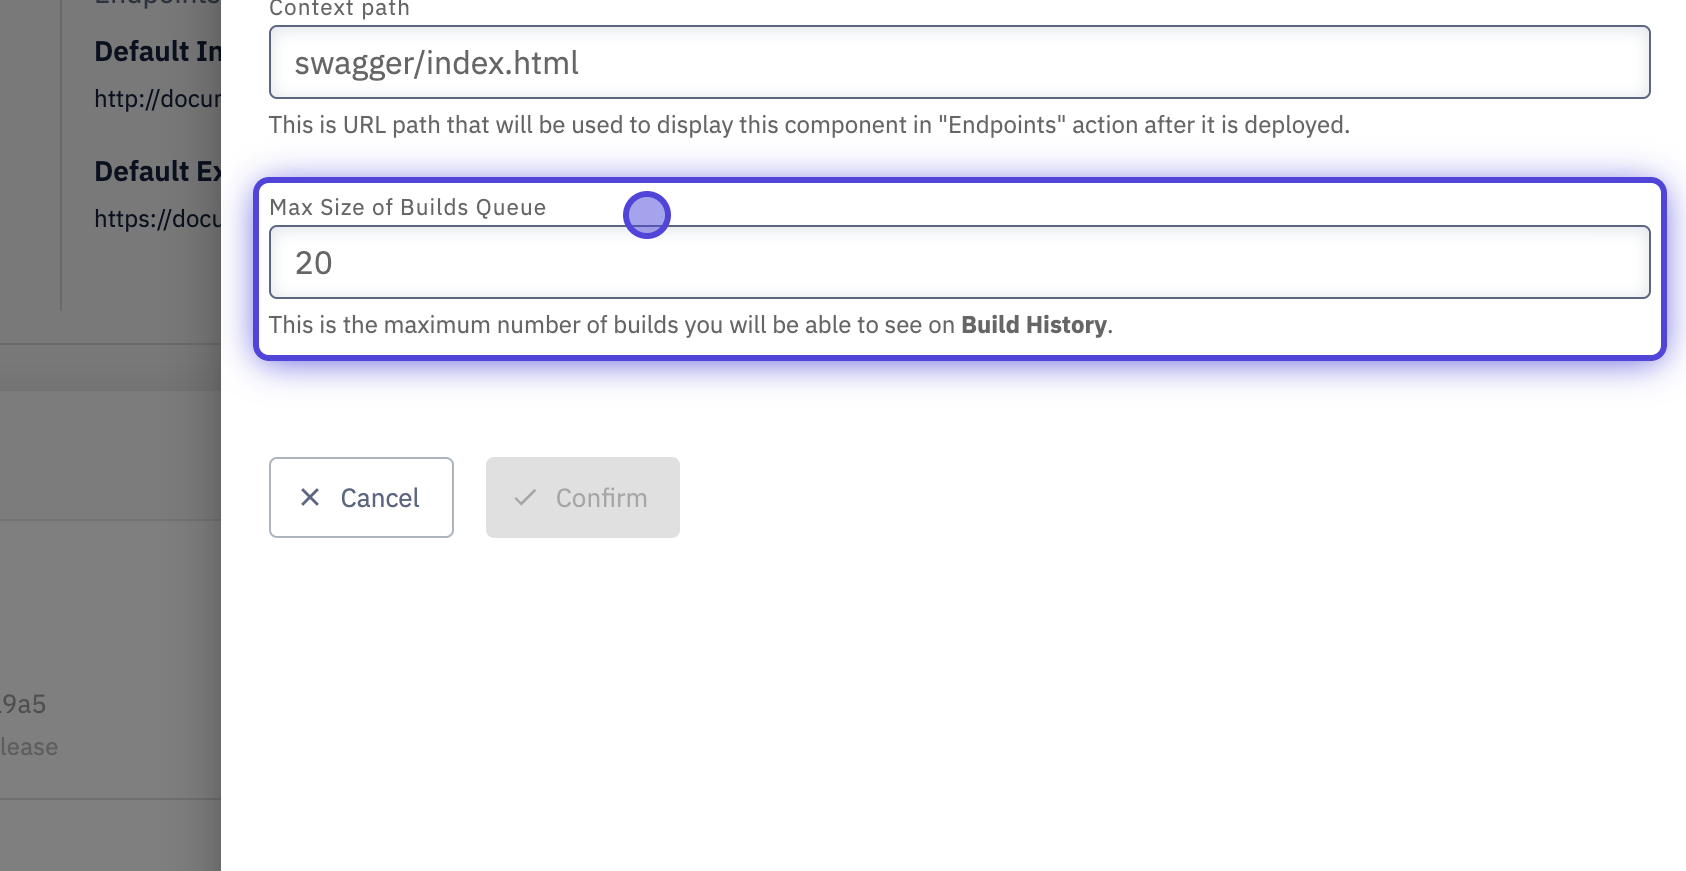
Edit Max Size of builds Queue
What’s next?
You might be interested in our other tutorials: