Domain Name Configuration
What you’ll learn
How to assign your own DNS for the application in order to simplify the access to this application for the end user.
Prerequisites
- Created Environment
- Created application and application components
- Have a registered domain and certificates.
Overview
By default, CodeNOW assigns a domain name that consists of the application name plus the name of the environment. If you would like to change this name, you need to register a new domain, add it to CodeNOW and then assign it to the chosen application.
A CNAME (Canonical NAME) record maps a specific domain, such as "example.com" or "www.example.com", to a canonical domain name. In this case, the canonical domain name is the [myapp].codenow.com domain name of your CodeNow application. Once created, the CNAME creates an alias for the [myapp].codenow.com. The CNAME entry will resolve to the IP address of your [myapp].codenow.com service automatically, so if the IP address of the cloud service changes, you do not have to take any action.
- You can find more information about CNAME here
Register a new domain
To register a new domain name, you can check this tutorial.
Create a new gateway
- Navigate to Domains, click on Add Gateway.
- Now, you need to:
- Enter a name for your gateway.
- Add domains that will be used.
- Select a cluster on which these domains will point.
- Add a new CName DNS record to the DNS configuration of your domain with the values generated by CodeNOW.
- Choose the certificate type:
- Let's Encrypt - CodeNOW automatically provides certificates using Let's Encrypt CA.
- Custom - You need to provide a public certificate and a private key.
- Once you are done, click Confirm.
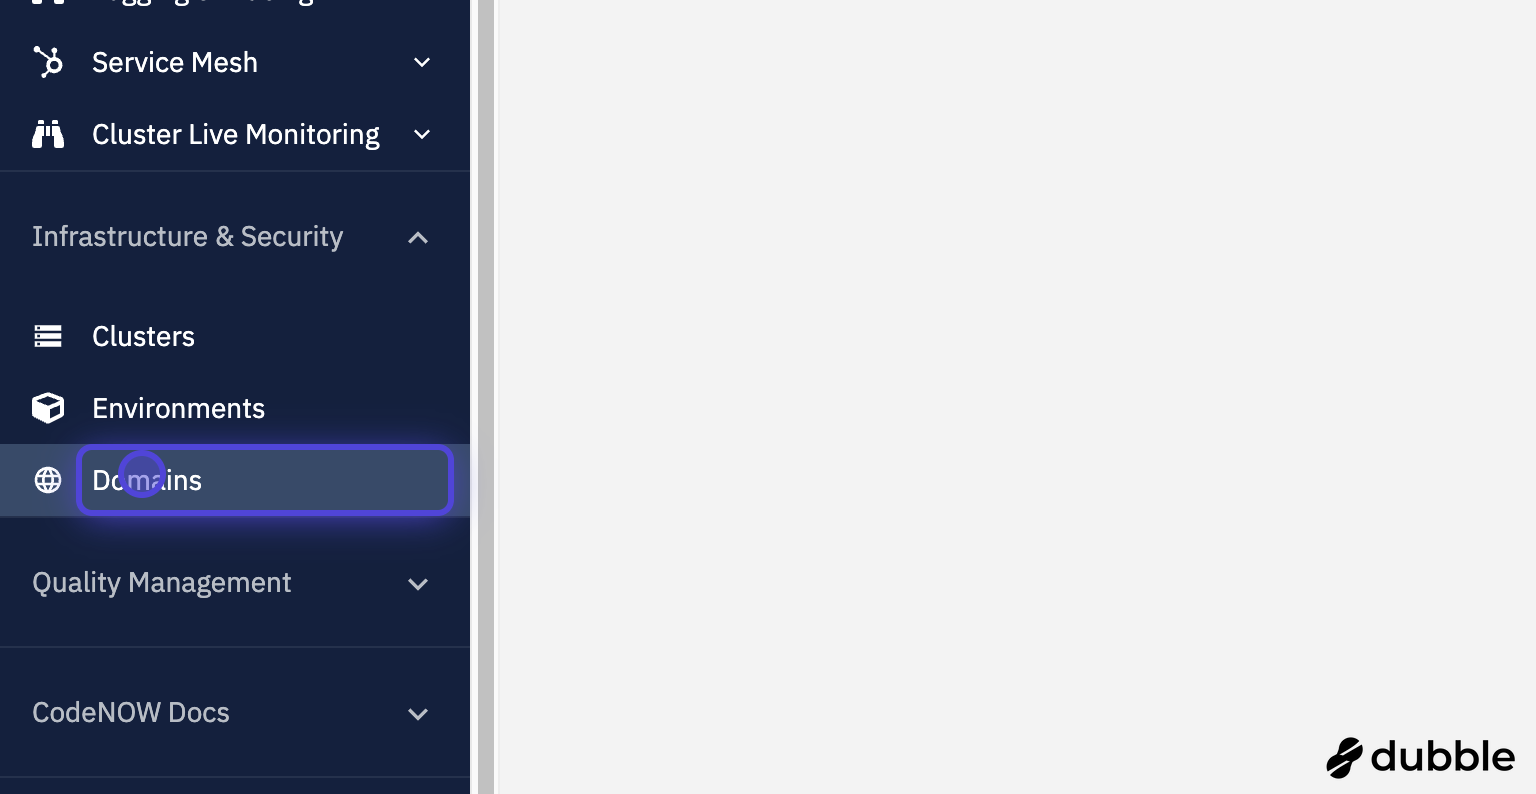
Click on domains
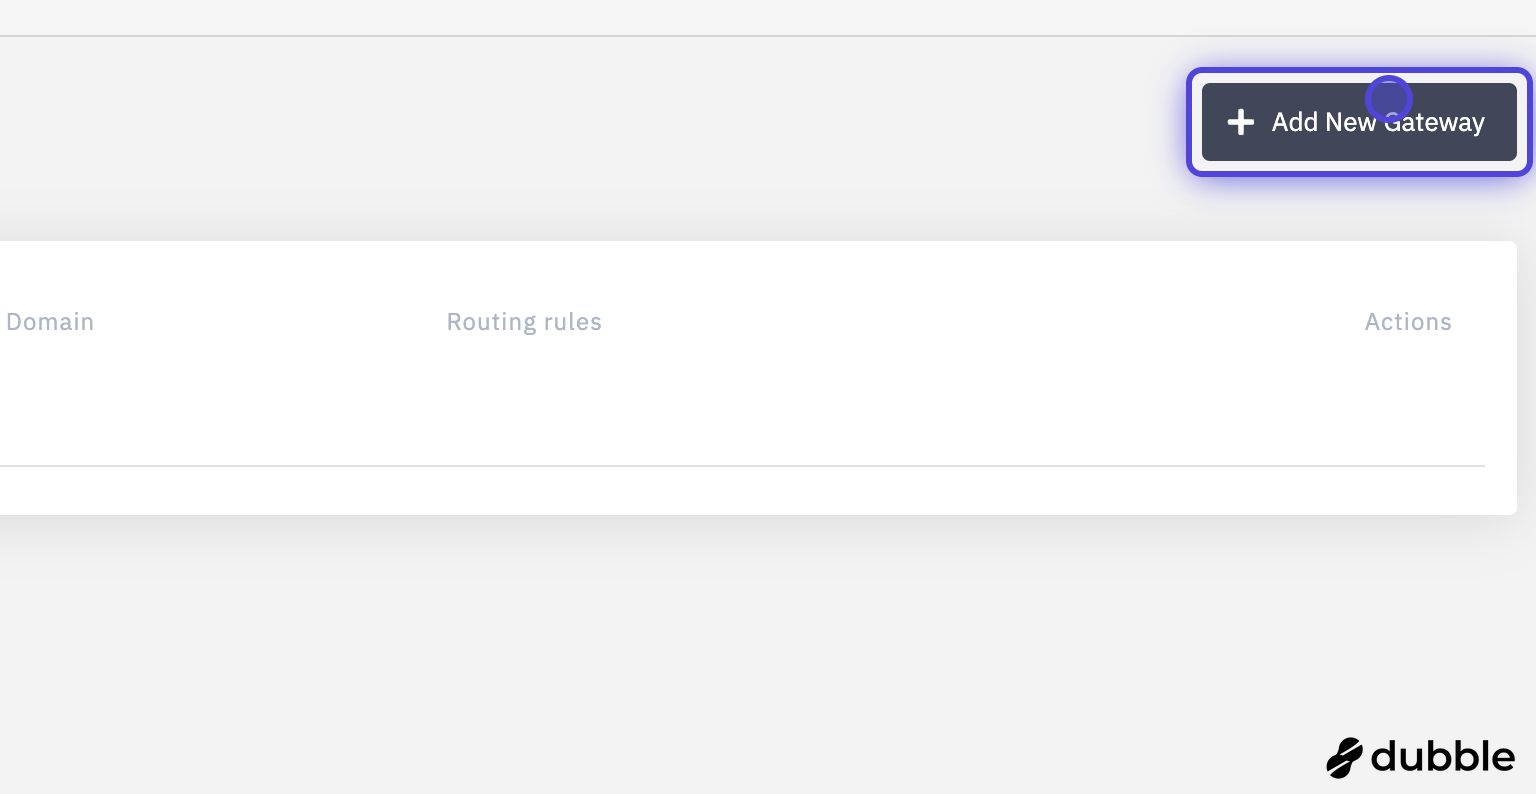
Add new gateway
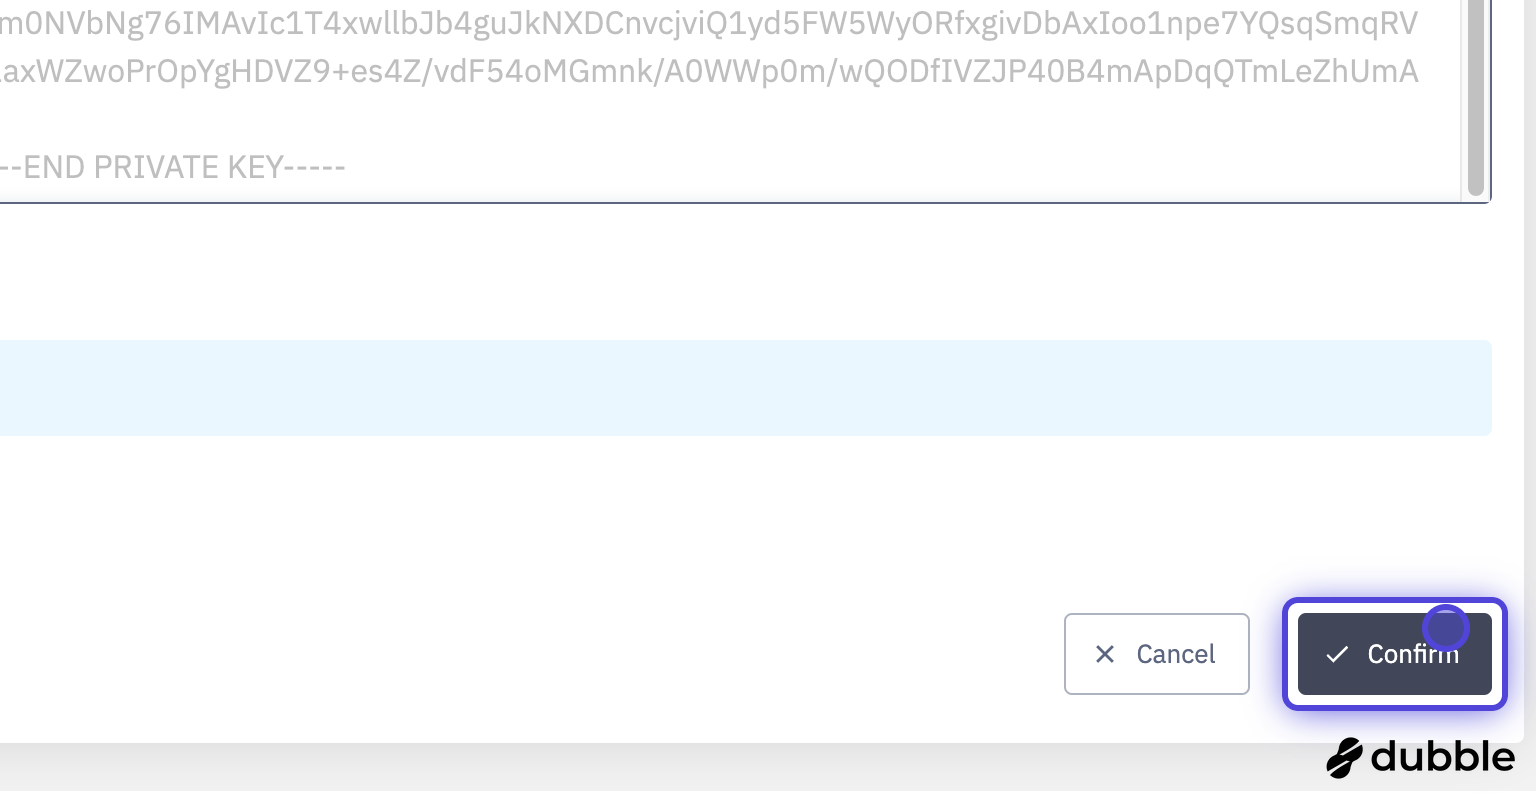
Click confirm
Assign domains
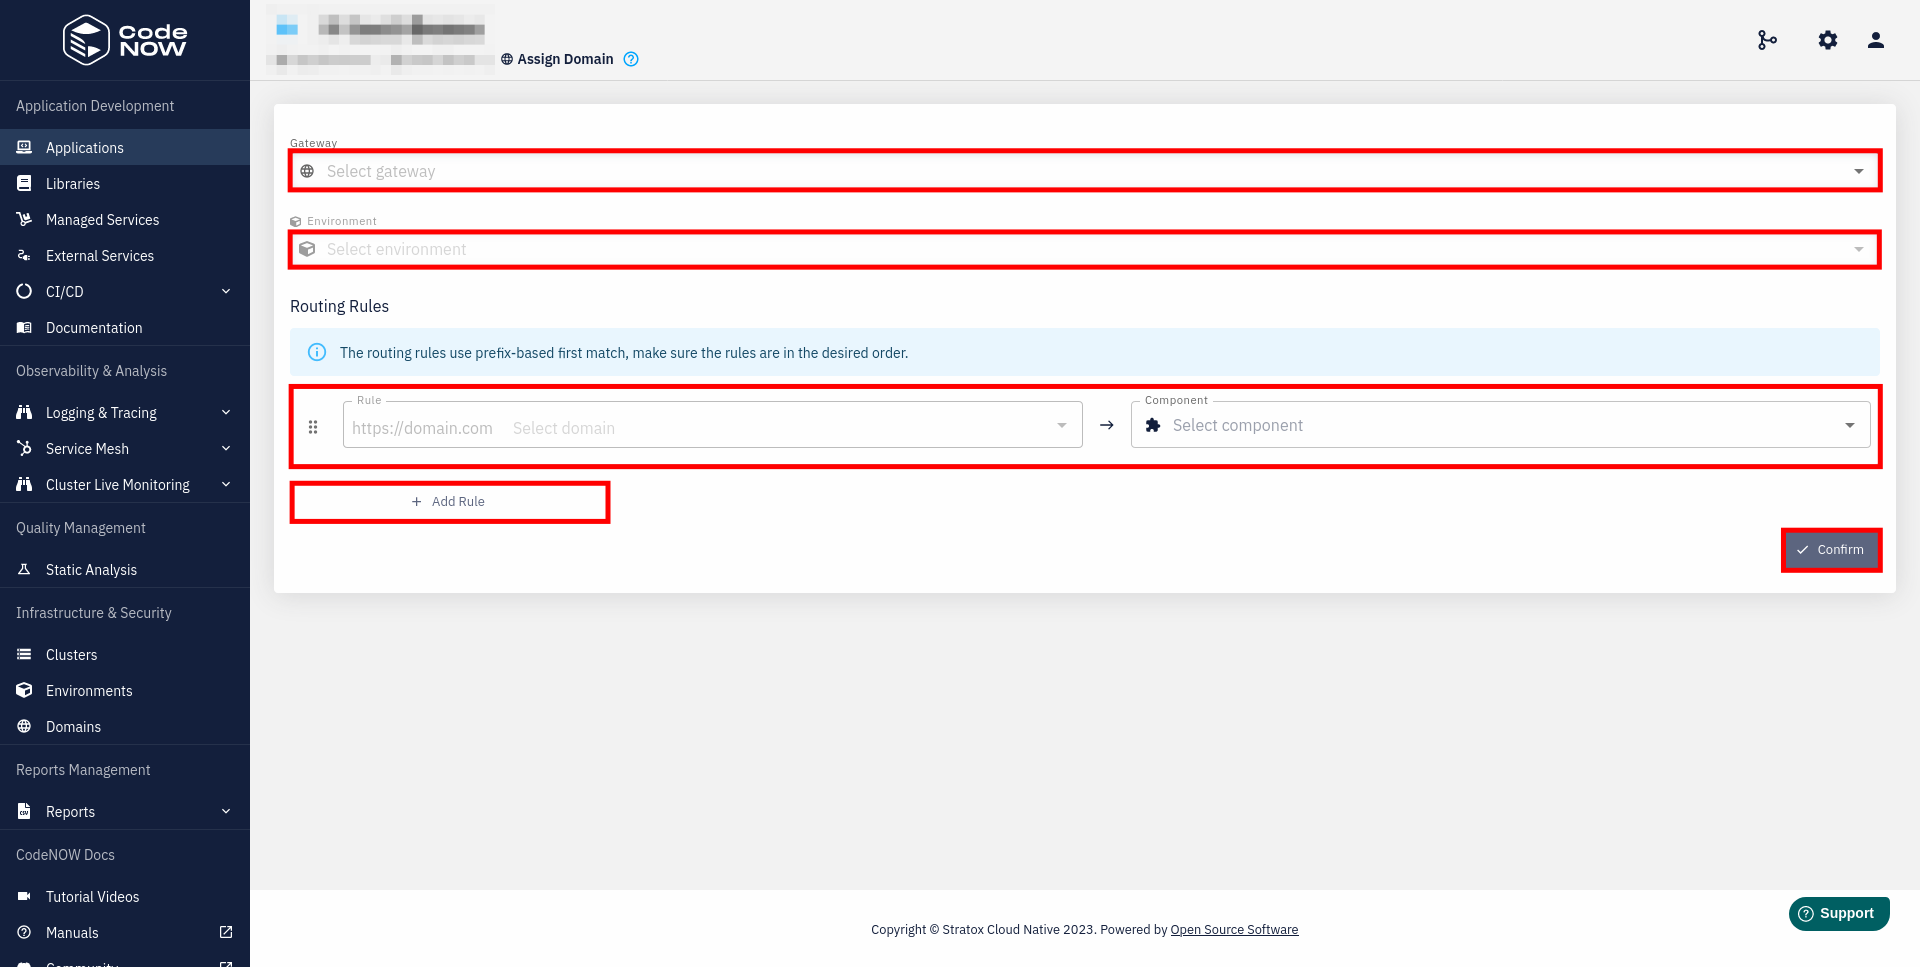
- To assign a domain to an application, go to the application detail and find the Assigned Domains section. Now, click on Assign Domain.
- In the form, do the following:
- Specify the Gateway that you want to assign.
- Specify the Environment to which the domain will be assigned.
- Specify Routing rules for components of your application
- This way you can assign additional path of the domain to a specific component.
- Once you are done, click Confirm .
If you want to assign a routing rule other than / to a React component,
you also have to modify PUBLIC_URL environment variable.
To do so, create .env file in the root of your repository and add PUBLIC_URL={your_chosen_routing_rule}. For example, if your desired path is /test, set PUBLIC_URL=/test.
- Assigned domains can be modified or unassigned using the Edit and Unassign buttons.
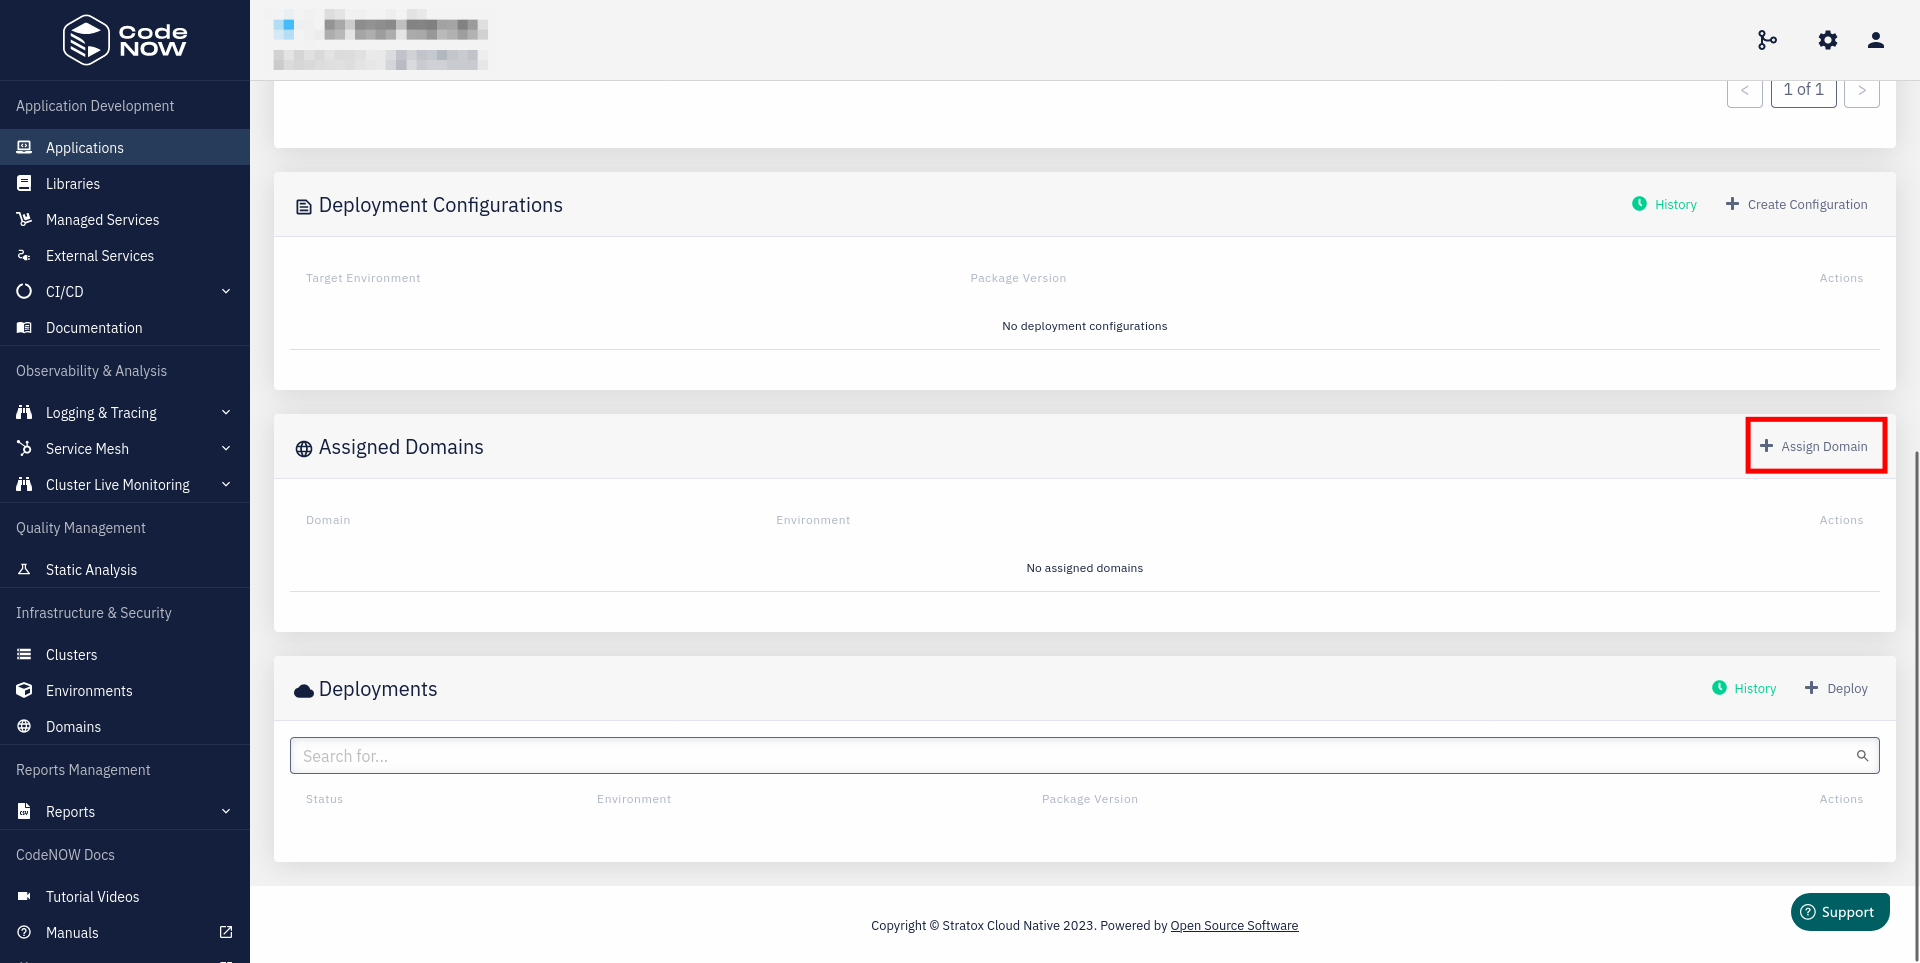
Click on Assign Domain
Fill in the form

Edit and Unassign buttons
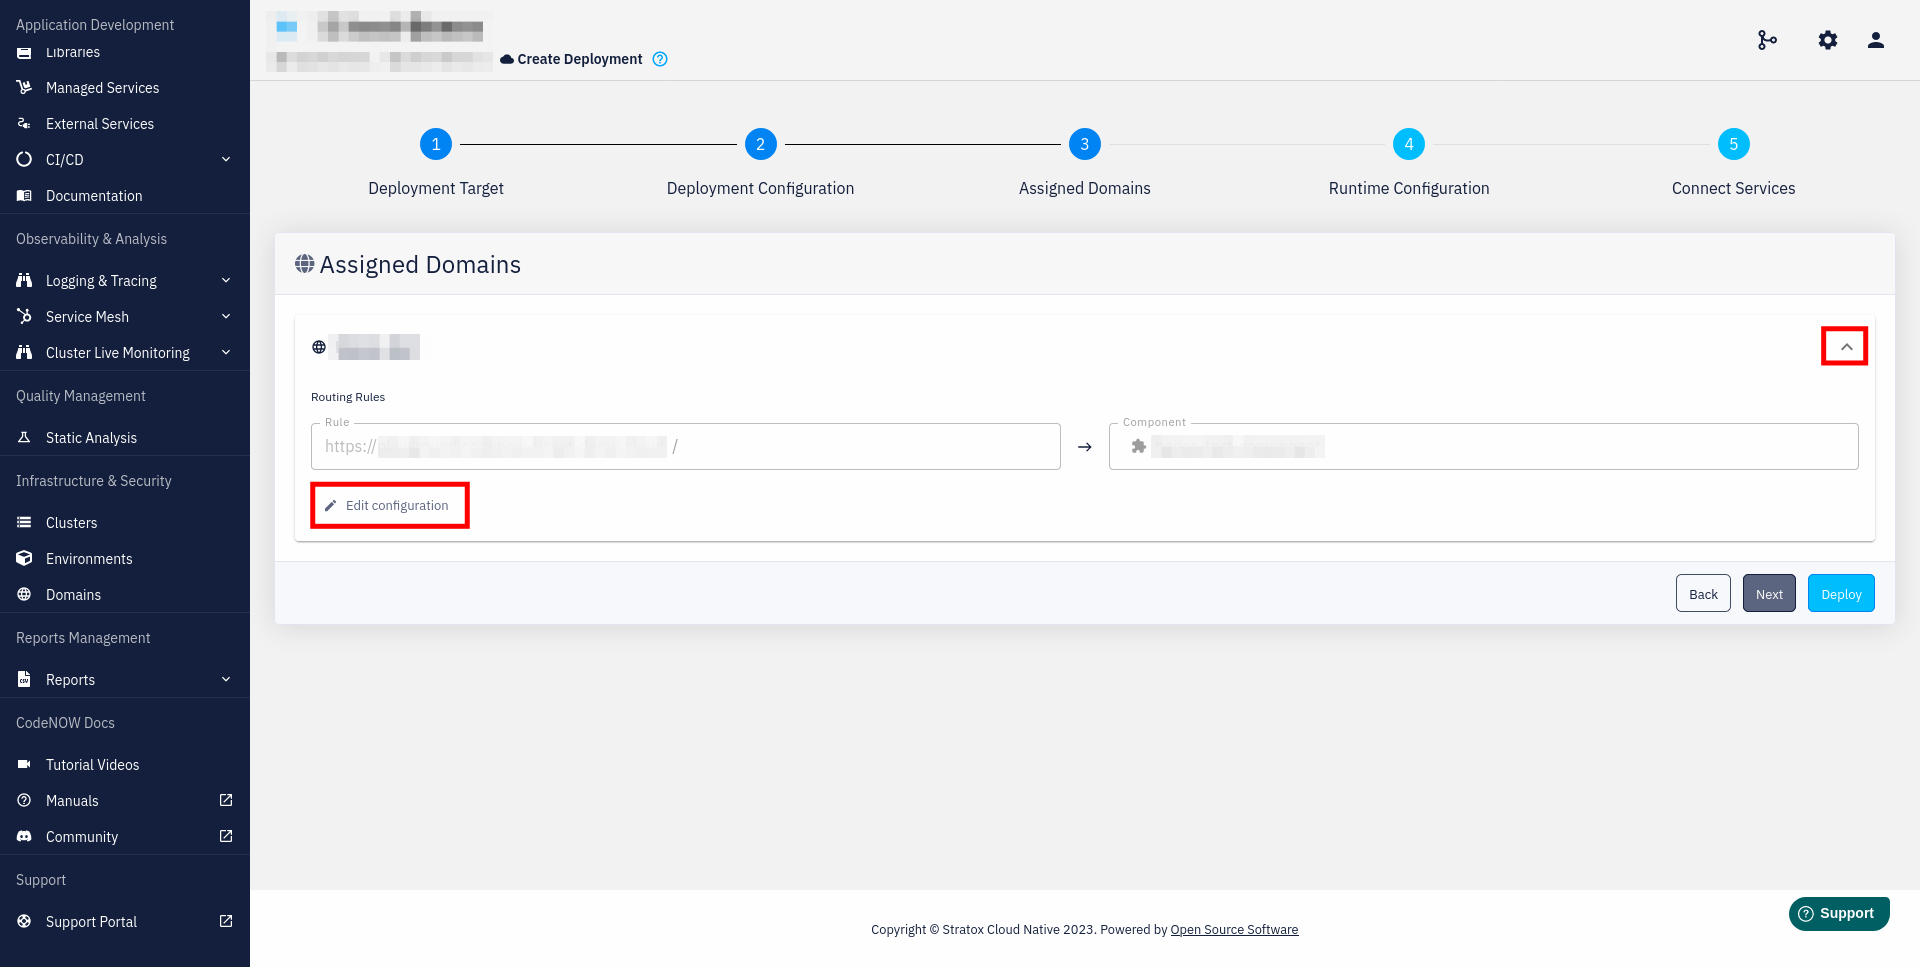
Domains during deployment
When deploying an application, you can see the assigned domain configuration or edit the configuration by clicking on the related buttons in the Assigned Domain section.
- Once deployed, you should be able to access your selected application components using your domain.
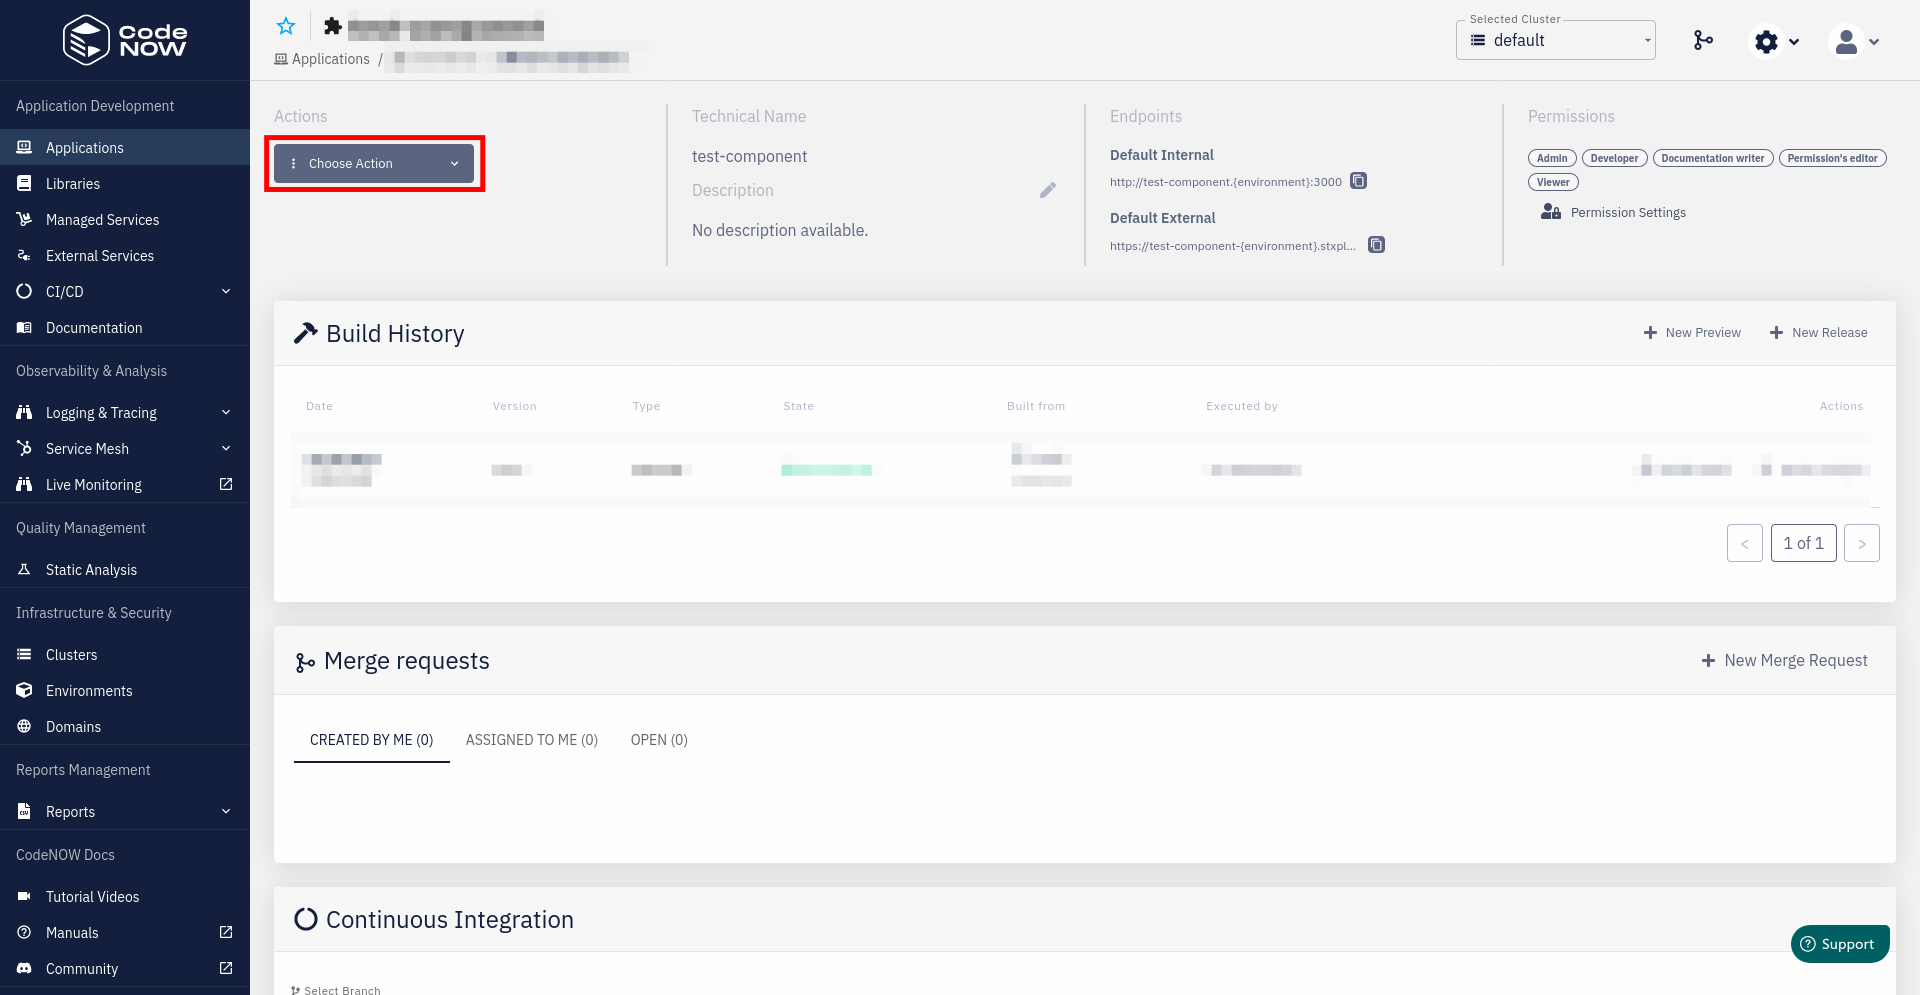
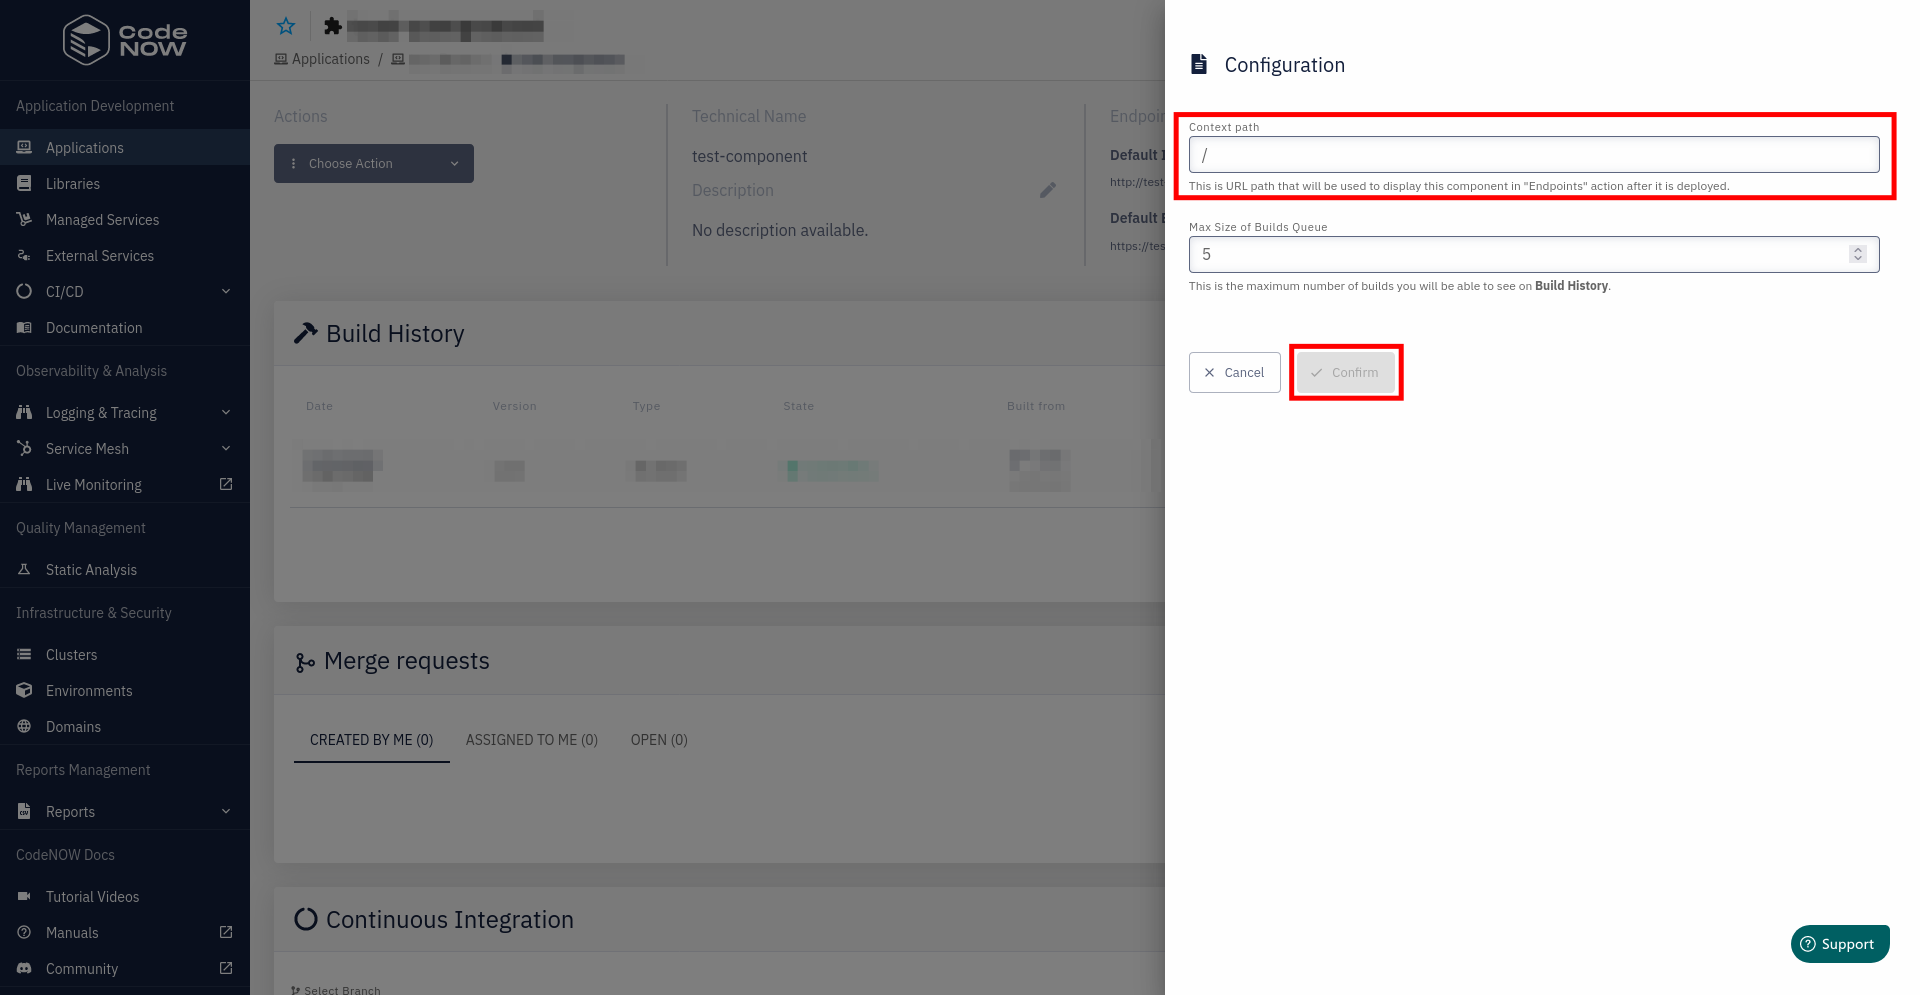
Change endpoint URL of a component
- Navigate to the the page of the component you want to edit.
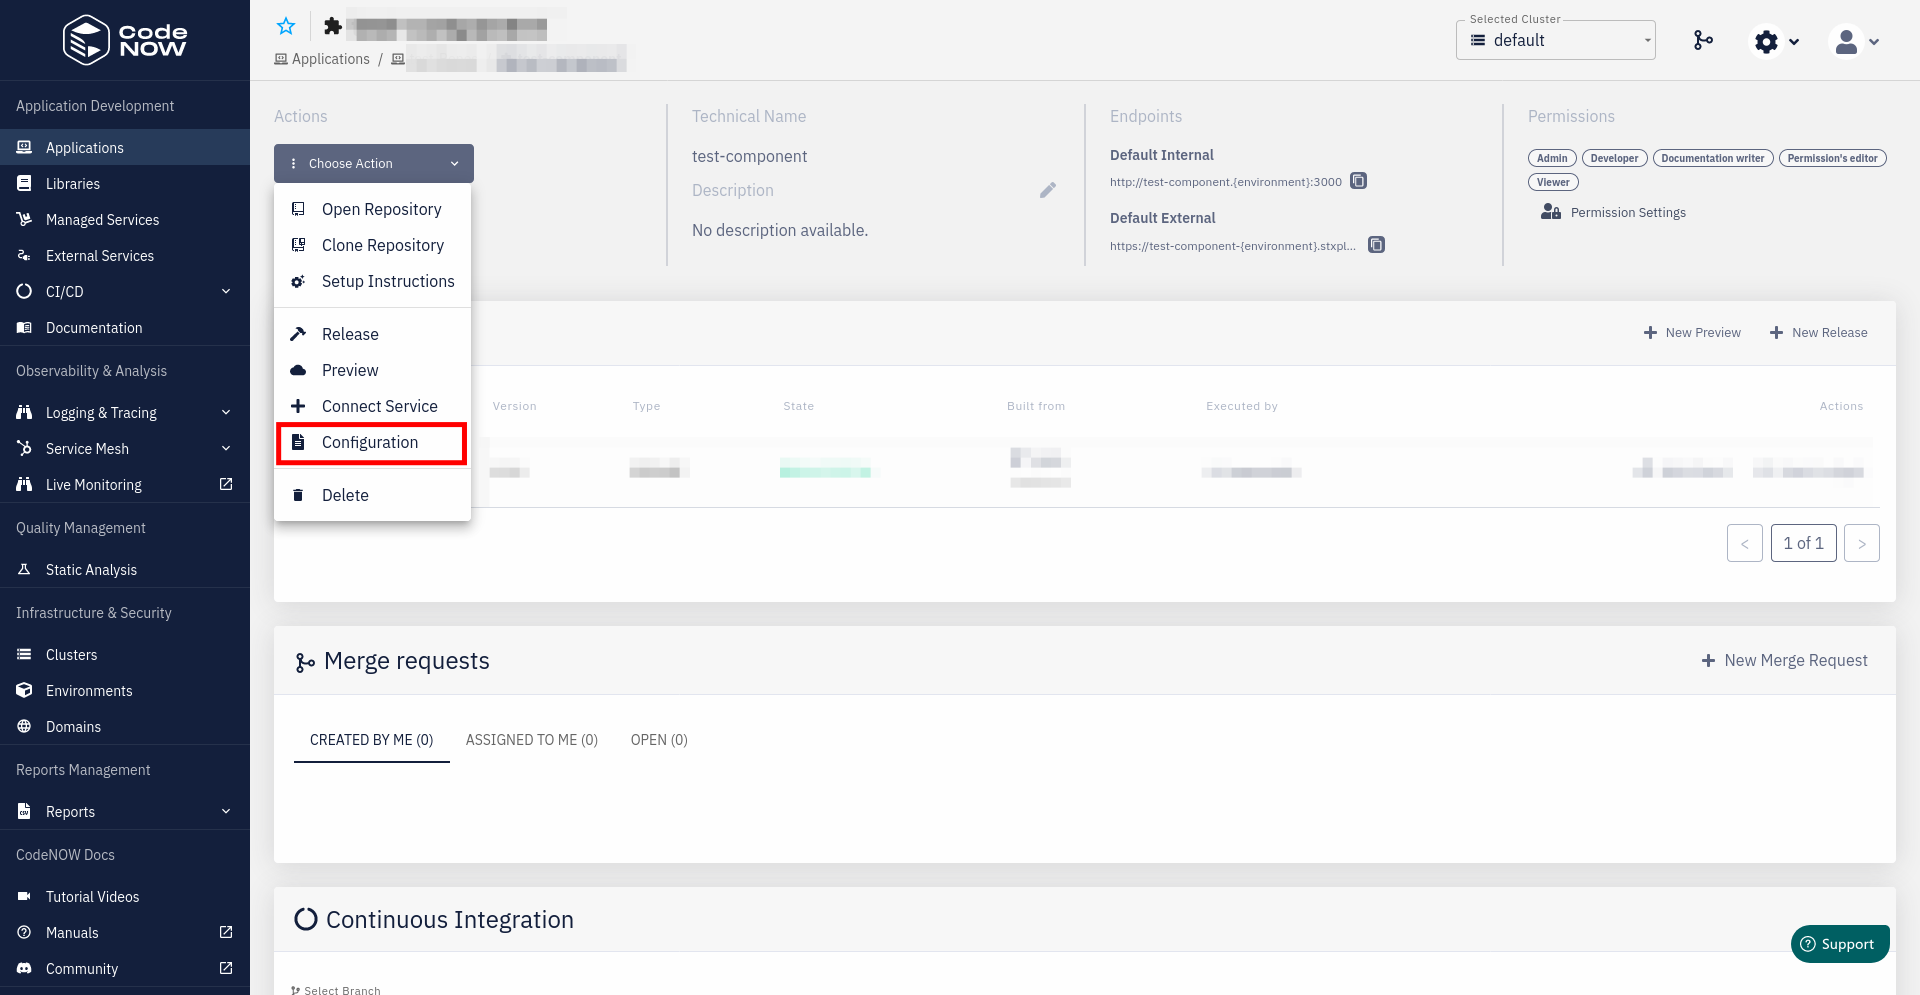
- Select Configuration in the Choose Action dropdown menu.
- Edit the Context path field.
The Endpoint URL for this component will now be
{default_URL}/{context_path}. Once you are done, click on Confirm to apply your changes.
Navigate to the page of your Component
Select Configuration
Edit context path