Role-Based Access Control
CodeNOW's role-based access control (RBAC) allows granting users with the appropriate permissions on the relevant resources. With RBAC, development teams ensure that team members can only access information and perform the actions that their job requires. As such, RBAC is an important aspect of the security of software development projects and is essential to minimizing business risks.
For step-by-step instructions to create/manage teams, invite users, edit roles, and manage permissions, see Users and Teams. The following content provides the necessary concepts to understand and use the RBAC model:
Permission model
Development teams using CodeNOW perform operations via the self-service portal (SSP), CLI, external administration tools, or code repositories. Users perform operations to view, edit, update, access, use, and delete resources of the software development project. Each resource has permissions that determine which operations it can participate in. Before executing an operation, users must acquire the relevant permissions on the resources that participate in the operation. CodeNOW's permission model defines 3 roles, 7 resource types, and a set of permissions for each resource type that enable specific operations.
Example
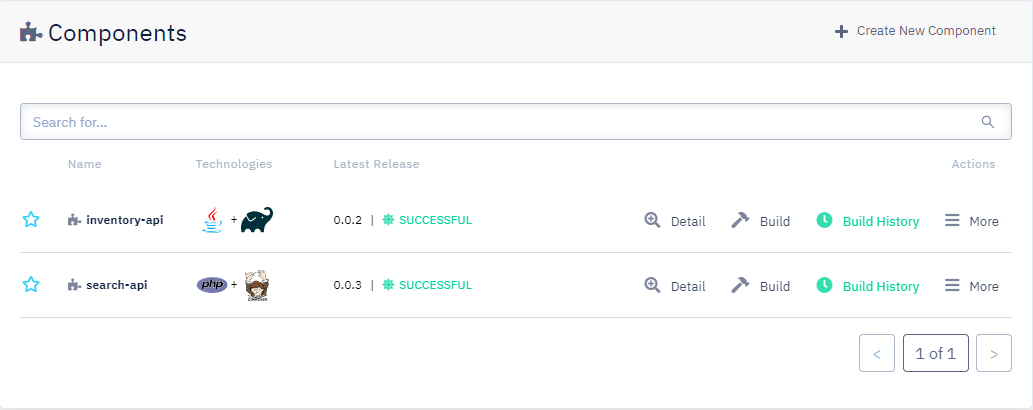
Paula is one of three back-end developers working together on a set of APIs. The corresponding back-end CodeNOW application consists of two components:
Note: In what follows, operations are in bold; resources are in italic.
Paula will only work on one of the two API components of the application. To perform her duty, Paula needs to: see and clone the code repository of the API component; push changes to the code repository, build the API component; create/use a deployment environment; edit/create application packages; edit/create deployment configurations; and deploy the API component. To execute those operations, Paula needs adequate permissions for the SSP, the application, the application component, and the deployment environment.
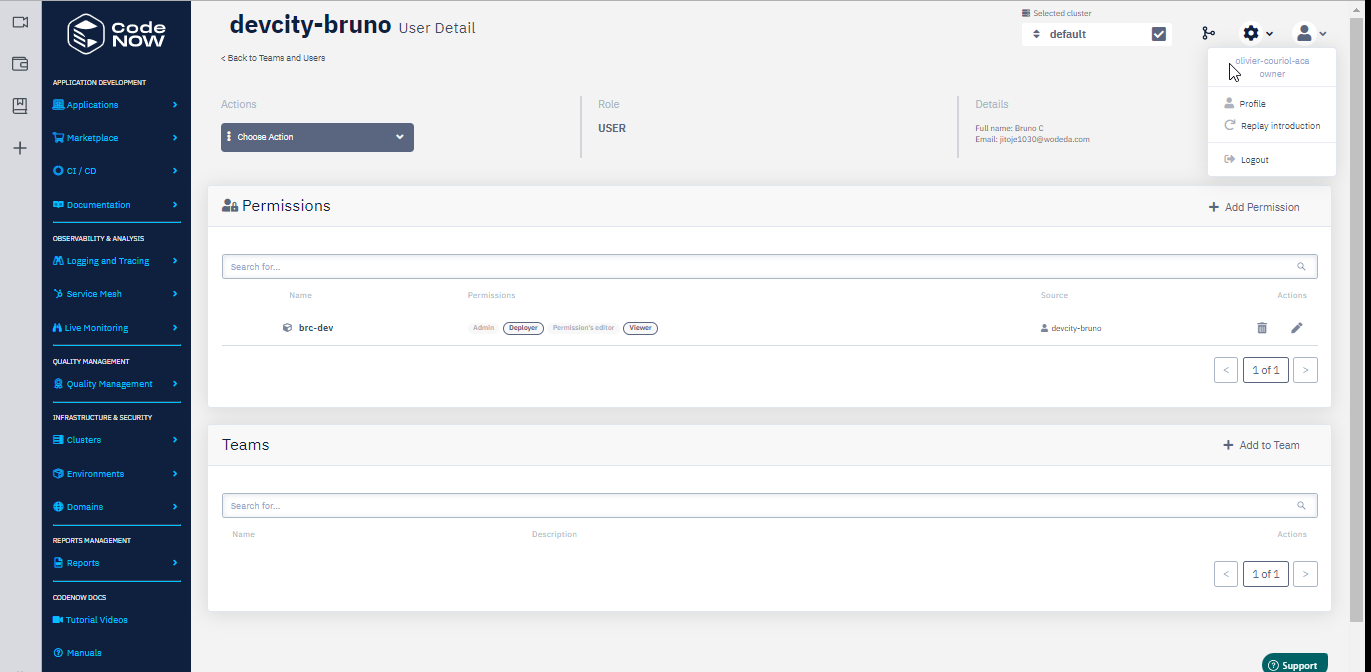
To get permission to use the SSP, Paula must be a registered CodeNOW user. To become a registered user, Paula needs to be invited by another user with admin or owner role.
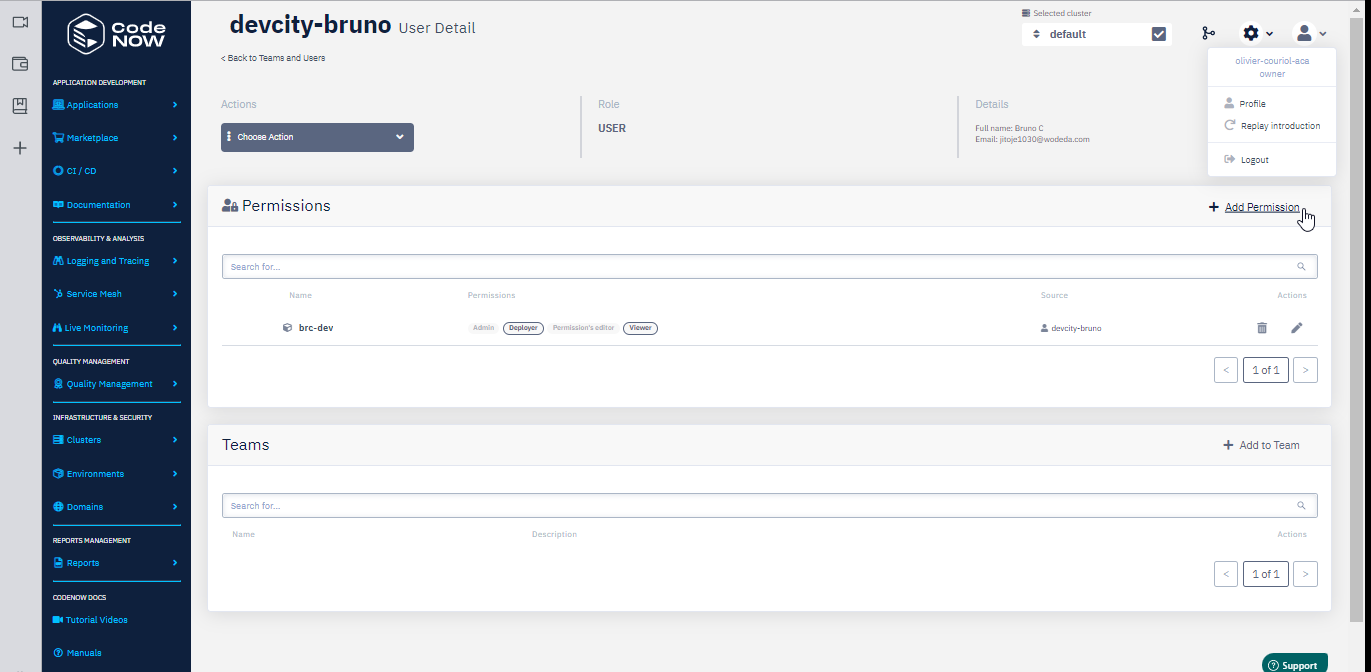
Paula then joins the back-end-team team and benefits automatically from the team's permissions on resources:
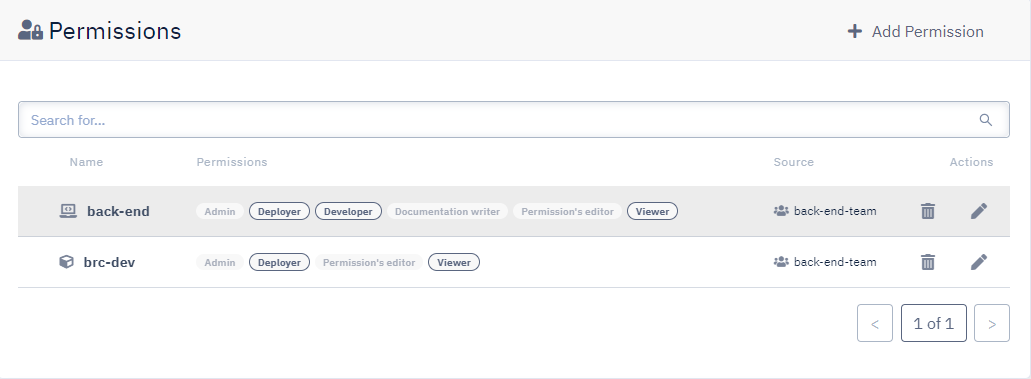
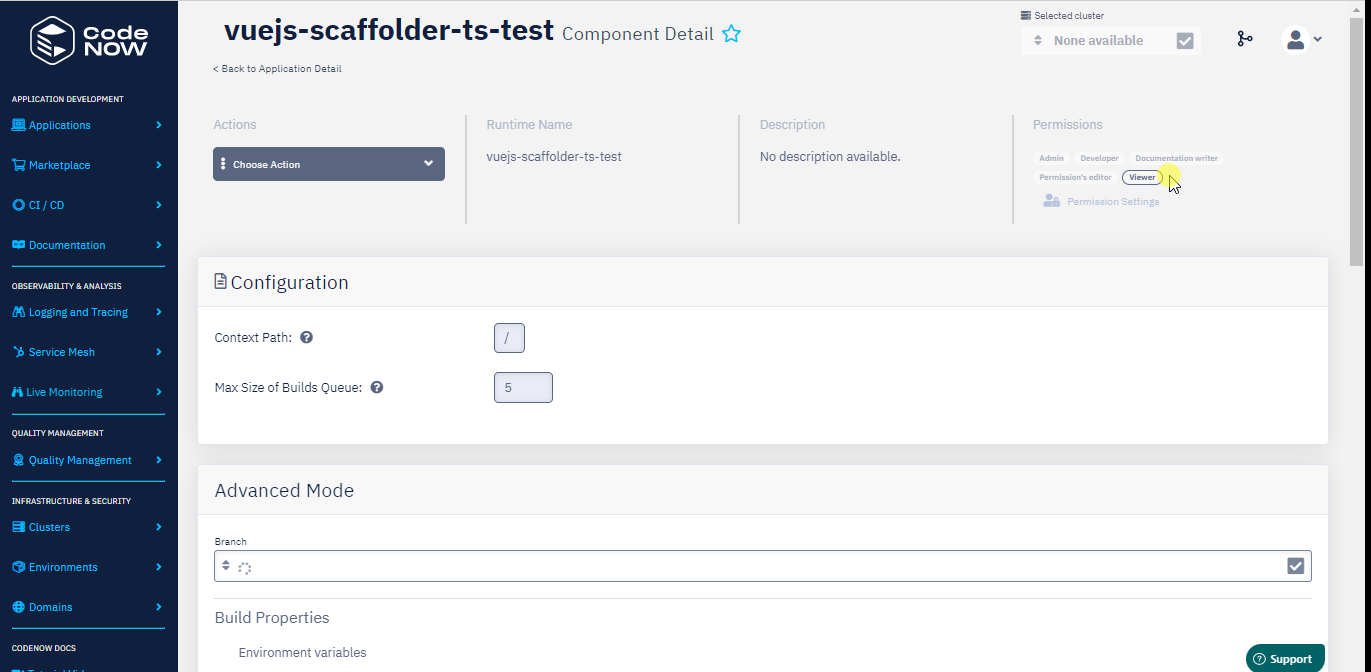
Paula however will only work on the search-api component of the back-end application. The previous permissions give Paula the right to view, build, and deploy any component of the back-end application. To limit Paula's permissions to operations on search-api, her permissions on the other component of the application can be set to viewer only:
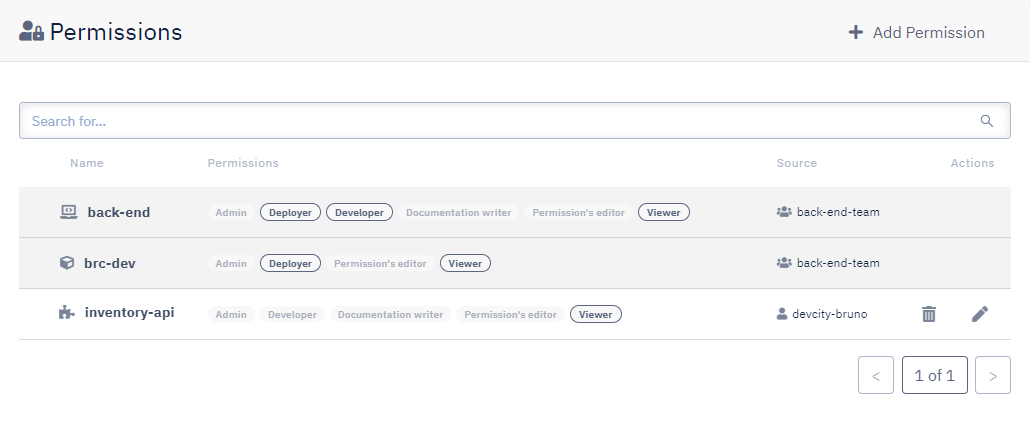
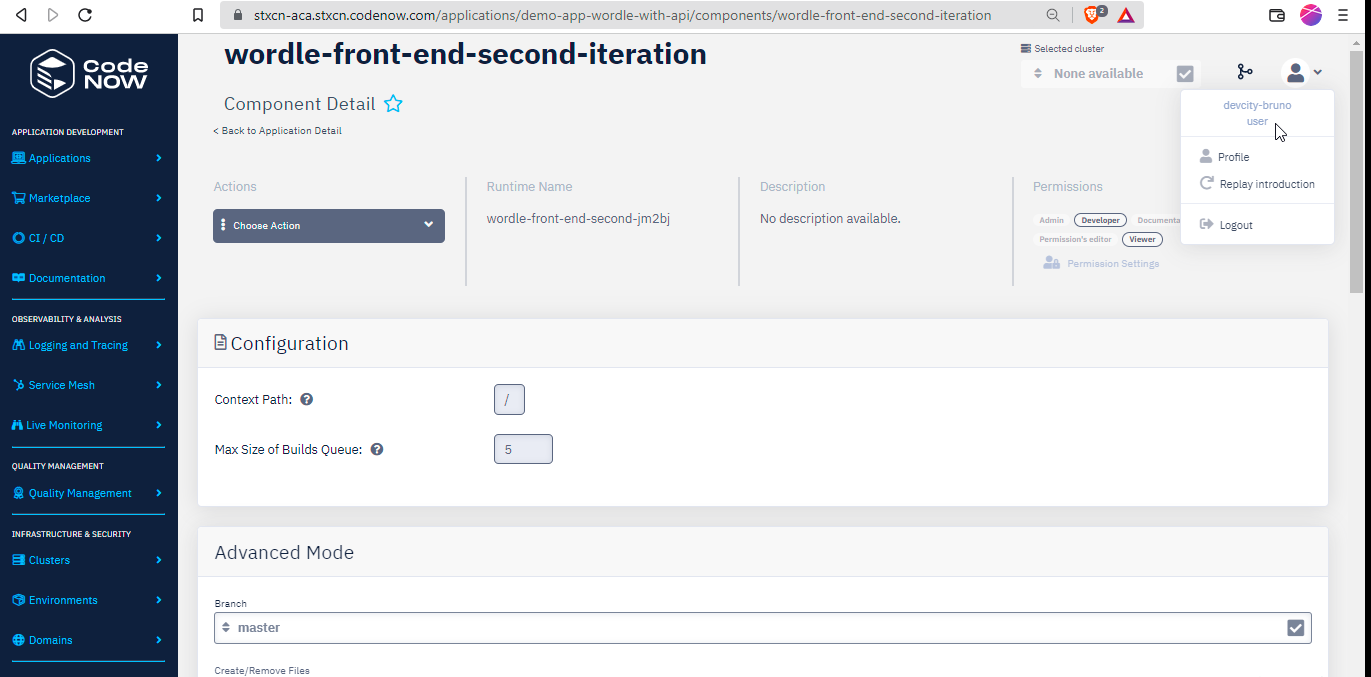
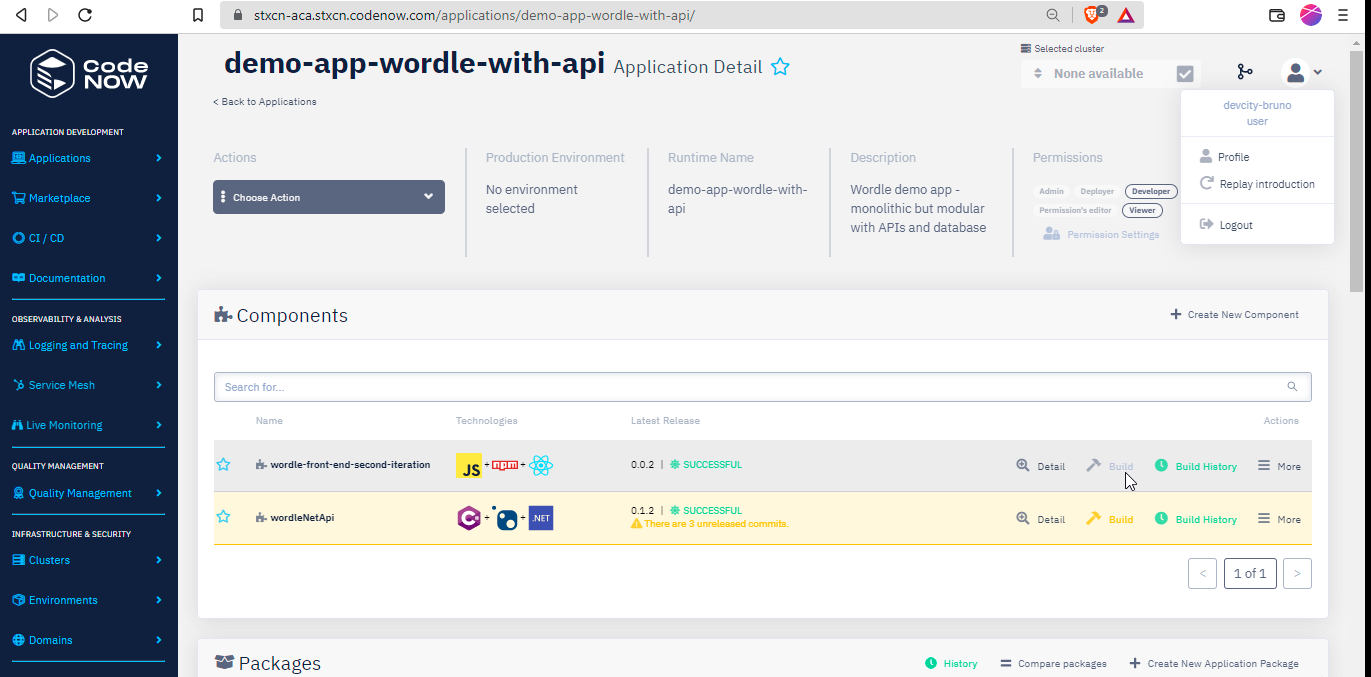
With this set of permissions, Paula can view but cannot build nor deploy the inventory-api component:

Related links:
- Create a team
- Grant permissions to a team
- Invite new users
- Add users to a team
- What permissions do I need to perform this operation?
Roles
CodeNOW users have one (and only one) of the following roles (ordered by descending power): owner, admin, user.
Owner
Owners (i.e., users with the owner role) can do any and everything: there are no permissions that they do not have granted by default. The owner role can only be revoked by other owners. Owners can promote users with the user role to the admin role, and users with the admin role to the owner role. Owners differentiate from admins in that they can perform operations that impact the CodeNOW account itself. In fact, the buyer of the CodeNOW subscription is often the first provisioned user and is granted owner permissions. Here are a few operations that only users with owner role can complete:
- Request new cluster
- Delete cluster
Admin
Admins can do anything that users with user role can do. Additionally, admins can create teams, invite users to the SSP, and assign them to teams. Admins can promote standard users to the admin role. Alternatively, they can downgrade other admin users to the standard user role. Given its great power, the admin role is a good fit for users with management responsibilities over the software project (e.g., tech lead, team lead, project manager, product manager, CTO). Here are a few operations (in bold in what follows) that only users with admin role — and above — can complete:
- Set up teams
- Create teams
- Invite users
- Edit user role
- Check on the team's work:
- See user activity log
- See application activity log
- Add artifact repositories
User
By default, all invited users have the user role. When an invited user accepts the invitation and becomes a subscribed user, that user has no initial permissions on any resource besides the SSP. The new user can thus use the SSP for specific operations (e.g., create a new application). However, for any operations using pre-existing resources (e.g., previously created applications), the new user will need to be granted the appropriate permissions by another user (e.g., a user with admin role; a user with user role and admin permissions on the requested resource). The user role is generally a good fit for members of the development team that do not participate in management activities. Here are a few operations (in bold in what follows) that users with user role may perform when granted the necessary permissions:
- Code applications
- Create a new application
- Create a new environment
- Create a new application component
- Commit changes to a branch in a remote repository
- Create a merge request
- Deploy applications
- Build an application
- Create deployment configurations
- Deploy an application
Resource types and permissions
Every resource type has a set of permissions that describes the type of operations they enable:
Those permissions enable CRUD operations on the associated resource types:
To see the complete list of permissions that an operation requires, see What permissions do I need to perform this operation?
Permission sources
Permissions are granted by permission sources (e.g., team, role, user):
- Users who are members of teams are granted the same permissions as the team.
- Users with
adminandownerrole can grant permissions to some users on any resource. - Users with
adminorpermission's editorpermission on a resource may grant permissions on that resource to some users.
Users may also inherit permissions (see Permission inheritance) in some cases.
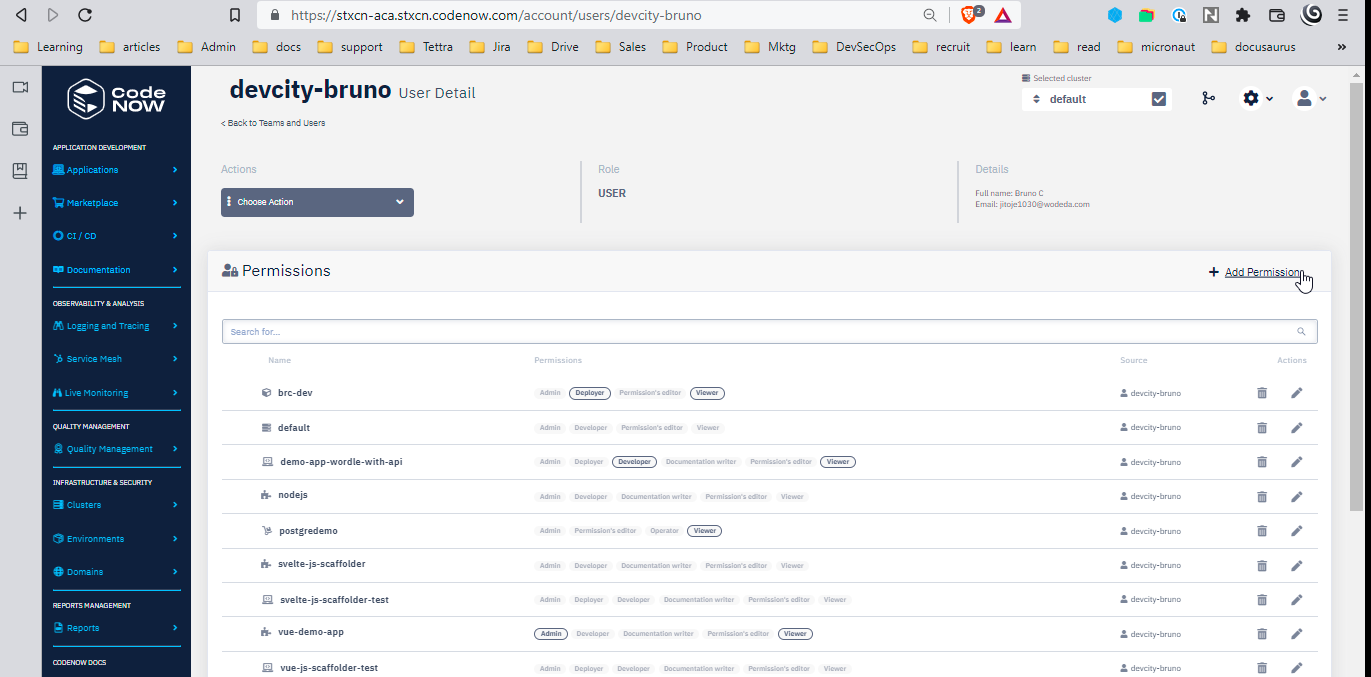
The following illustration showcases a user who received admin permission on the demo-notification-net application from user alexsandman. The user also has developer and viewer permissions as a member of the team My-team. Each set of permissions is listed with its source:

Permission inheritance
To streamline common workflows, CodeNOW's RBAC features a permission inheritance mechanism that automatically grants permissions in some limited contexts:
- Users creating a resource type will generally have
adminpermissions automatically assigned to the newly created resource. That means they can grant permissions on that resource to other users. It also means they can delete that resource when need be. - Permissions of users on components default to the parent application's permissions:
- In the absence of explicitly set permissions on components, users inherit the same permissions on the components as set on the parent application.
- In the presence of explicitly set permissions on components, those and only those apply to the components.
Inherited permissions can be individually overridden:
- The user who created the
demoapp getsadminpermissions fordemo. That user can downgrade after the fact his permissions todeveloperandvieweronly. Beware that a user who revokes hispermission's editorpermission may no longer be able to edit his permissions or grant permissions to other users. - Let's consider a user who is granted
viewerpermissions on thedemoapp which consists of 3 components (front-end,back-end,API). Given that he had no permissions previously set on any of the 3 components, the user hasviewerpermissions on every component ofdemo. Then, permissions can be edited after the fact for each component (e.g.,viewerpermissions can be removed on theAPIcomponent for specific users, while keeping the other two components' permissions intact).
The default inheritance mechanism makes easy workflows where the team working on an application may be called to work on any/all of the application components. On the other hand, workflows where specific components have restricted (or extended) access remains possible.
Permission composition
Permissions are additive. Users may be granted a set of permissions by several sources. In such a case, what is the resulting set of permissions? Permissions set are combined through a set union operation.
-
From the previous illustration, we can see that the absence of
adminpermission granted through membership ofMy-teamdoes not impede the user from receivingadminpermission through the useralexsandman. The two sets of permissions are merged into the set displayed in the top row. -
Alternatively, if the following user sees his
adminrole revoked (first set, see illustration below), he will remain aviewer(second set):

What permissions do I need to perform this operation?
The following table details the minimum permissions necessary to perform an operation. Keep in mind however that, as explained above, the admin permission on a resource type allows performing operations enabled by all the other permissions on the resource type. Similarly, users with the admin role can do anything that users with the user role can do.
Use the input filter below to narrow down operations or permissions. Click on any column to sort its contents.
Tips
- Create and assign permissions to teams. Every user added to the team team member will automatically be granted the permission set of the team he belongs to. Good usage of team permissions avoids granting permissions one by one to users, saves time, and is less prone to errors.
- Beware that users with
permission's editorcan promote themselves toadmin, thus considerably extending the set of operations they can perform on the resource (e.g., delete the resource). Grant the permission wisely. - Every resource type (Cluster, Environment, Application, Service) can be set as favorite by clicking on the star next to its name.
- favorite resources always appear on top
