Libraries
🕓 10 minutes
What you’ll learn
How to create your own library.
- If your application components share similar functionality, you can create your own library that will contain this functionality.
- A newly created library then can be imported into every component of your application and can be used as a normal library, so you don’t need to write identical code pieces every time.
Prerequisites
Steps
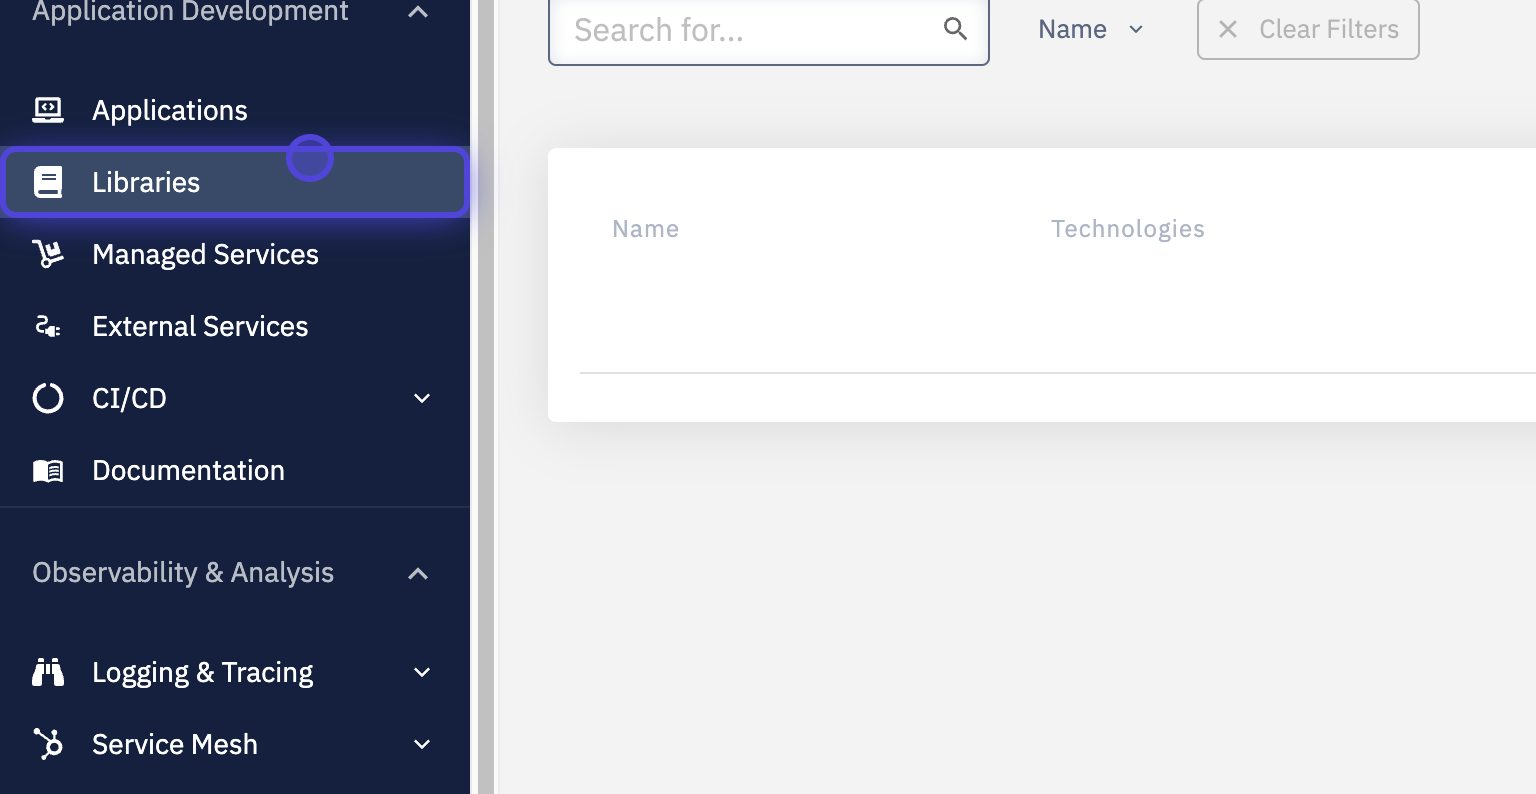
- Create a new library.
- First of all, go to "Libraries" section.
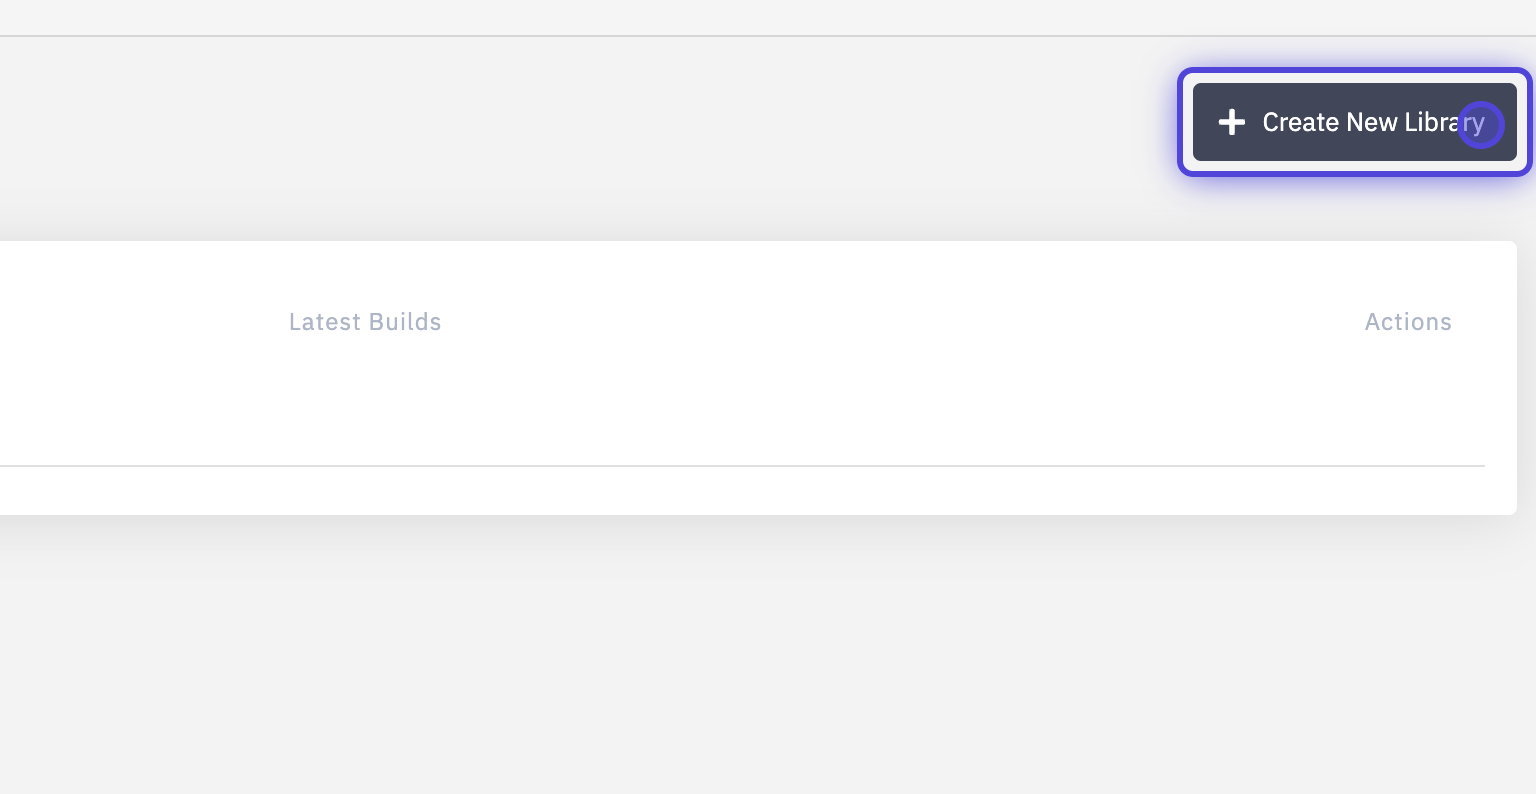
- Click on the "Create New Library" button.
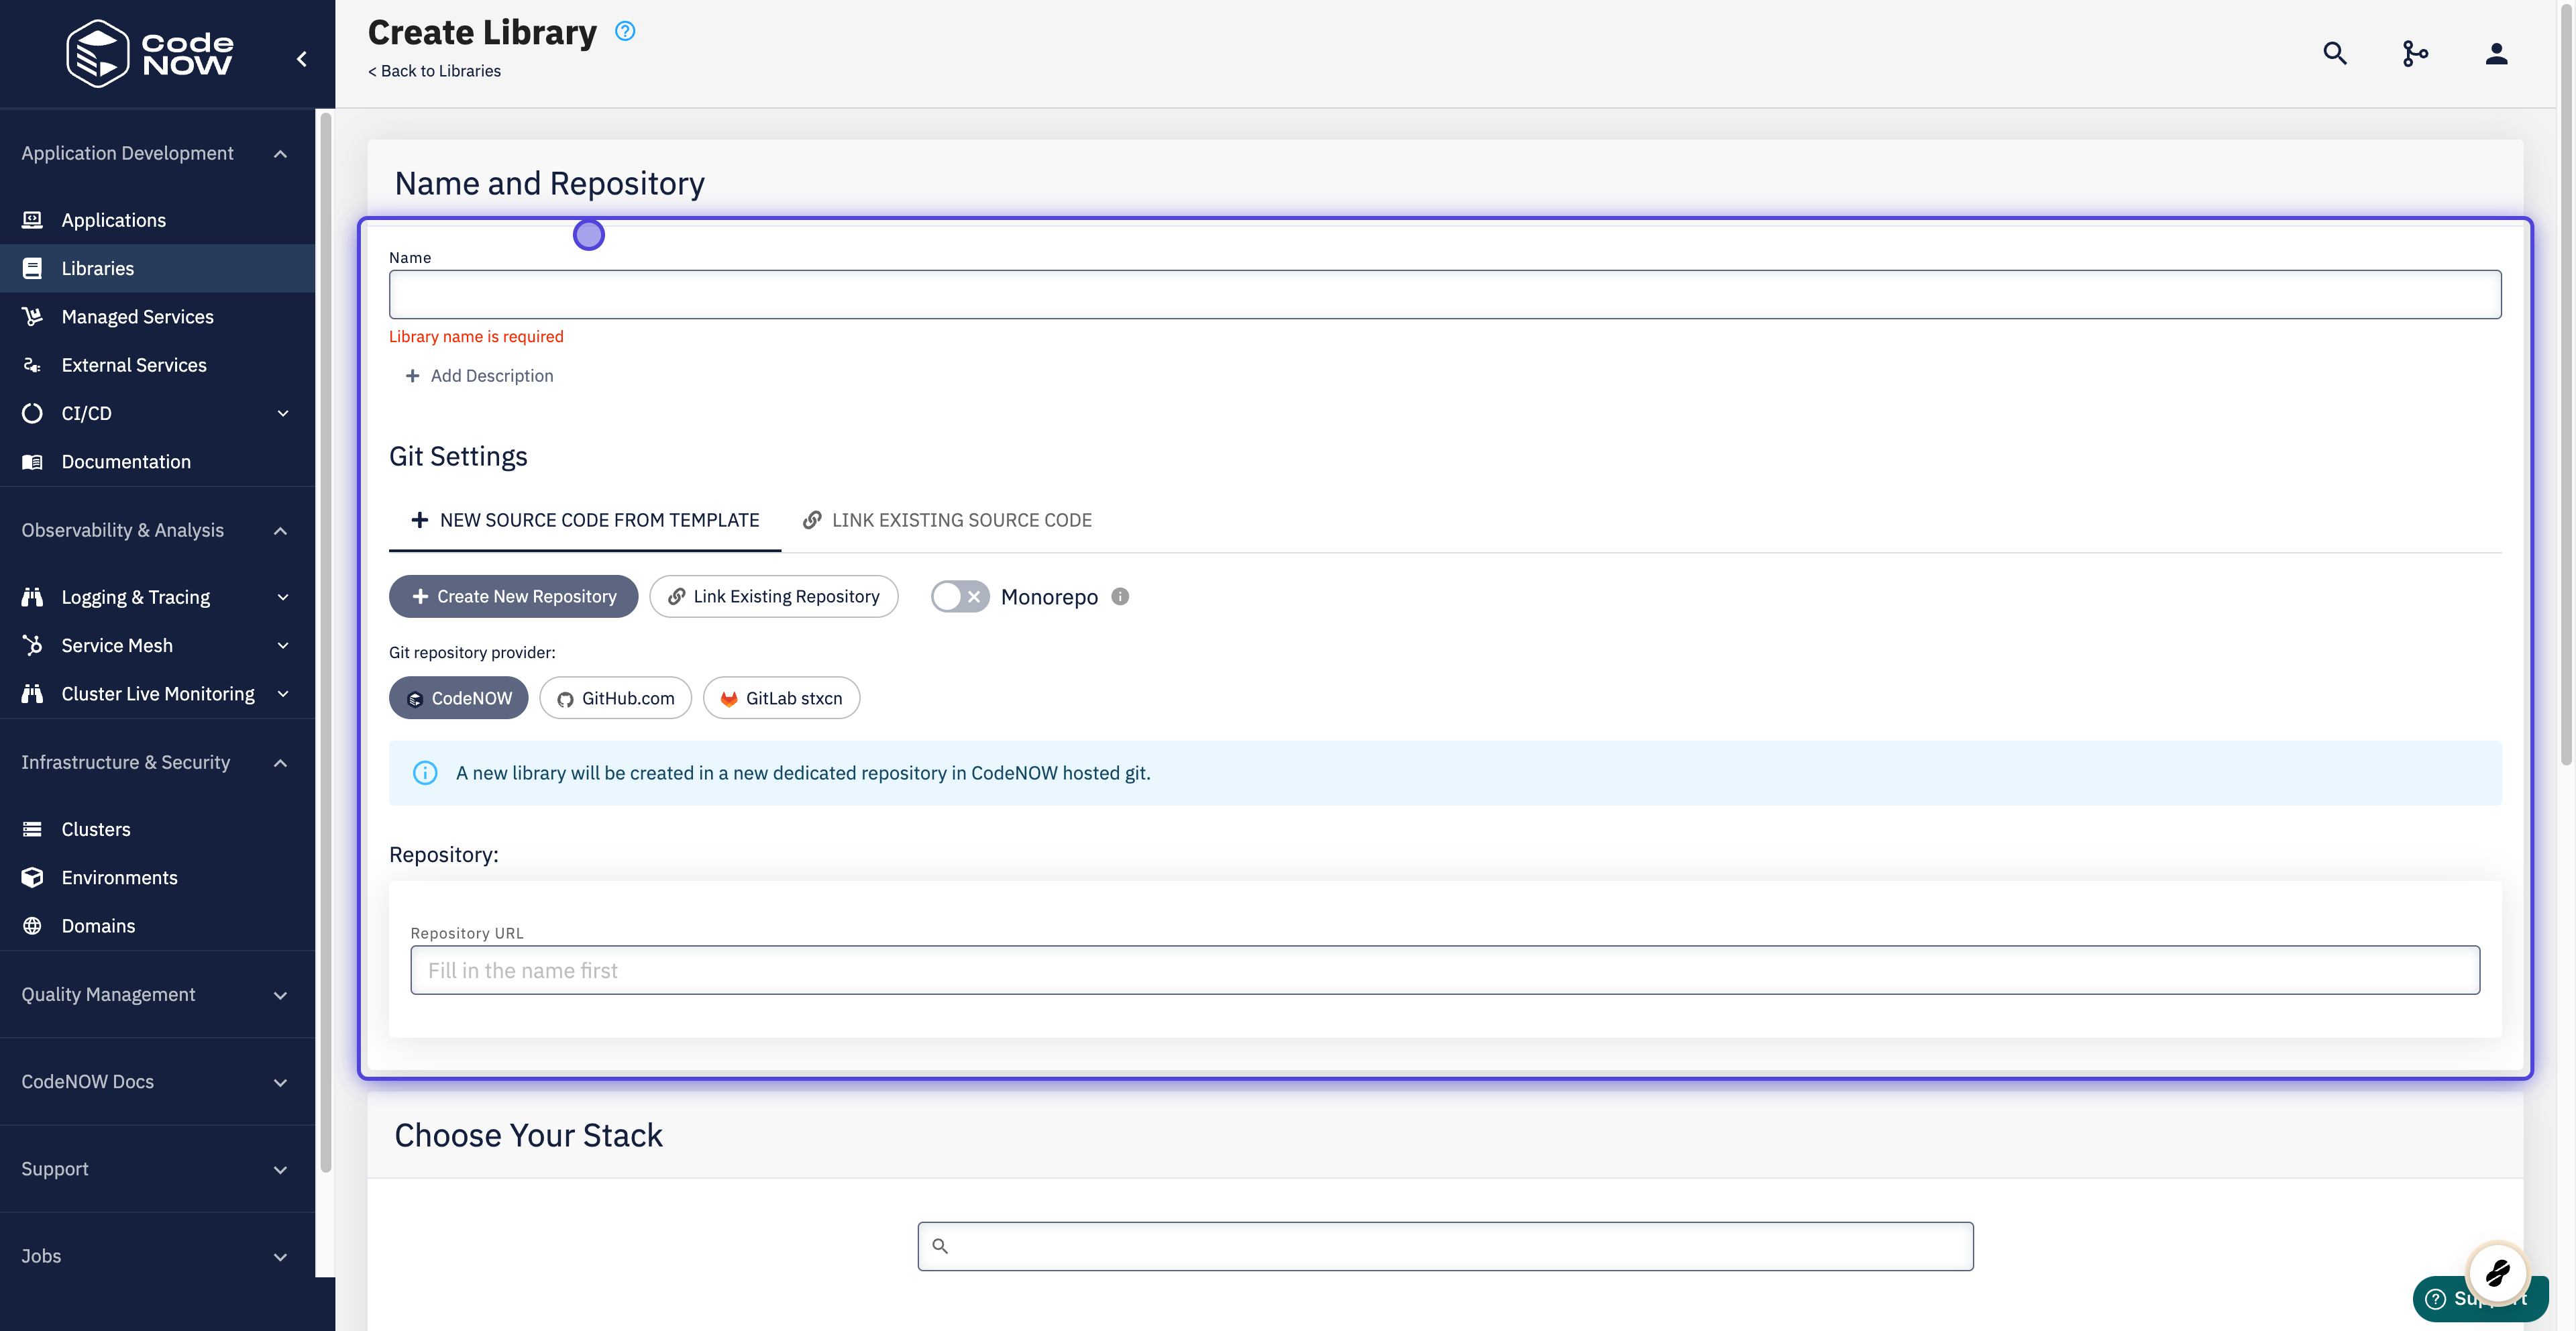
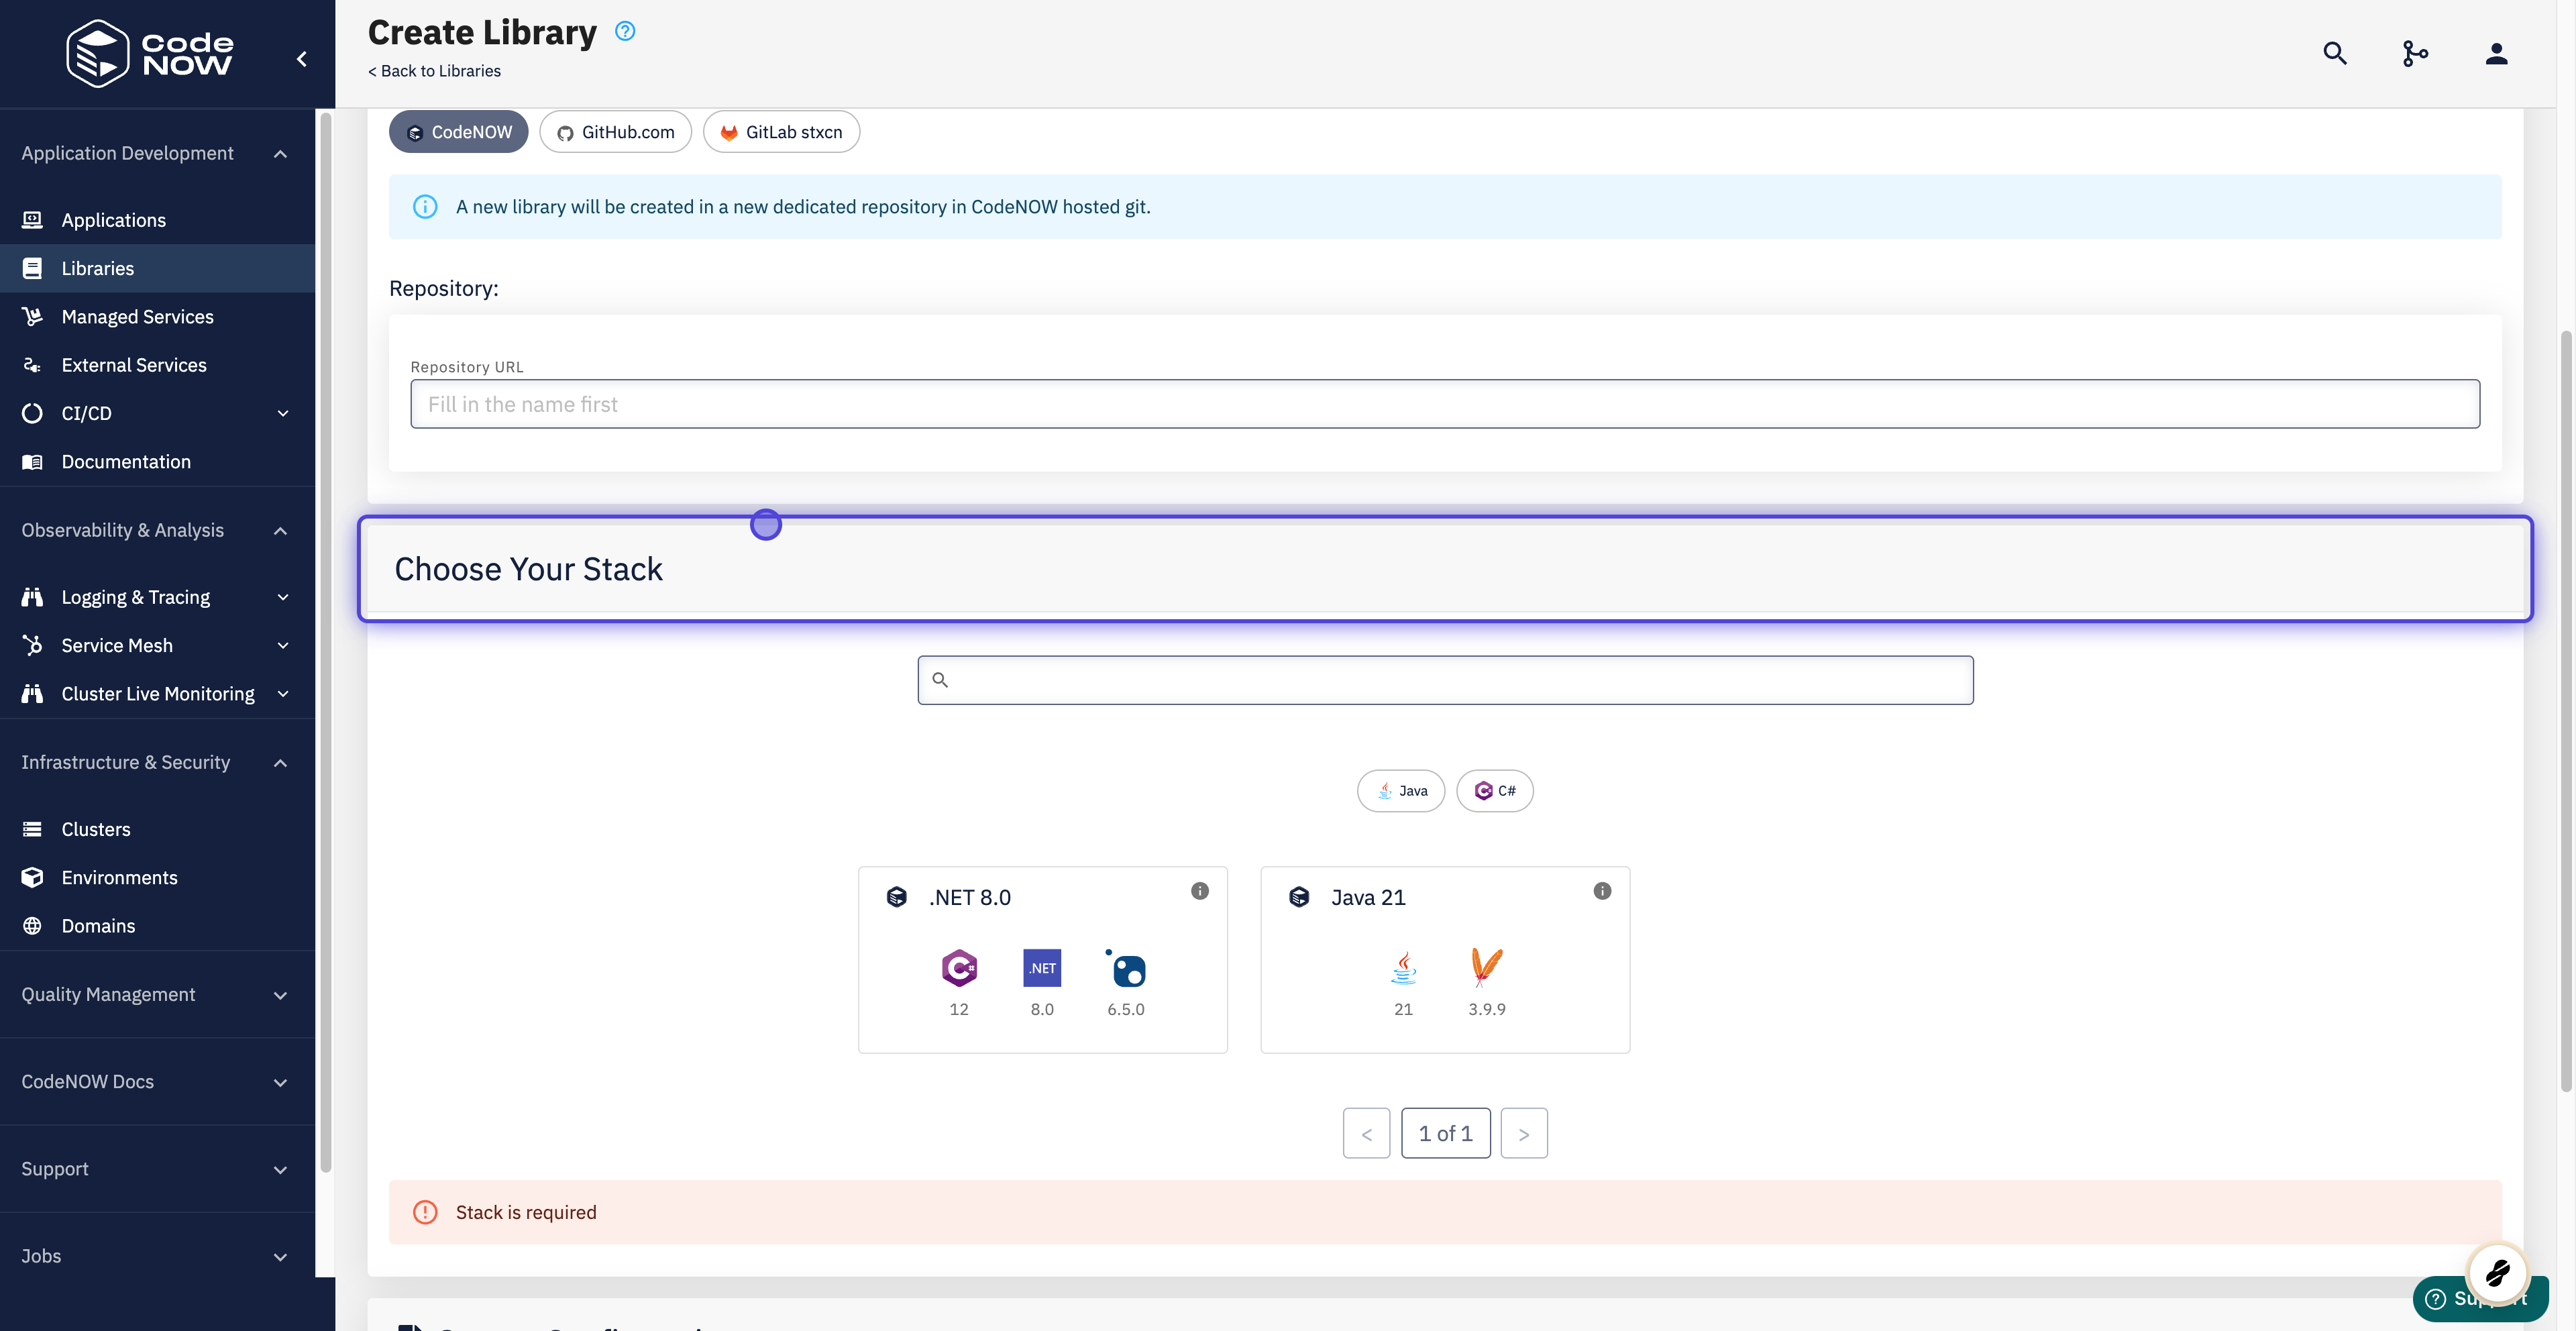
- Select your library name and add a description.
- Next, choose one of the starter libraries. It depends on what technology(language) you would like to use:
- Java Library
- .NET Core
- TypeScript/Angular9 Library
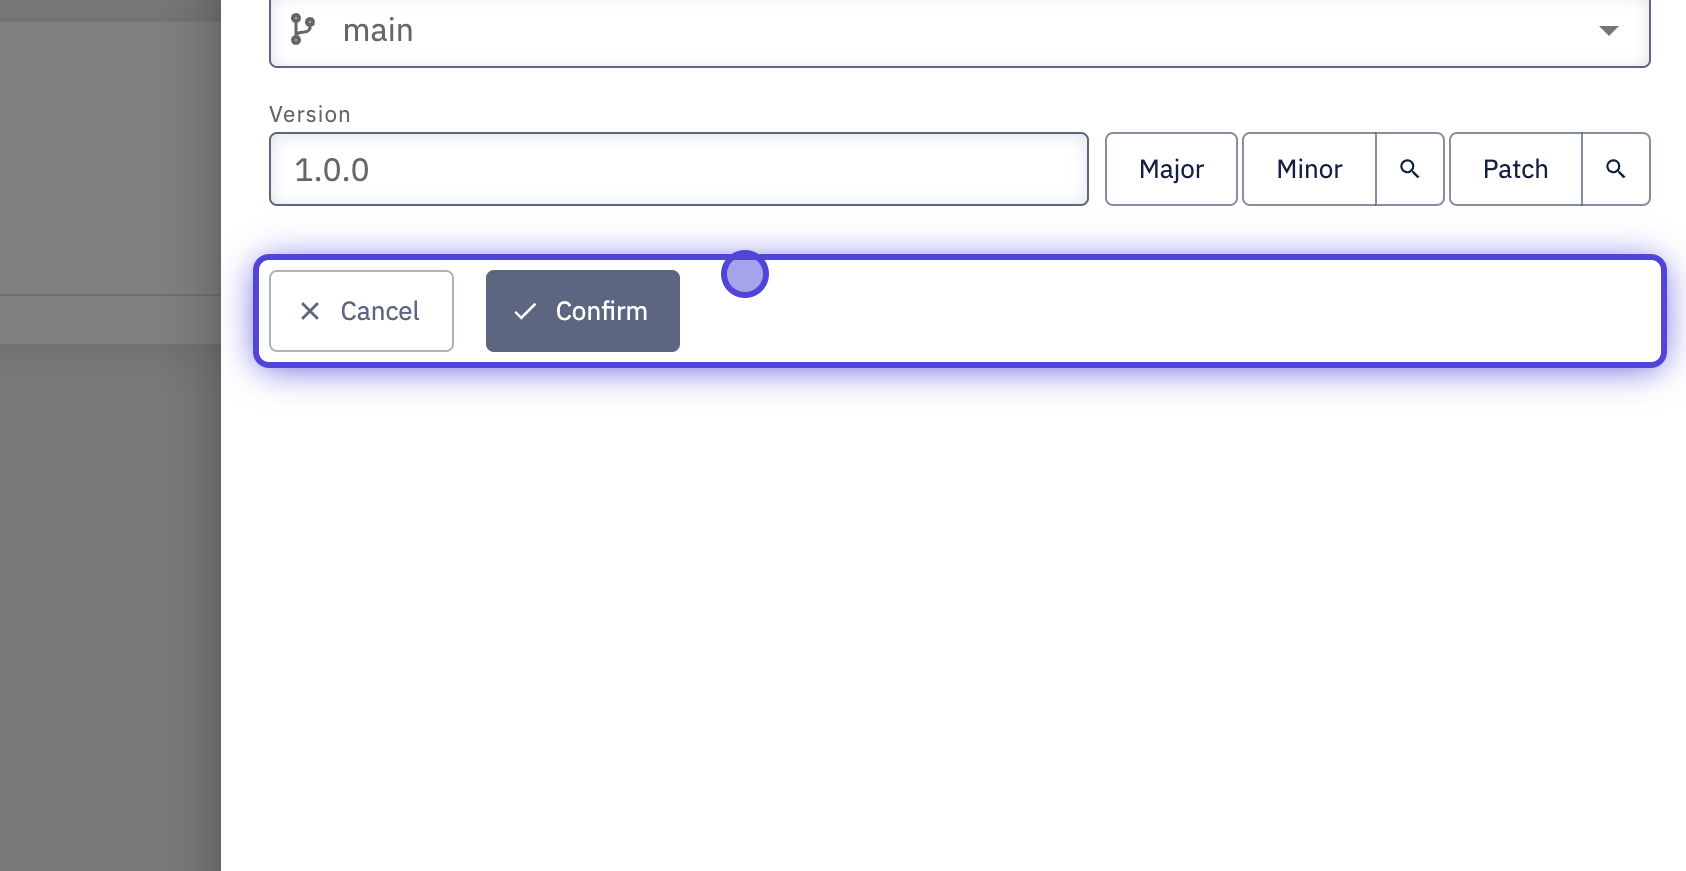
- When you have filled in all needed information, click the "Confirm" button.
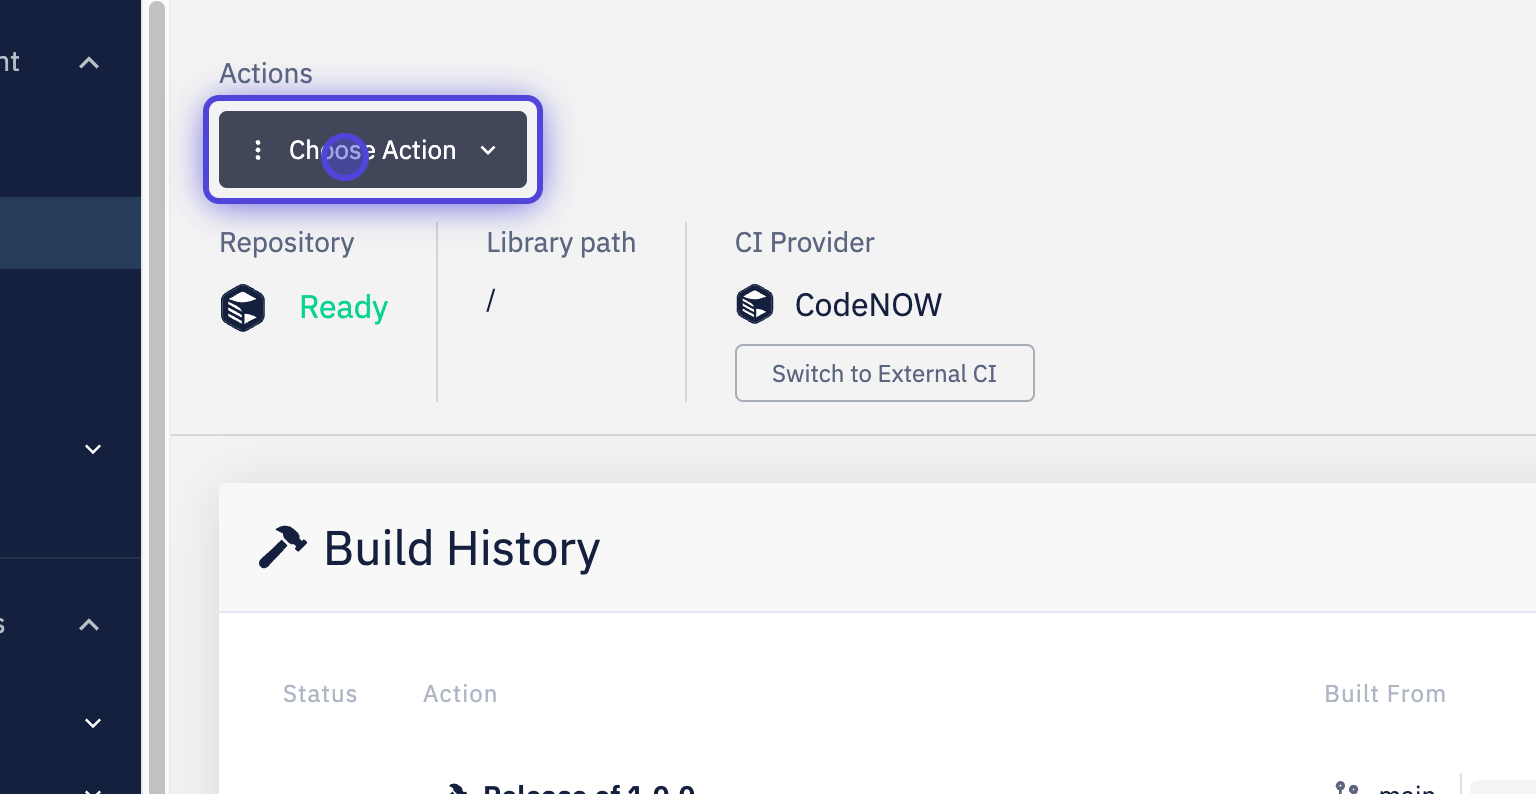
- Library details.
- After you've created your new library, you are able to see its details by clicking on the "Detail" button.
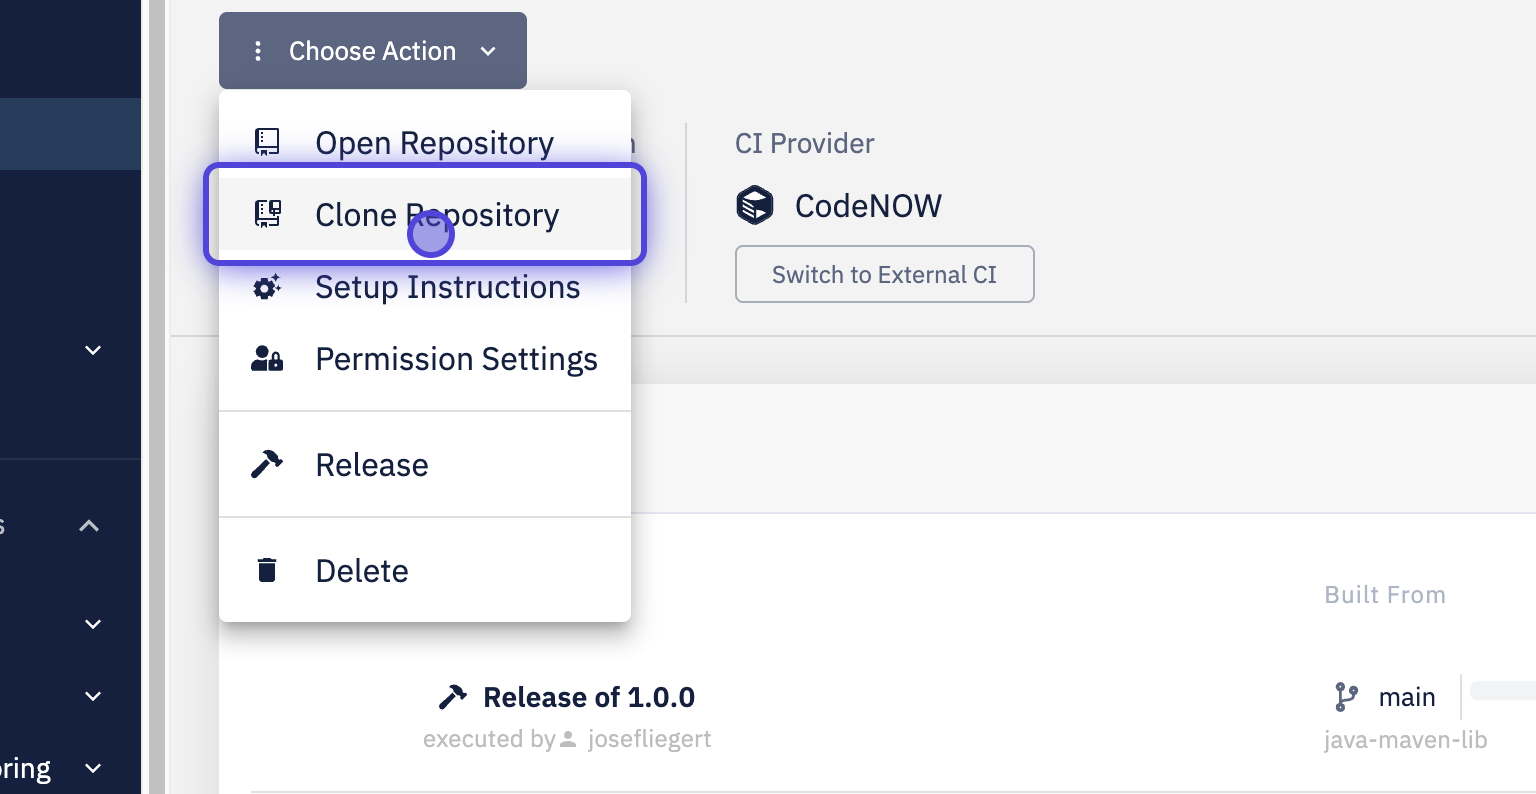
- Clone your library.
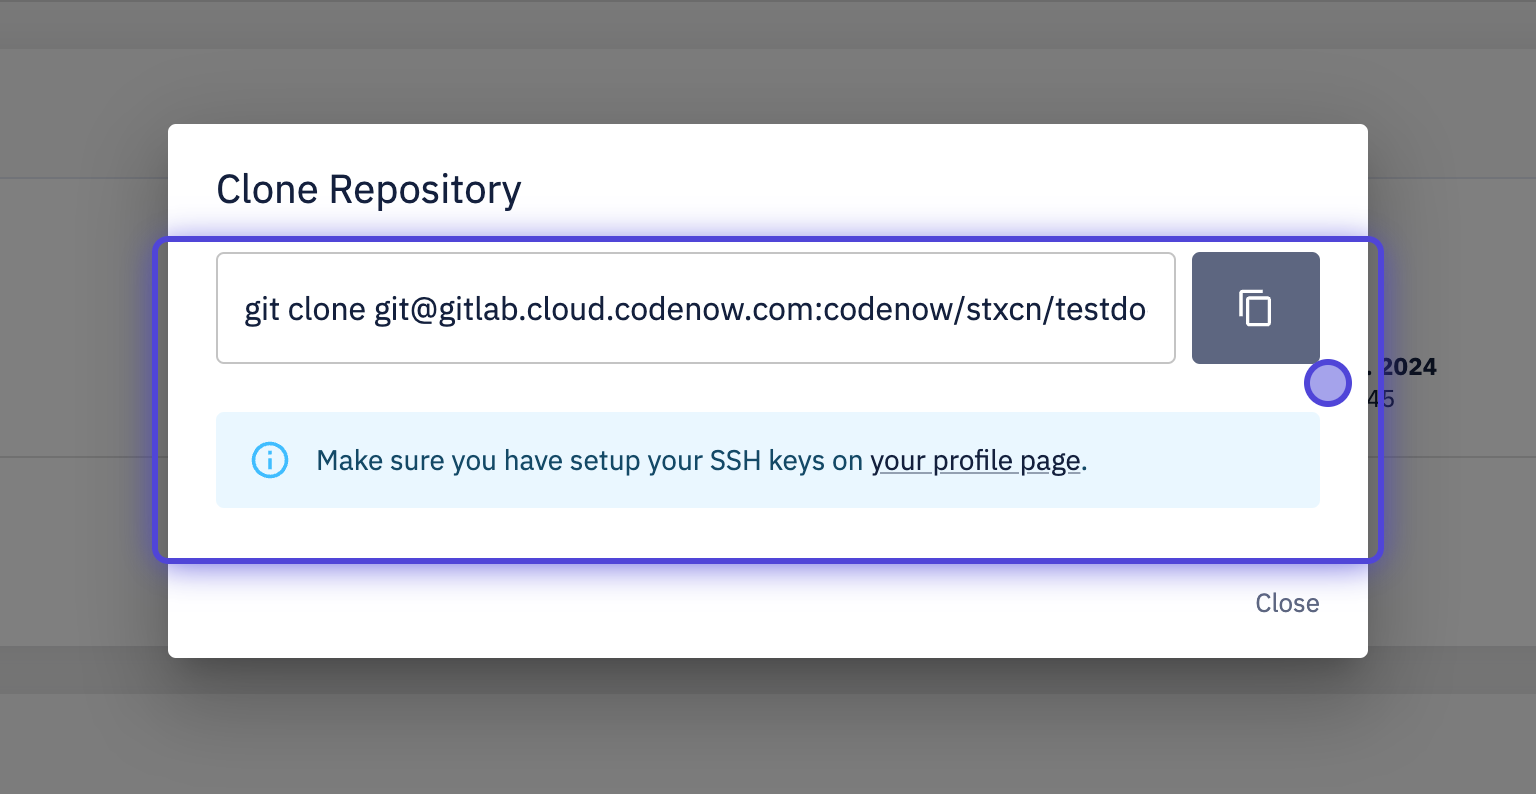
- The next step is to go to the "Clone Your Repository" section inside the library details to clone the prepared project to your local environment.
- You can clone your project using the SSH-key or HTTP(S) URL.
- The next step is to go to the "Clone Your Repository" section inside the library details to clone the prepared project to your local environment.
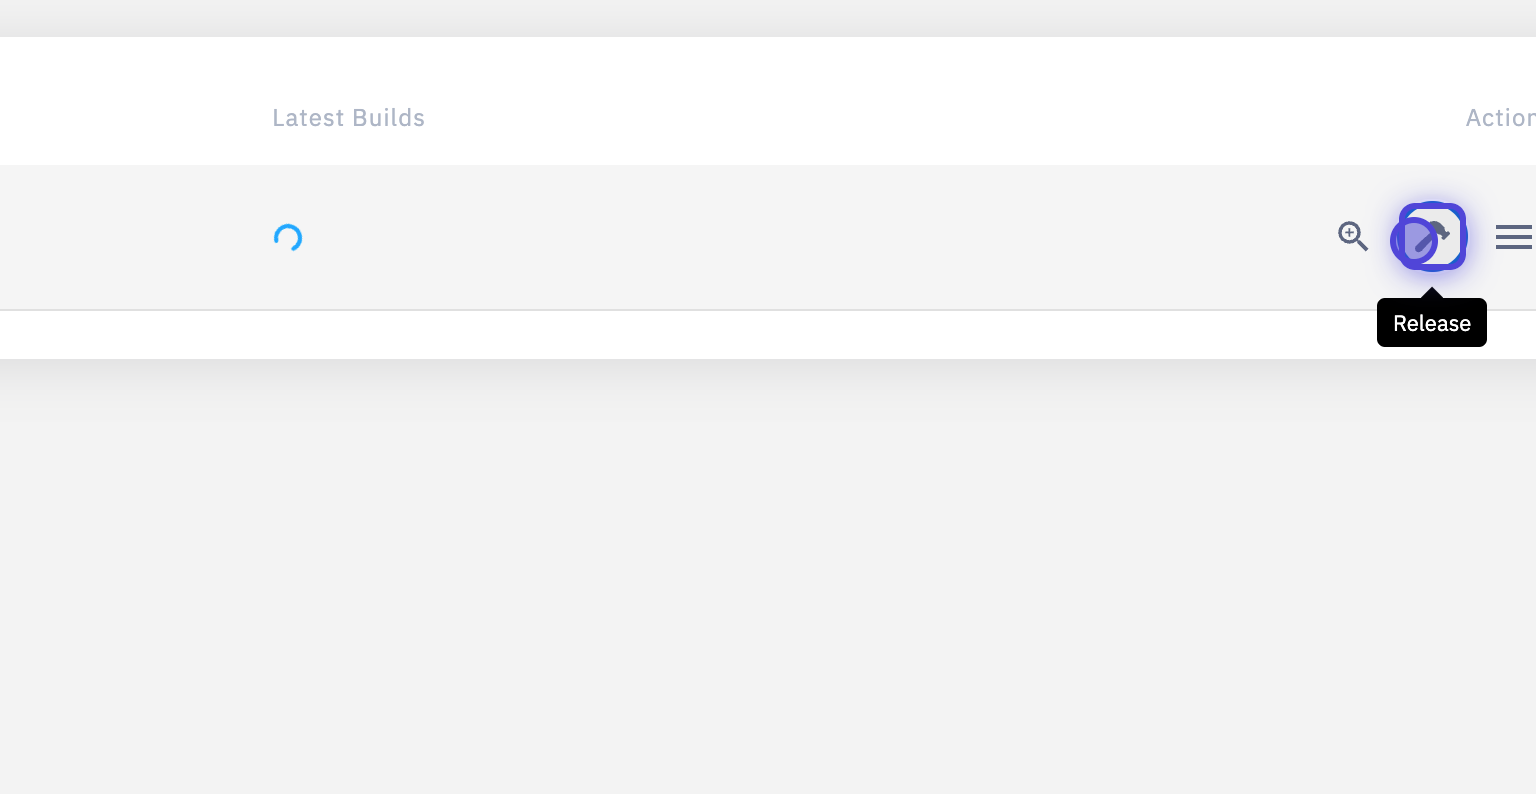
- Change your library project code, push your changes into the CodeNOW git-repository, and build your library project.
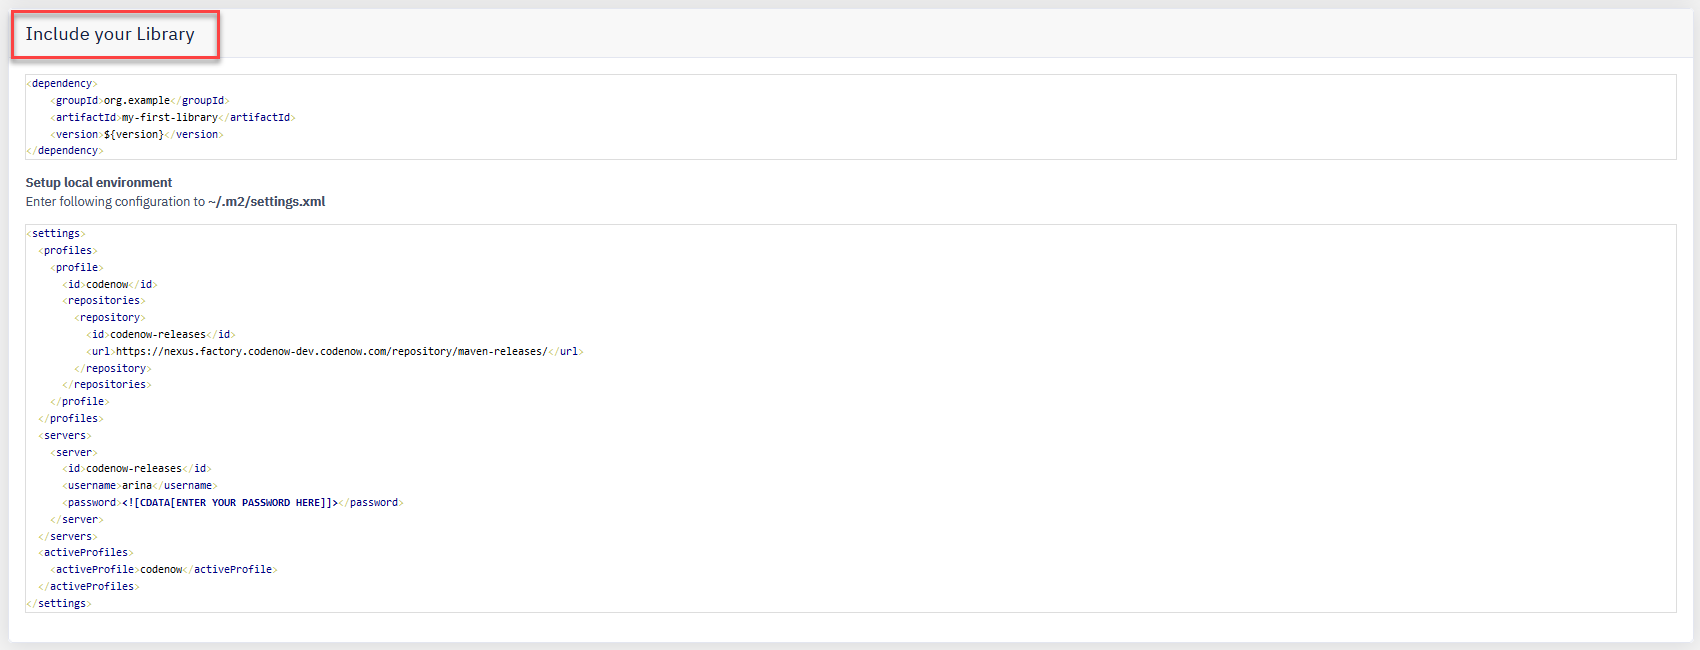
- Include your library in the application component.
- After the build is completed, go to library details again and see the "Include Your Library" section.
- There you can see instructions on how to include your new library to the chosen application components.
- After the build is completed, go to library details again and see the "Include Your Library" section.
Screenshots
Step 1.
Step 2.
Step 3.
Step 4.
Step 5.
Step 6.
Step 7.
Step 8.
Step 9.
Step 10. Example for Java Library