Set up Keycloak
🕓 10 minutes
What you’ll learn
How to create a new instance of Keycloak as a managed service in CodeNOW and how to do the basic setup of the new instance.
Create an instance of Keycloak
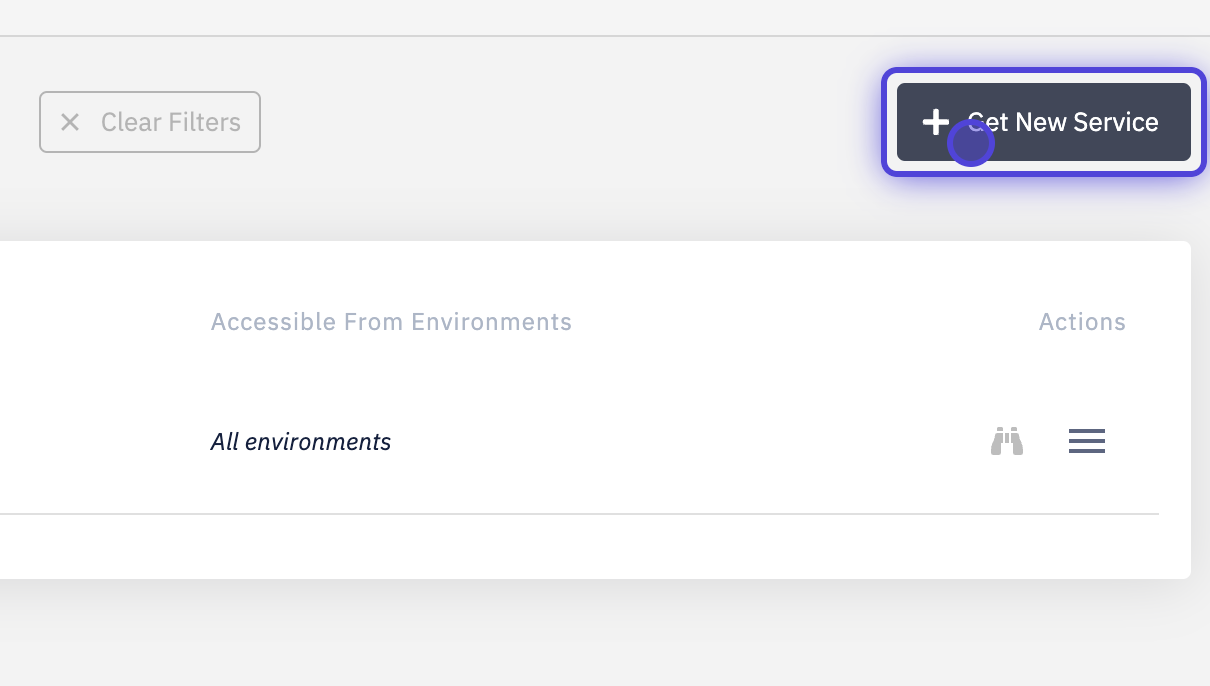
- Choose the Managed Services in the Application Development menu and select Get New Service.
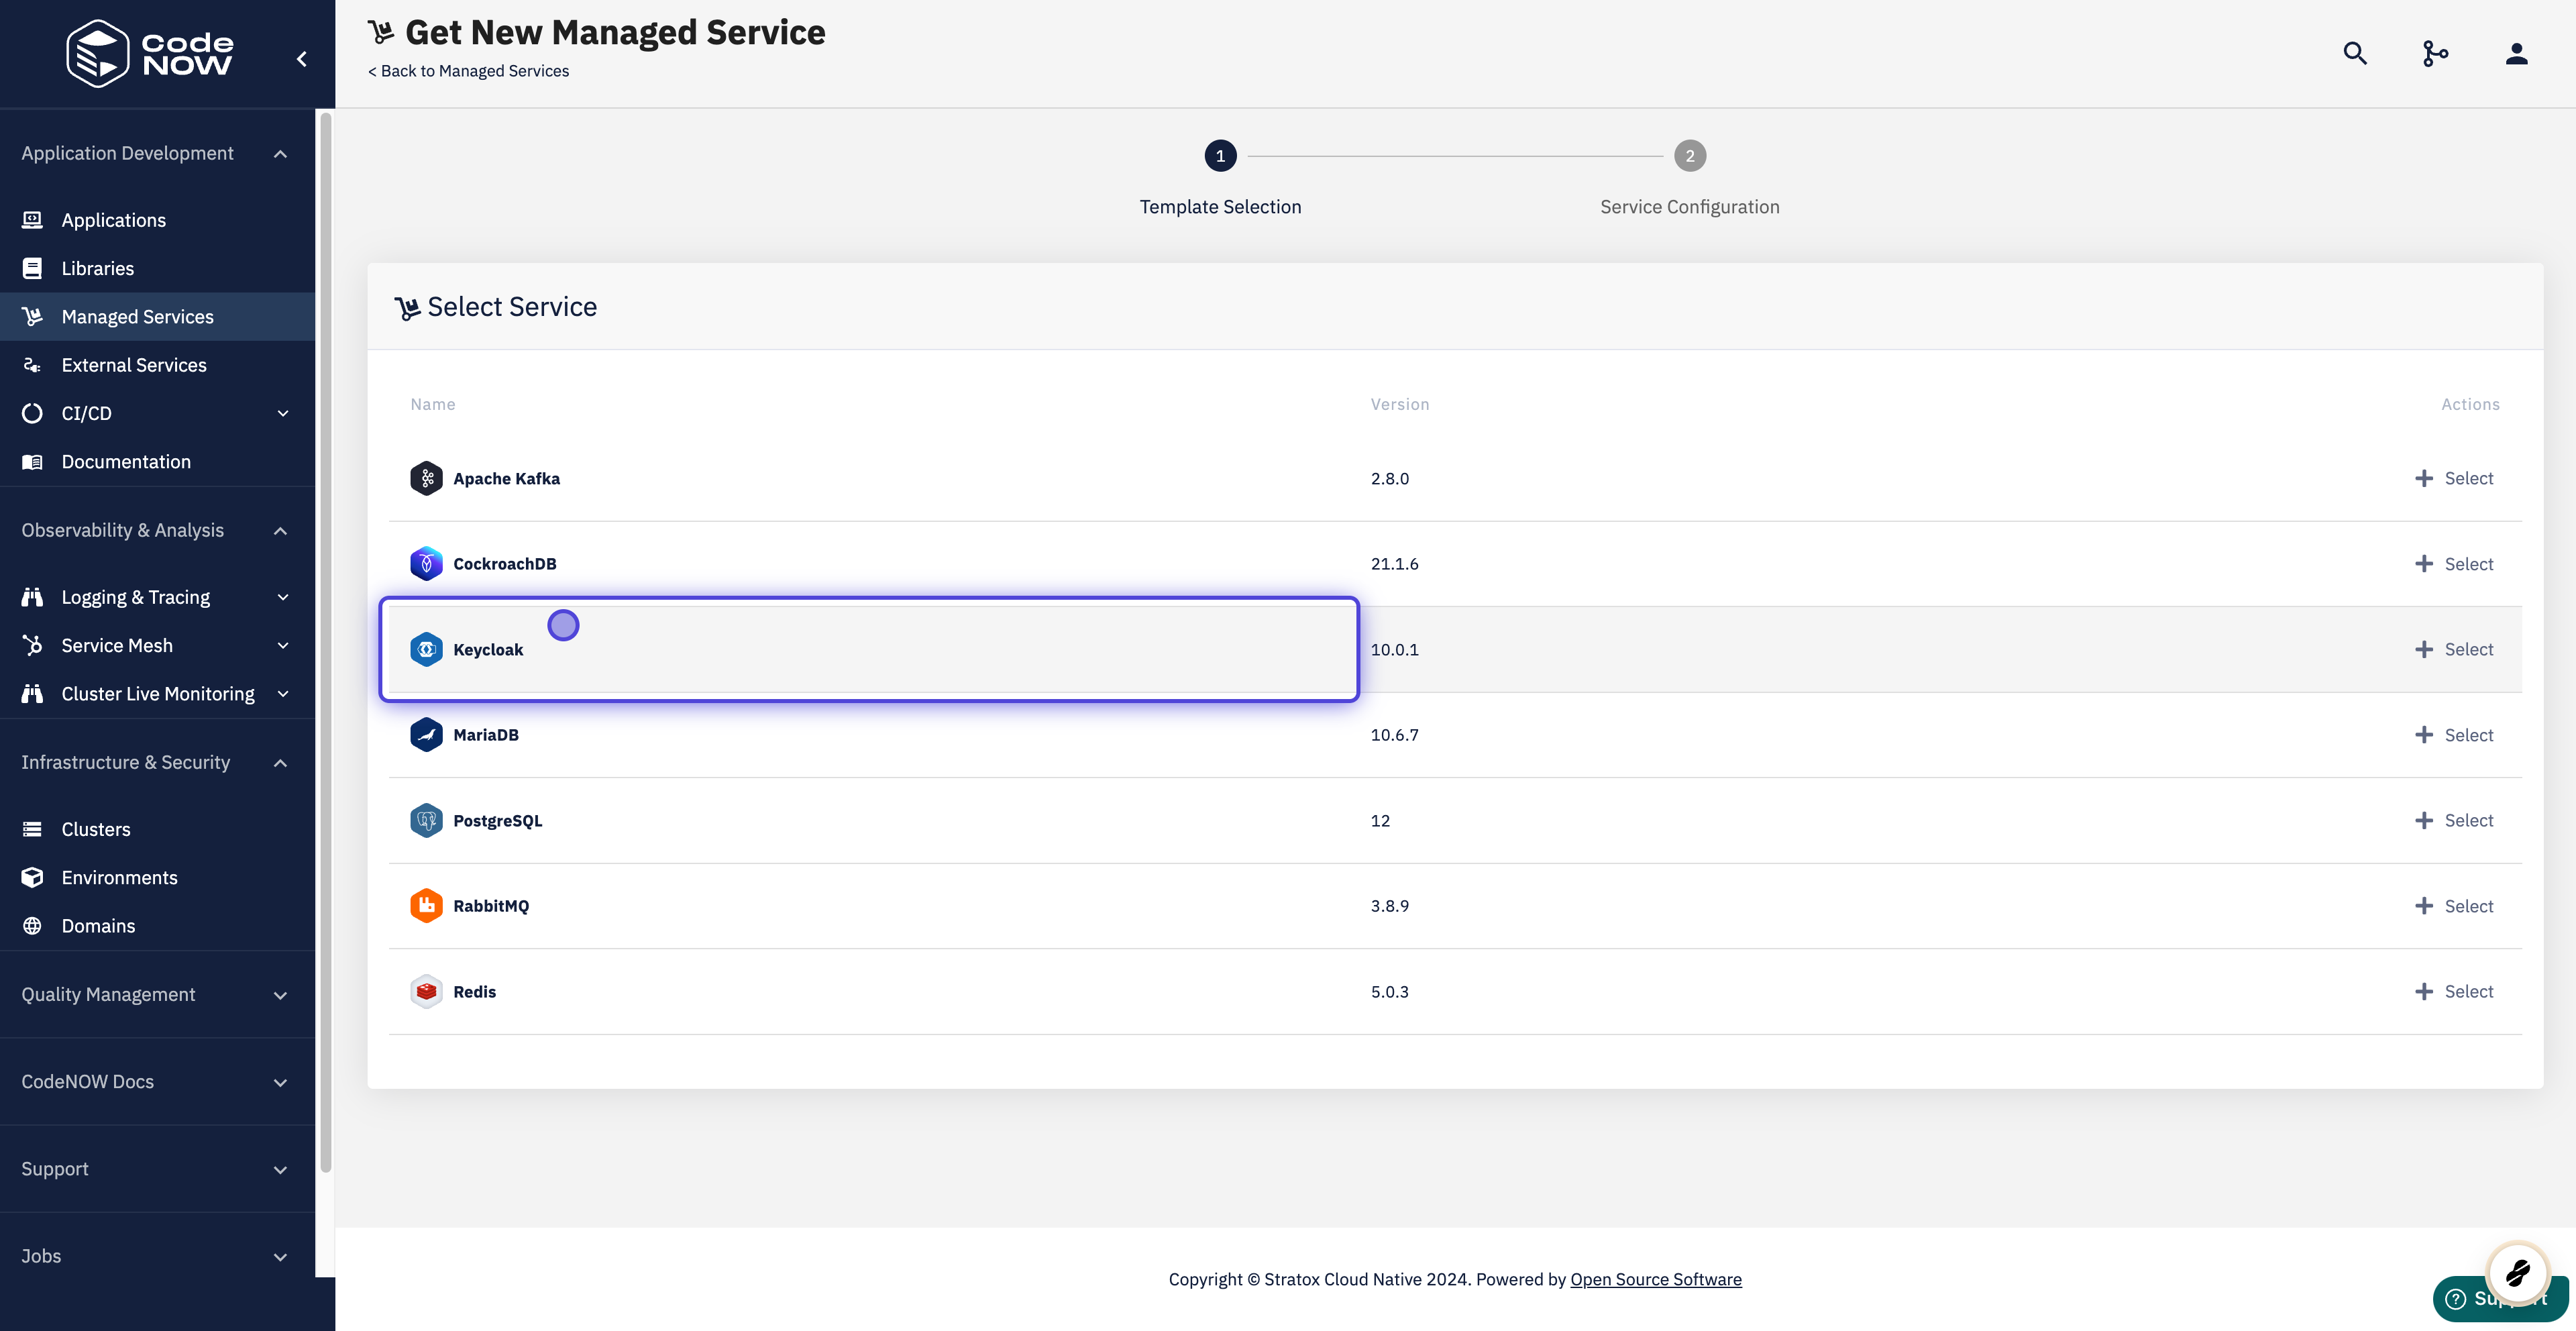
- Find Keycloak in the list of services. Select Keycloak to add a new Keycloak instance.
- Type in the new instance's service name, select the cluster and environment you want to target.
- Choose the basic configuration and confirm it.
- Wait for request processing and see the details of the new Keycloak instance.
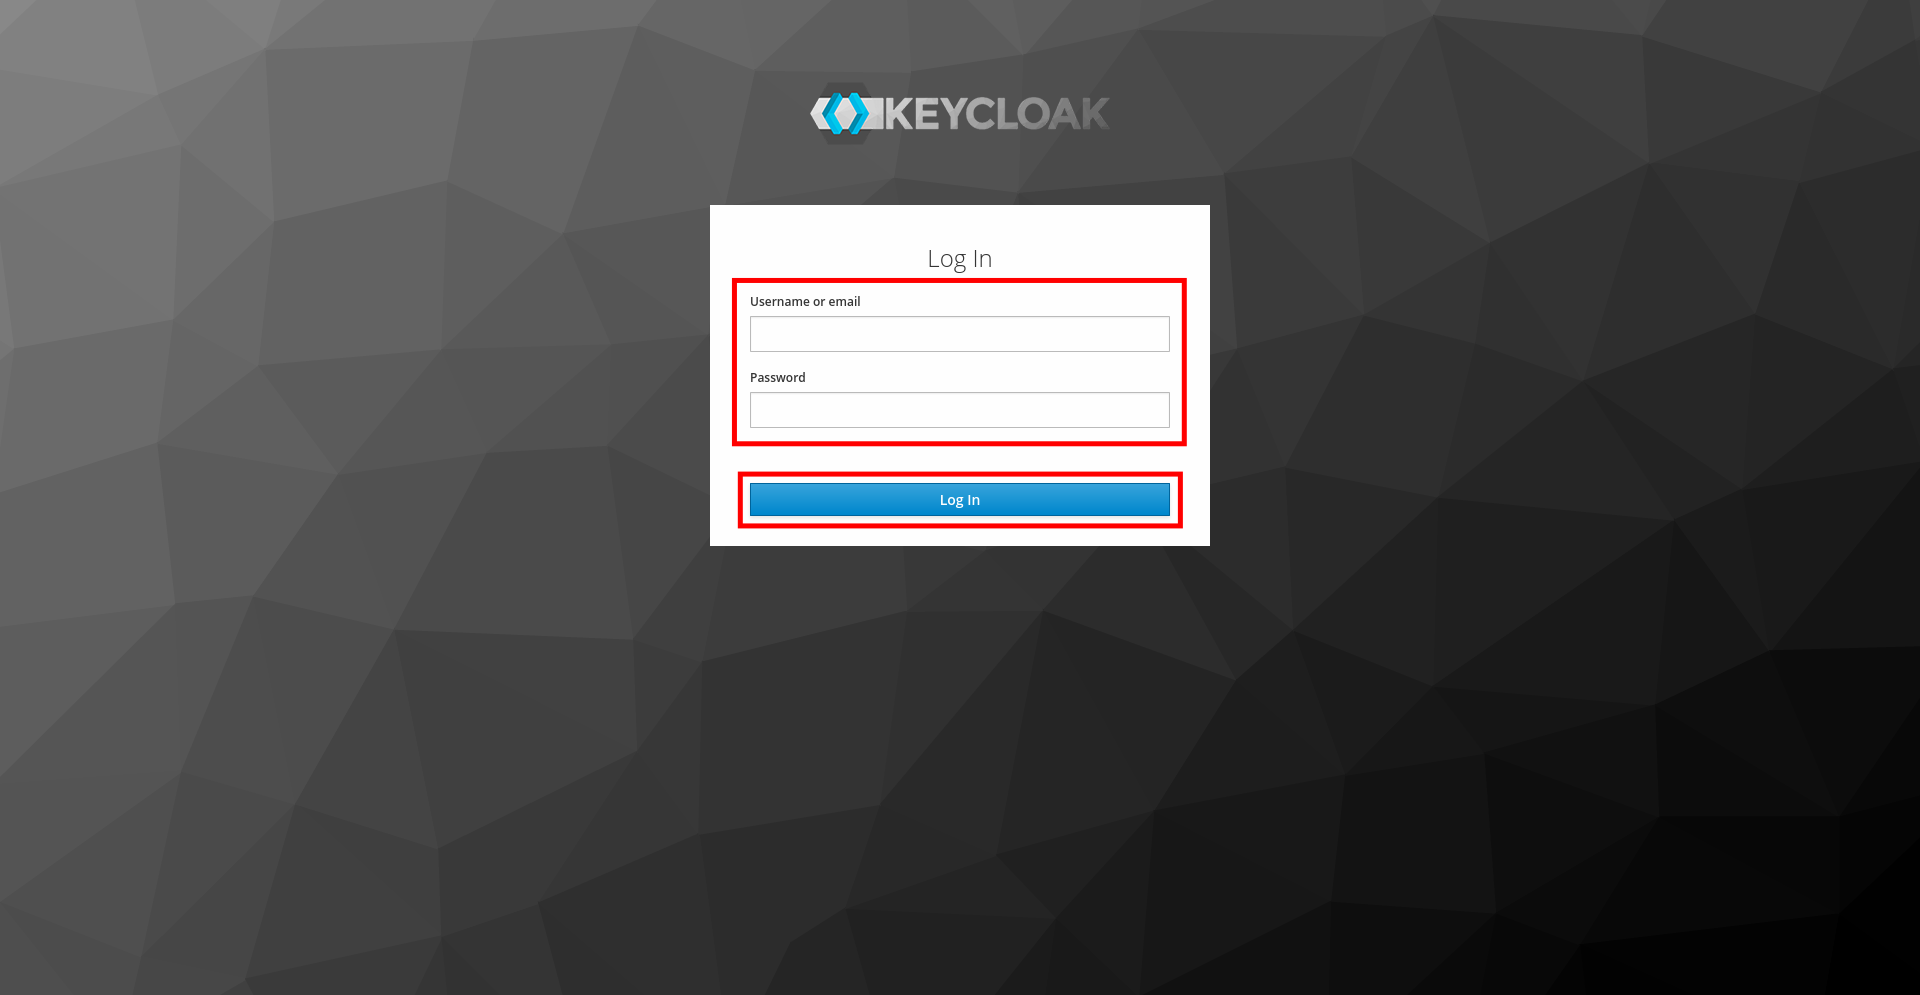
- Use the admin panel link for monitoring Keycloak. You can log in to the admin panel with username and password.
- For connection from your component use connection string and your favorite Keycloak client.
Keycloak basic setup
- Create a new realm by clicking the Add realm button. It appears in the popup menu at the top of the left navigation pane. Confirm and leave it with defaults. Note: think of a realm as a "security domain" for your future applications.

- Click Clients and create a new client. The term "client" here refers to our application, so when filling the Client ID field, name it accordingly (for example: api). After creation, fill in the mandatory field Valid Redirect URIs (you can enter any value, we will not be using it in this tutorial). Leave other settings to defaults and save your changes.
- Add a new role in menu Roles / Add Role, name it for example "api-role".
- Navigate to Users / Add User and create a new user, name it for example "api-user". Now go to Credentials tab and enter a new password, uncheck Temporary switch and click Set Password. Next, select Role Mappings and assign our role (api-role) to this user.
- The last thing we need to do is to write down our Keycloak endpoints. We will need them later in our application.
- The authorization endpoint is composed of the base URL of your Keycloak instance +
/auth. For example...mfr-keycloak-keycloak.box.codenow-dev.codenow.com/auth. - The token endpoint can be found under Realm Settings / General / Endpoints. When you click on the link OpenID Endpoint Configuration, you should get a response similar to the one on the screen below.

What's next?
Maybe you will be interested in our other tutorials:


